HubSpot Integration Setup Guide
Complete step-by-step instructions for setting up HubSpot integration with meeting recordings
Table of Contents
Getting Started
Sign up and log in
Create an account and log into the platform to access the recording features.
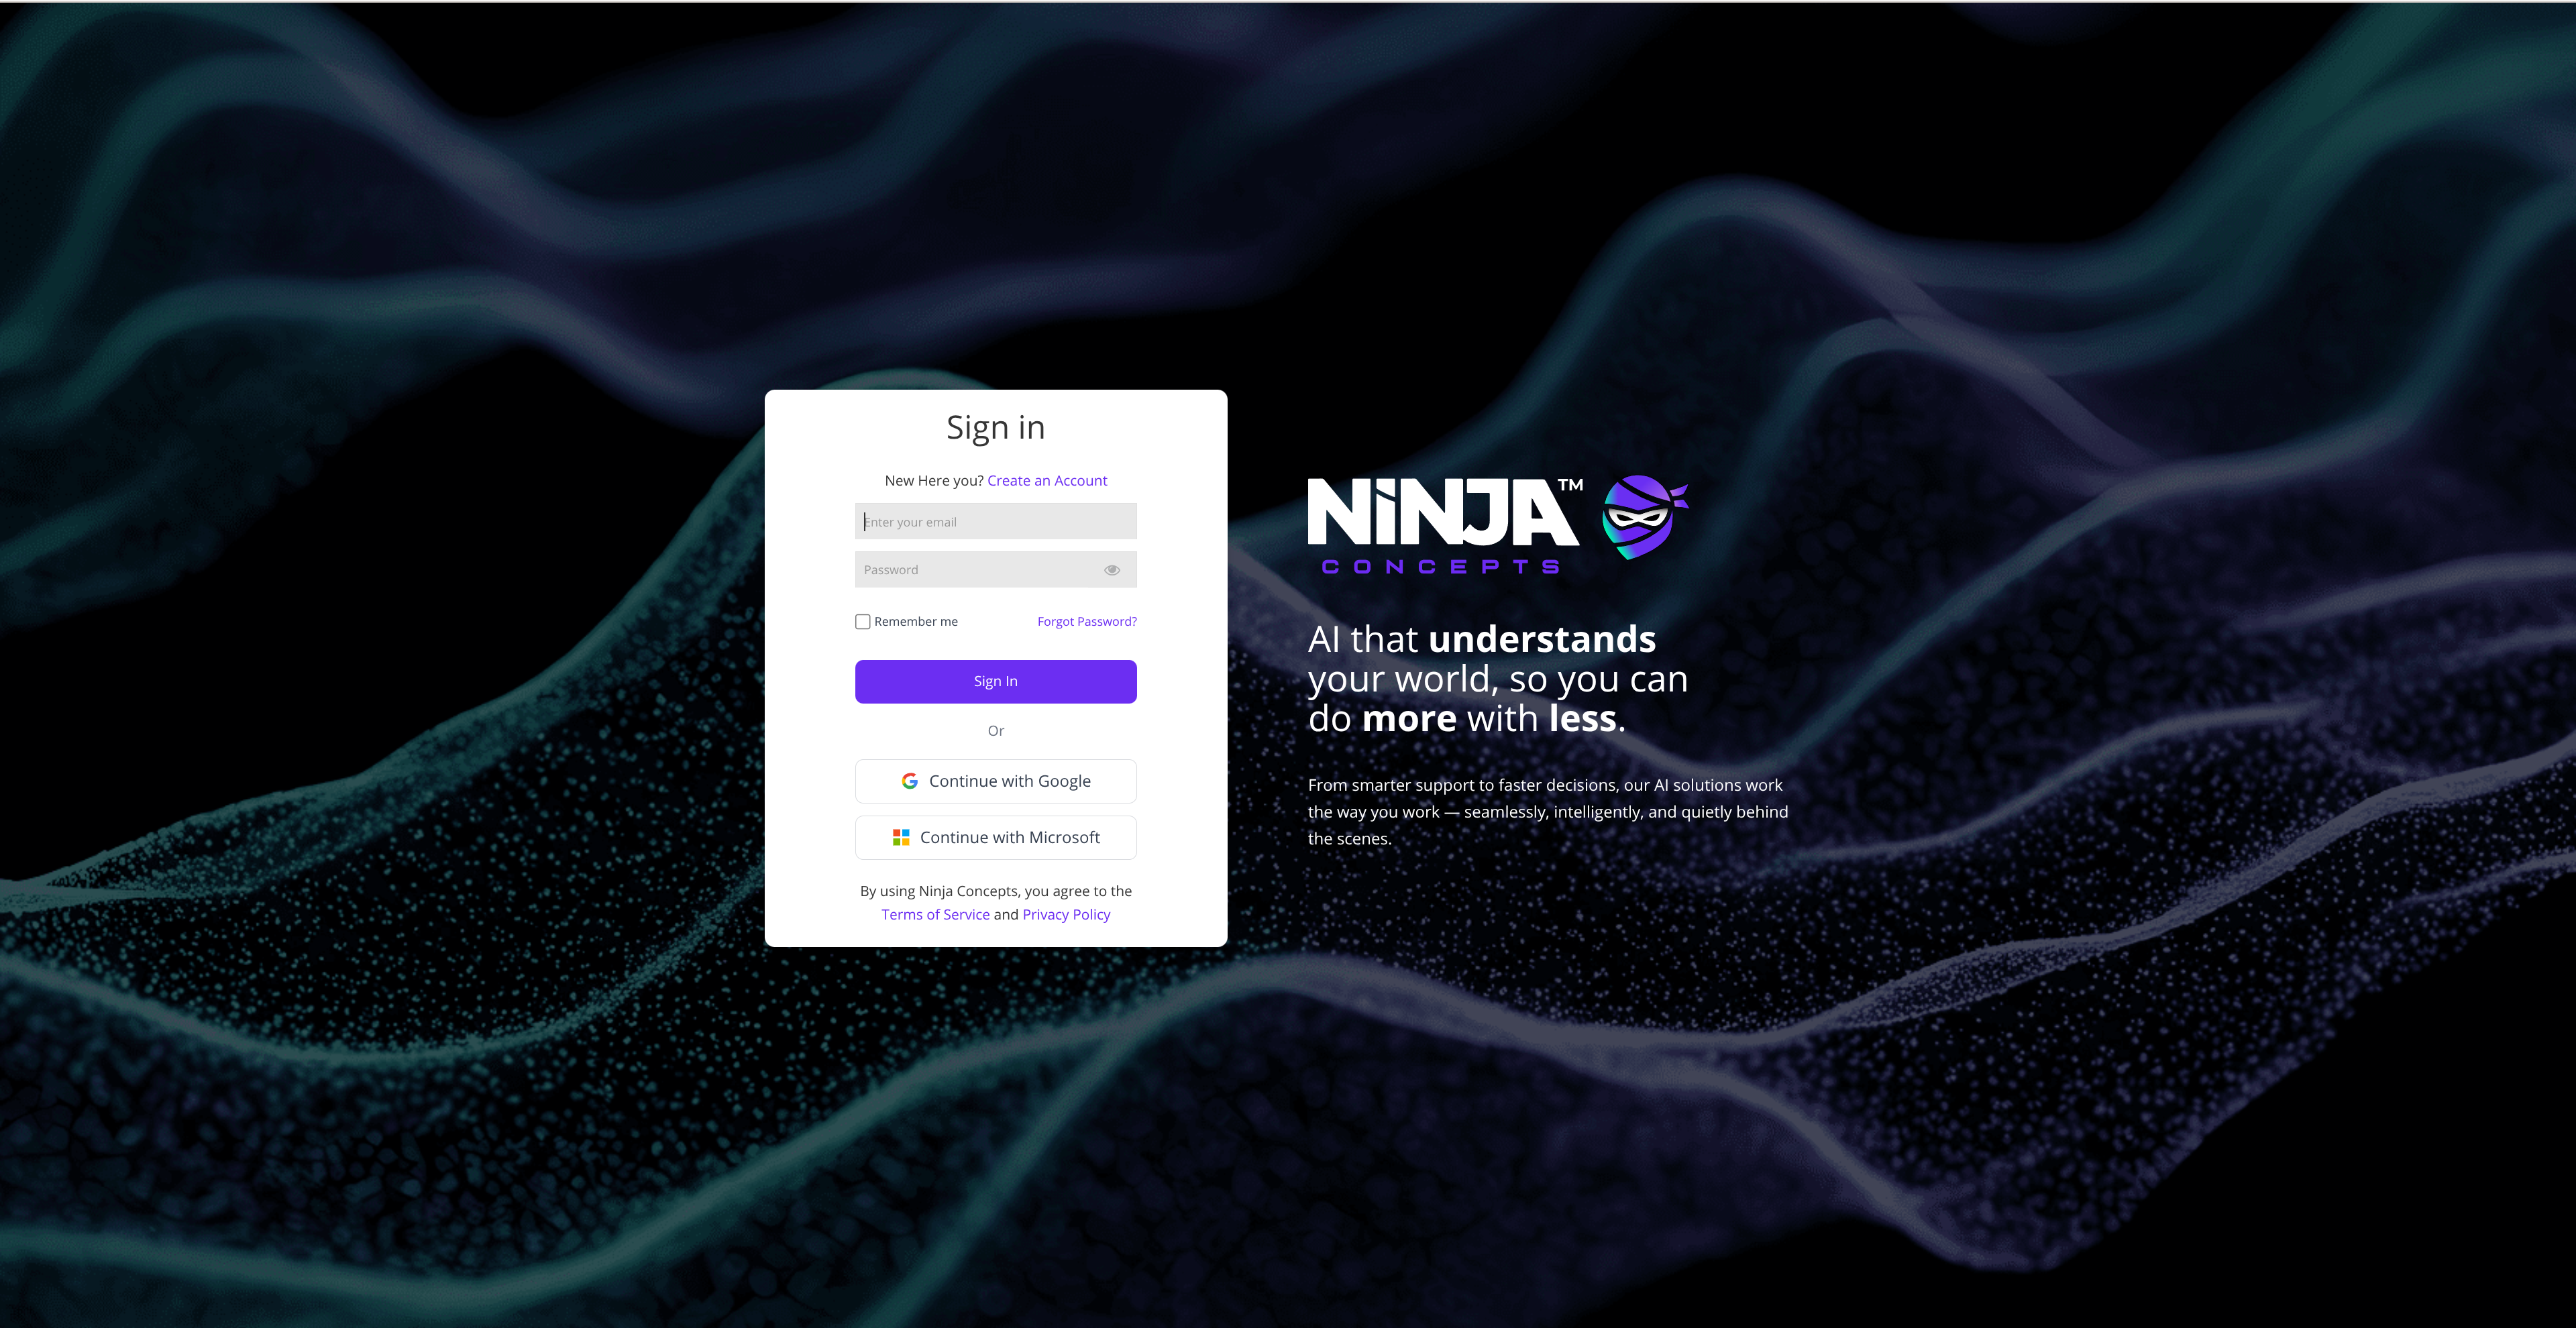
Login interface
Click Recording Hub in the left sidebar
Navigate to the Recording Hub section from the main dashboard sidebar.
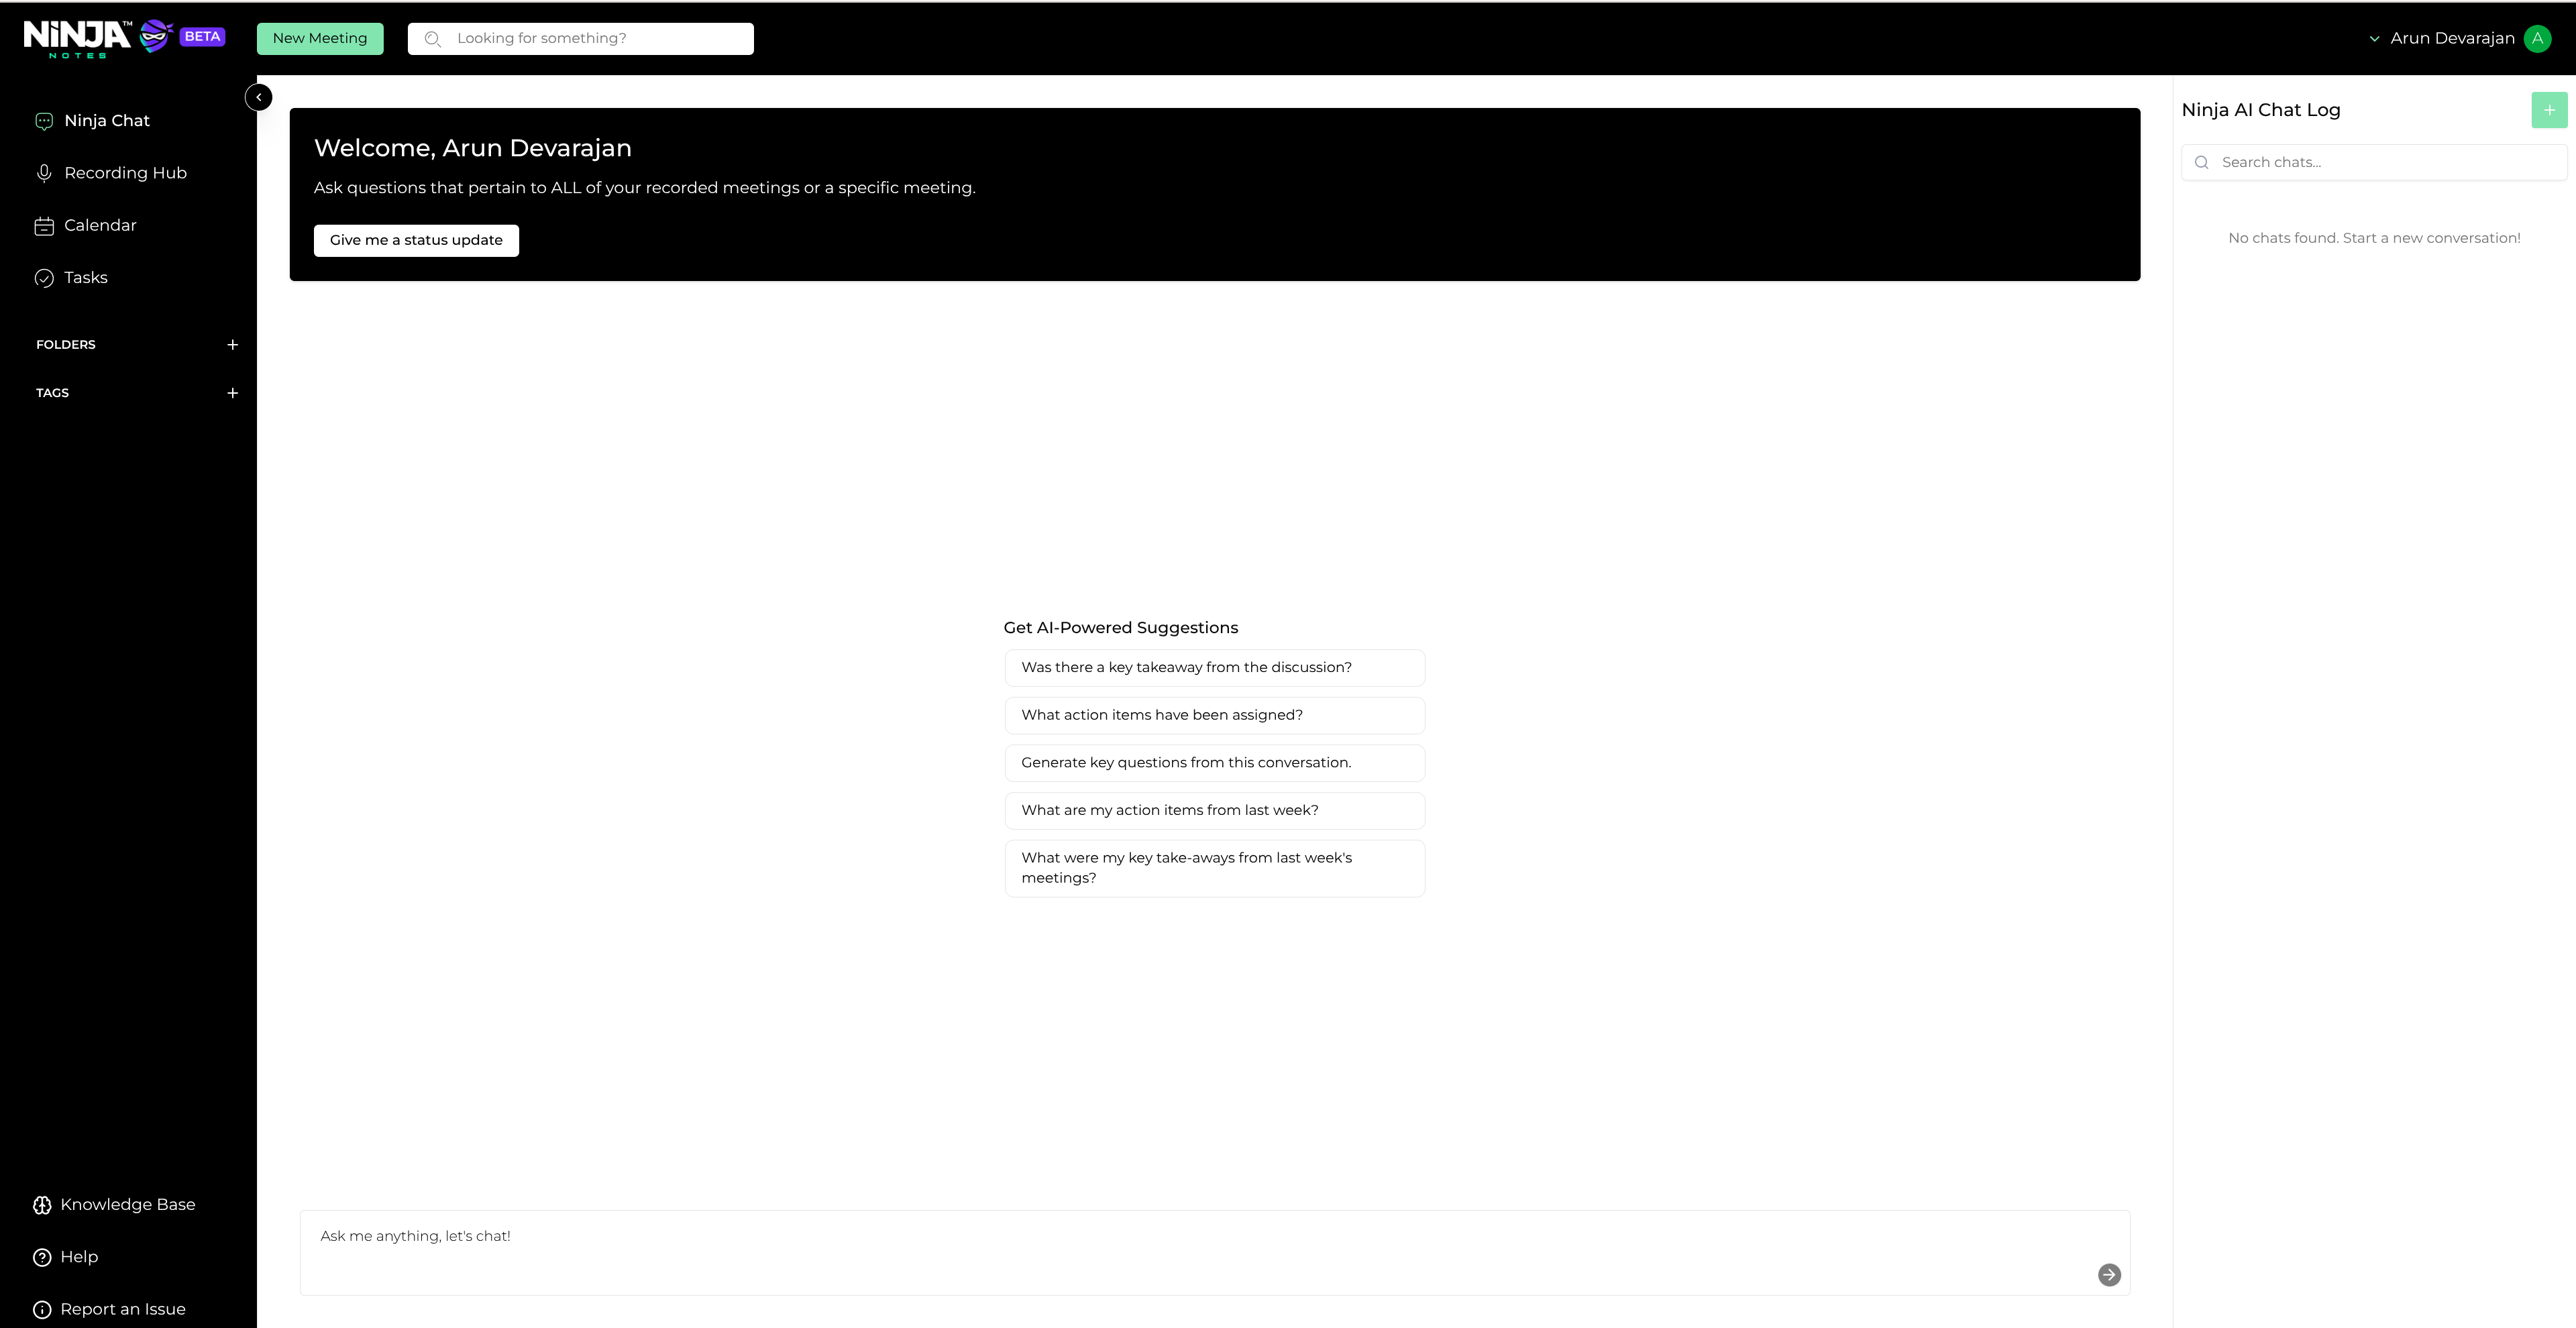
Recording Hub navigation
Recording Setup
Click the Start a New Recording button at the top
Initiate a new recording session by clicking the prominent "Start a New Recording" button.
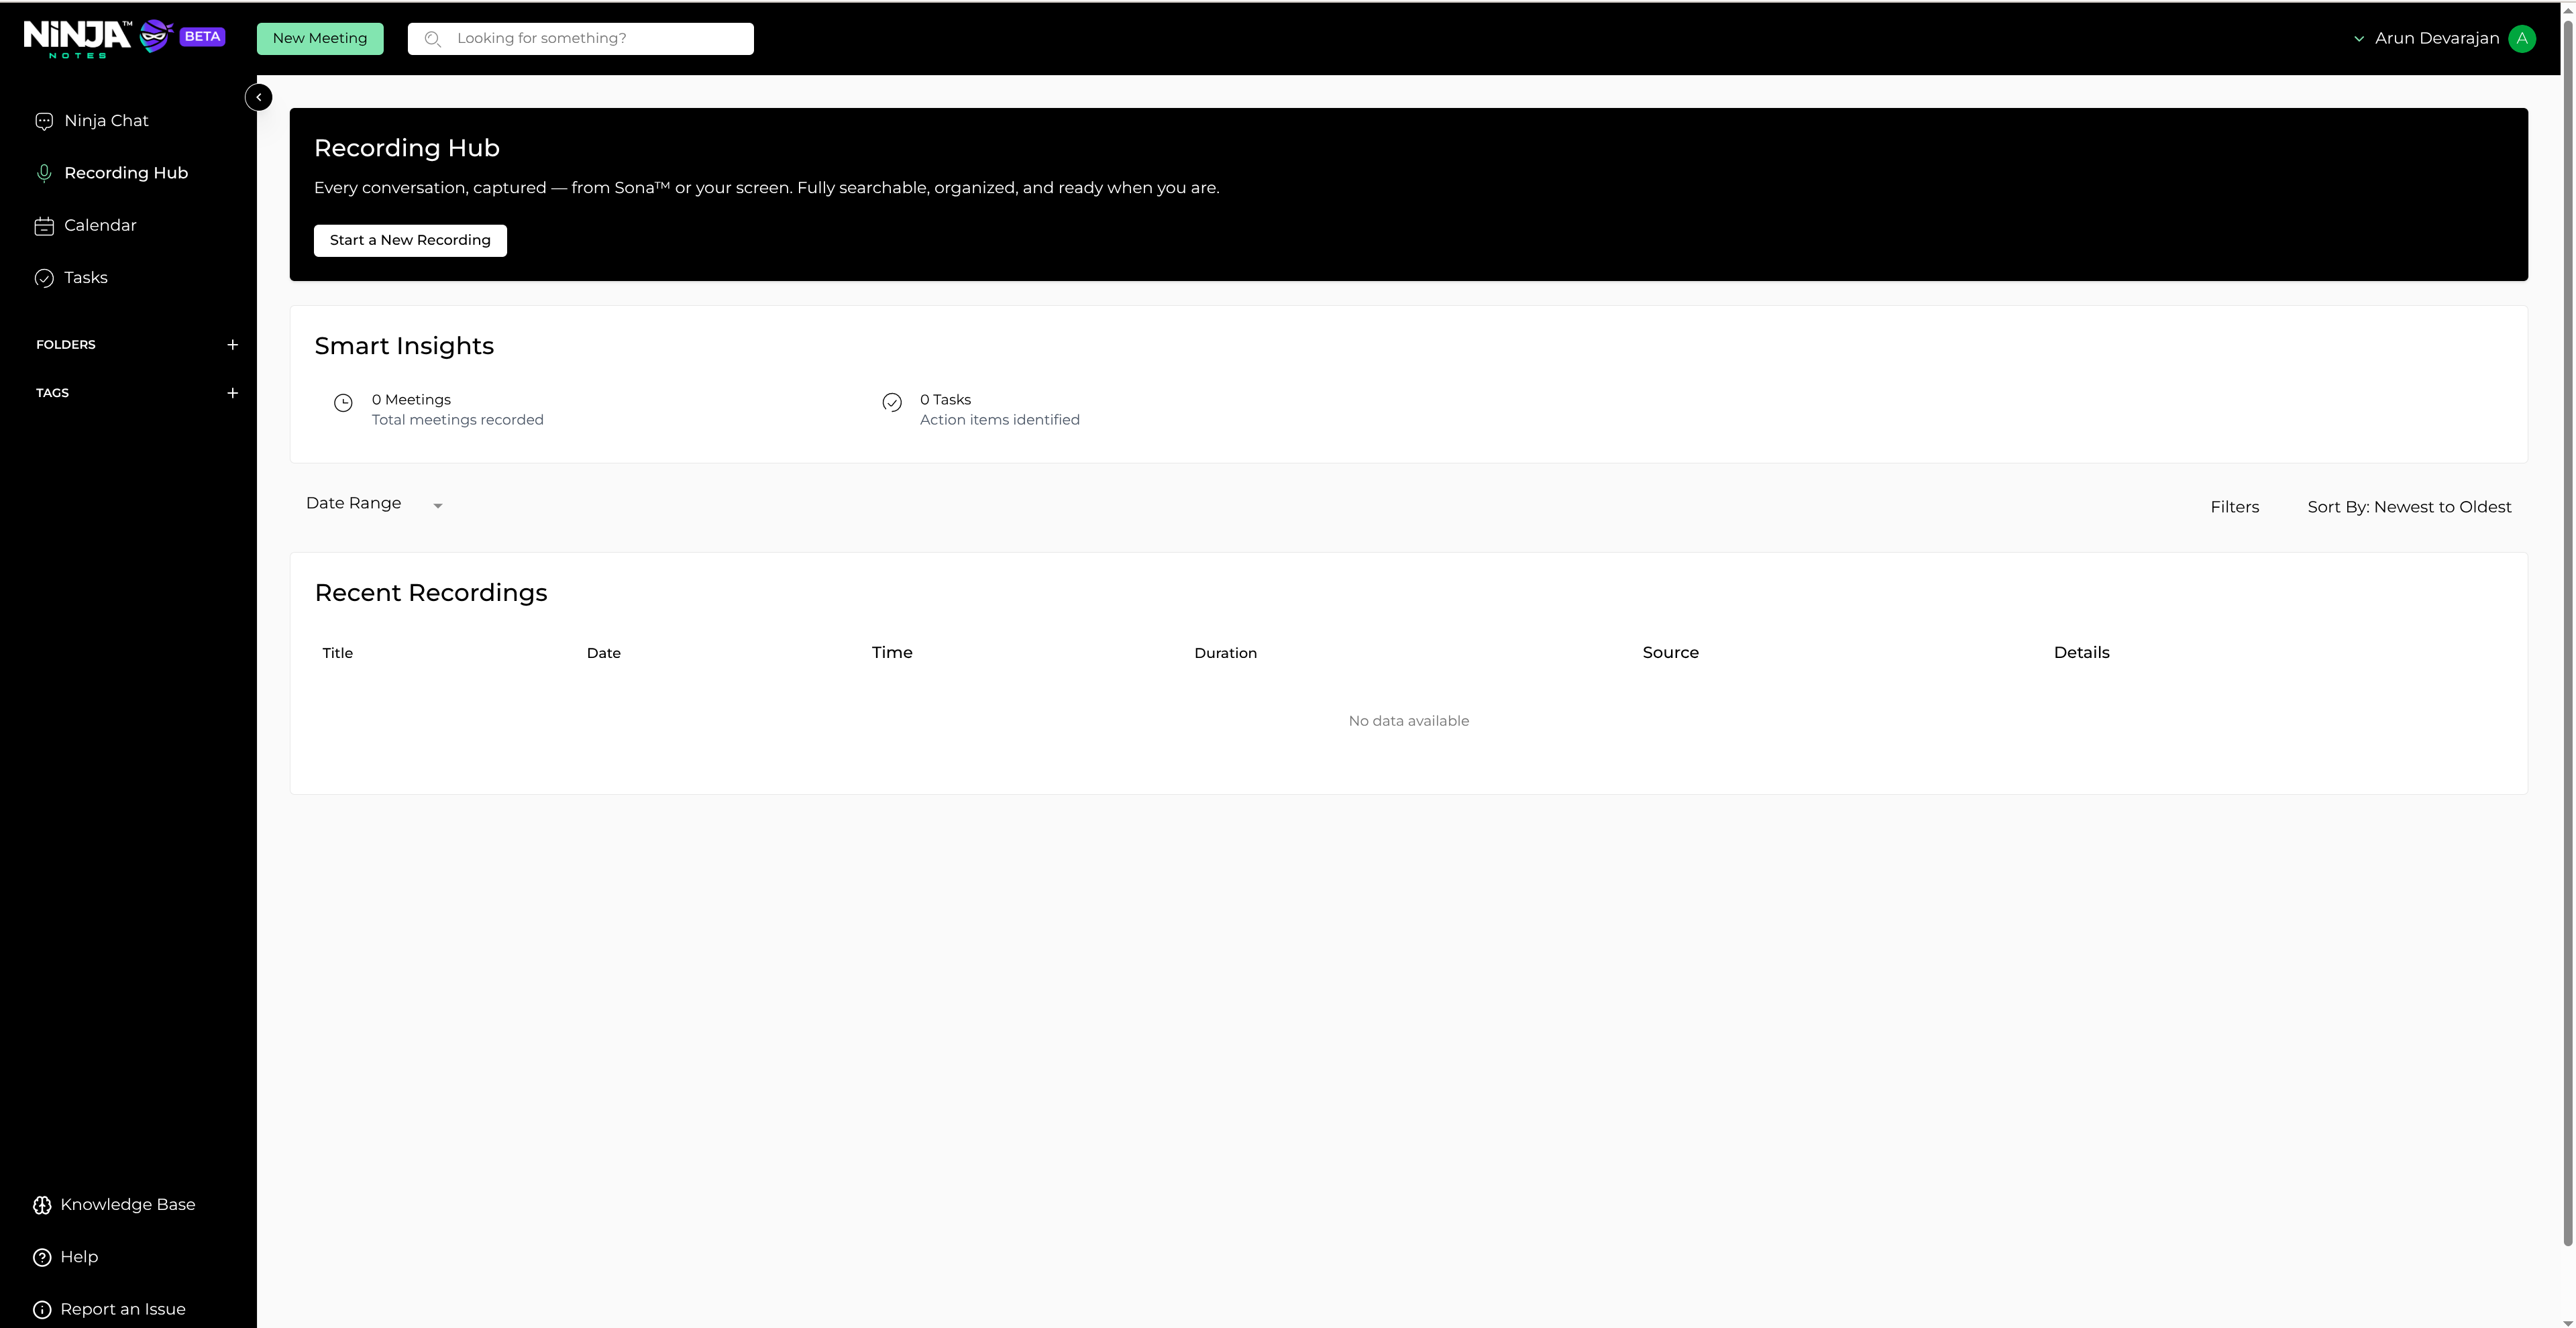
Start a New Recording button
Click the Allow Microphone Access button to grant permission
Grant microphone permissions to enable audio recording functionality.
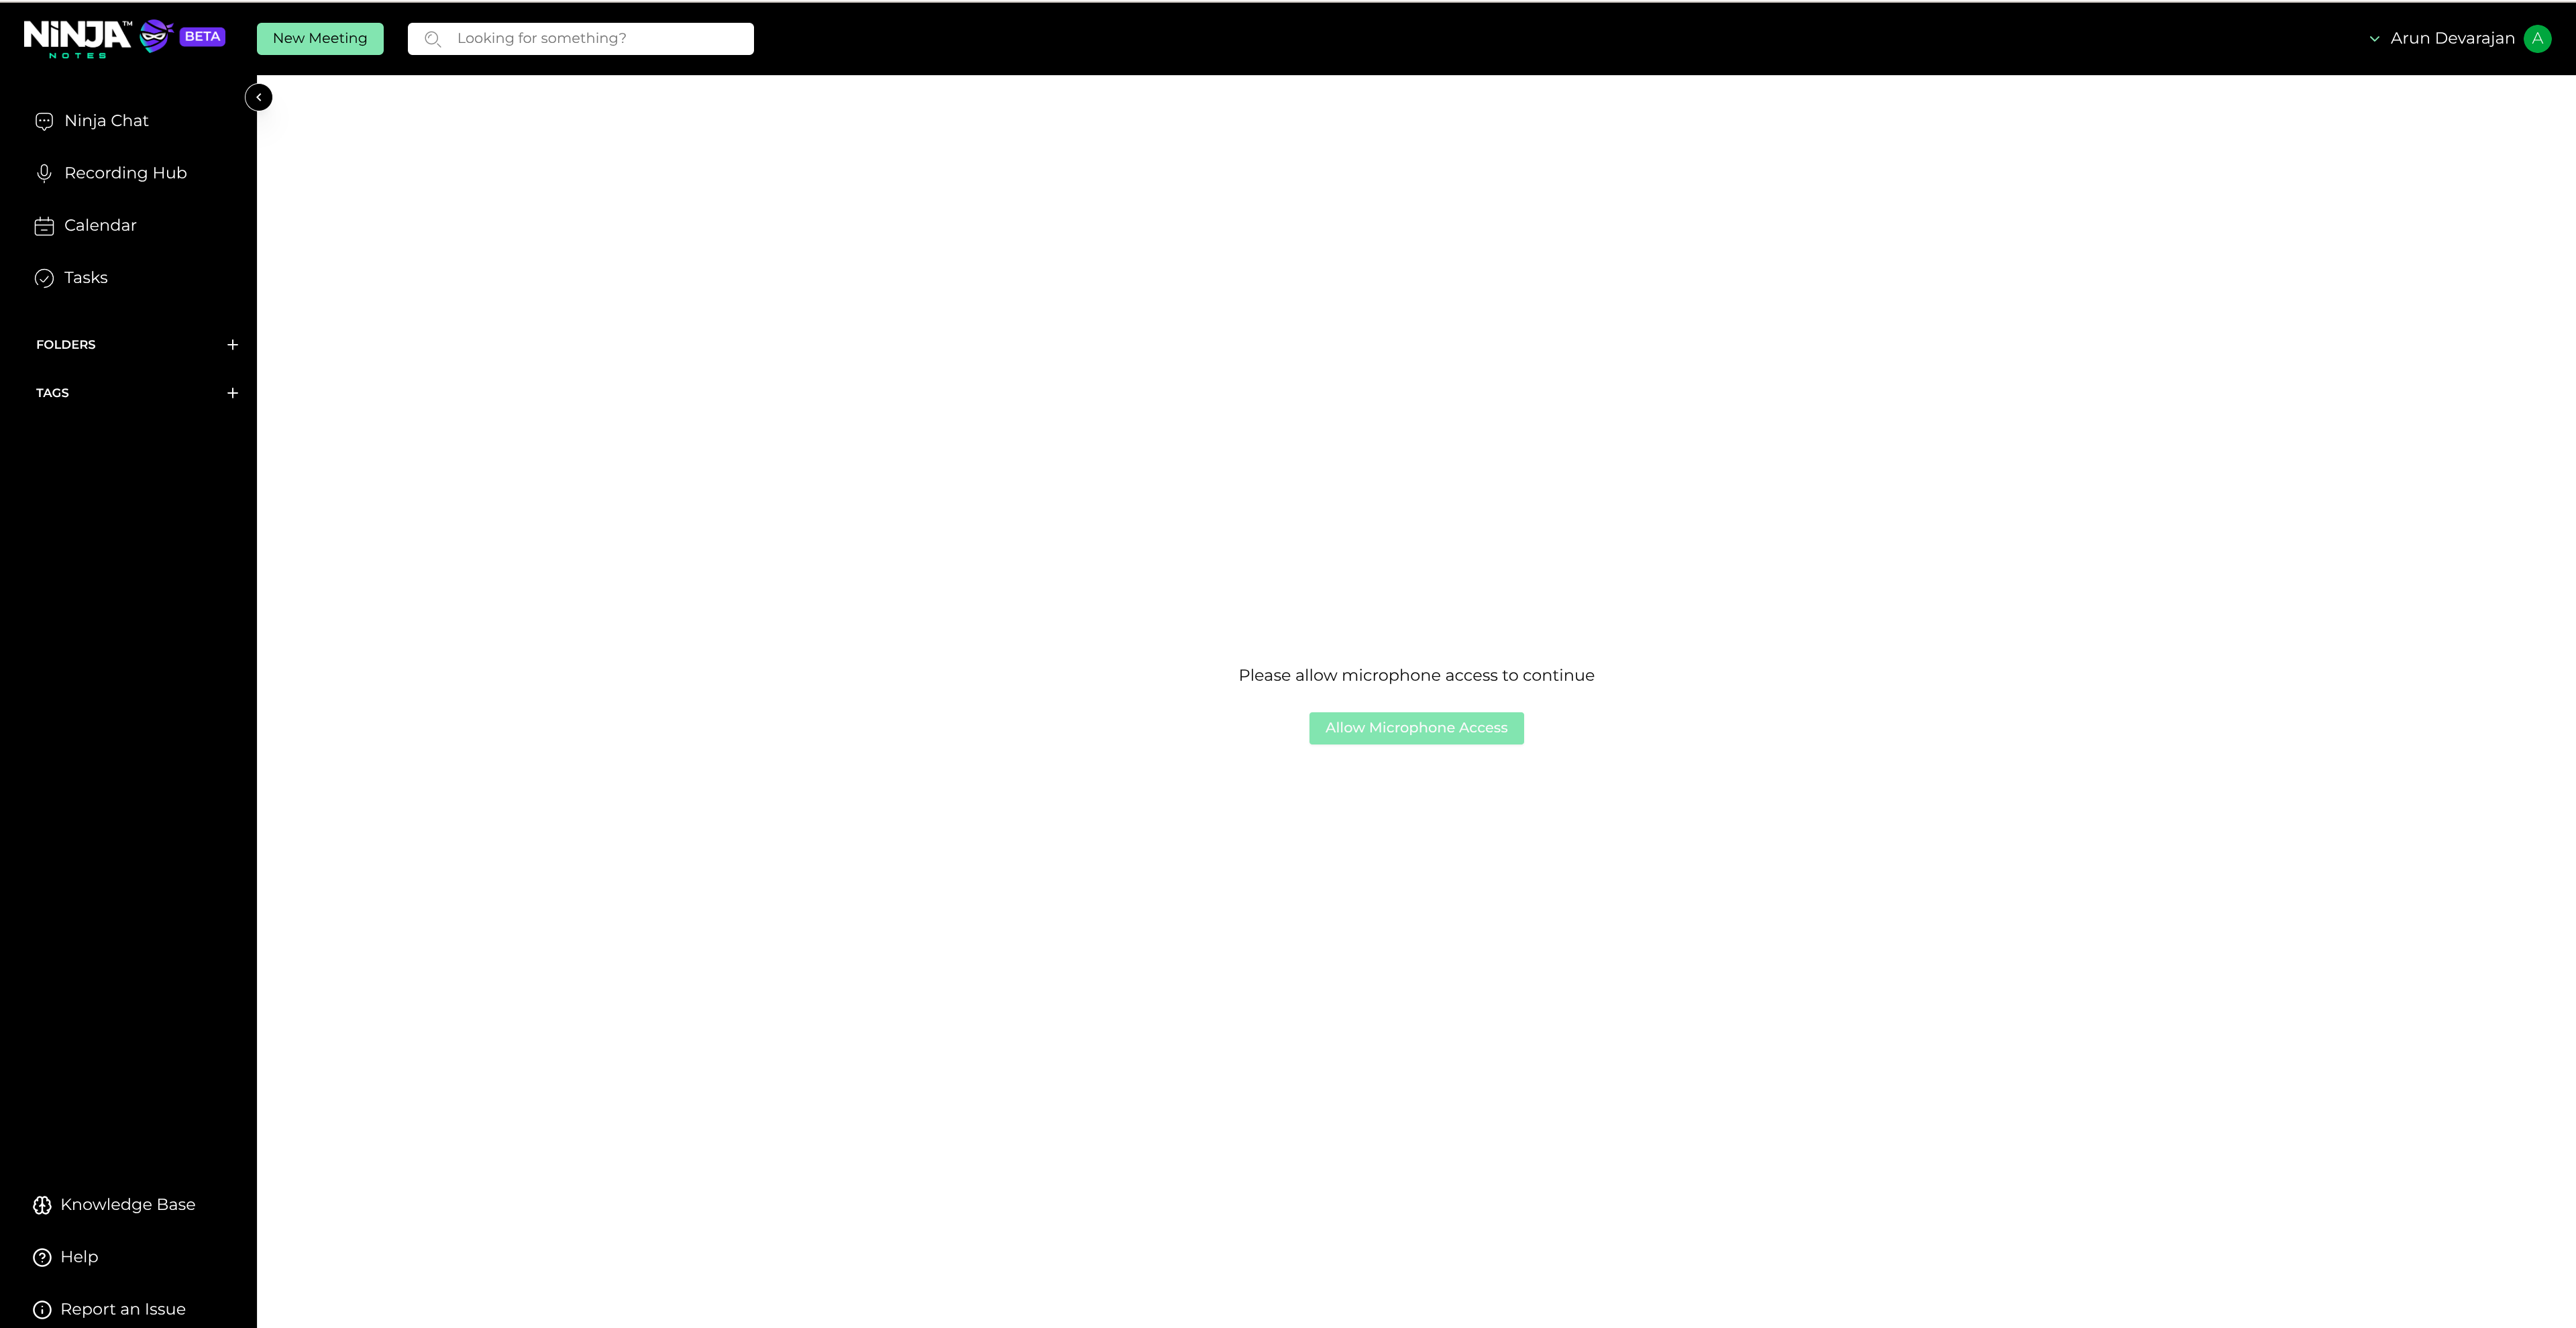
Microphone permission request
Click the Start Recording button in the center
Begin recording your ongoing meeting or video by clicking the central "Start Recording" button.
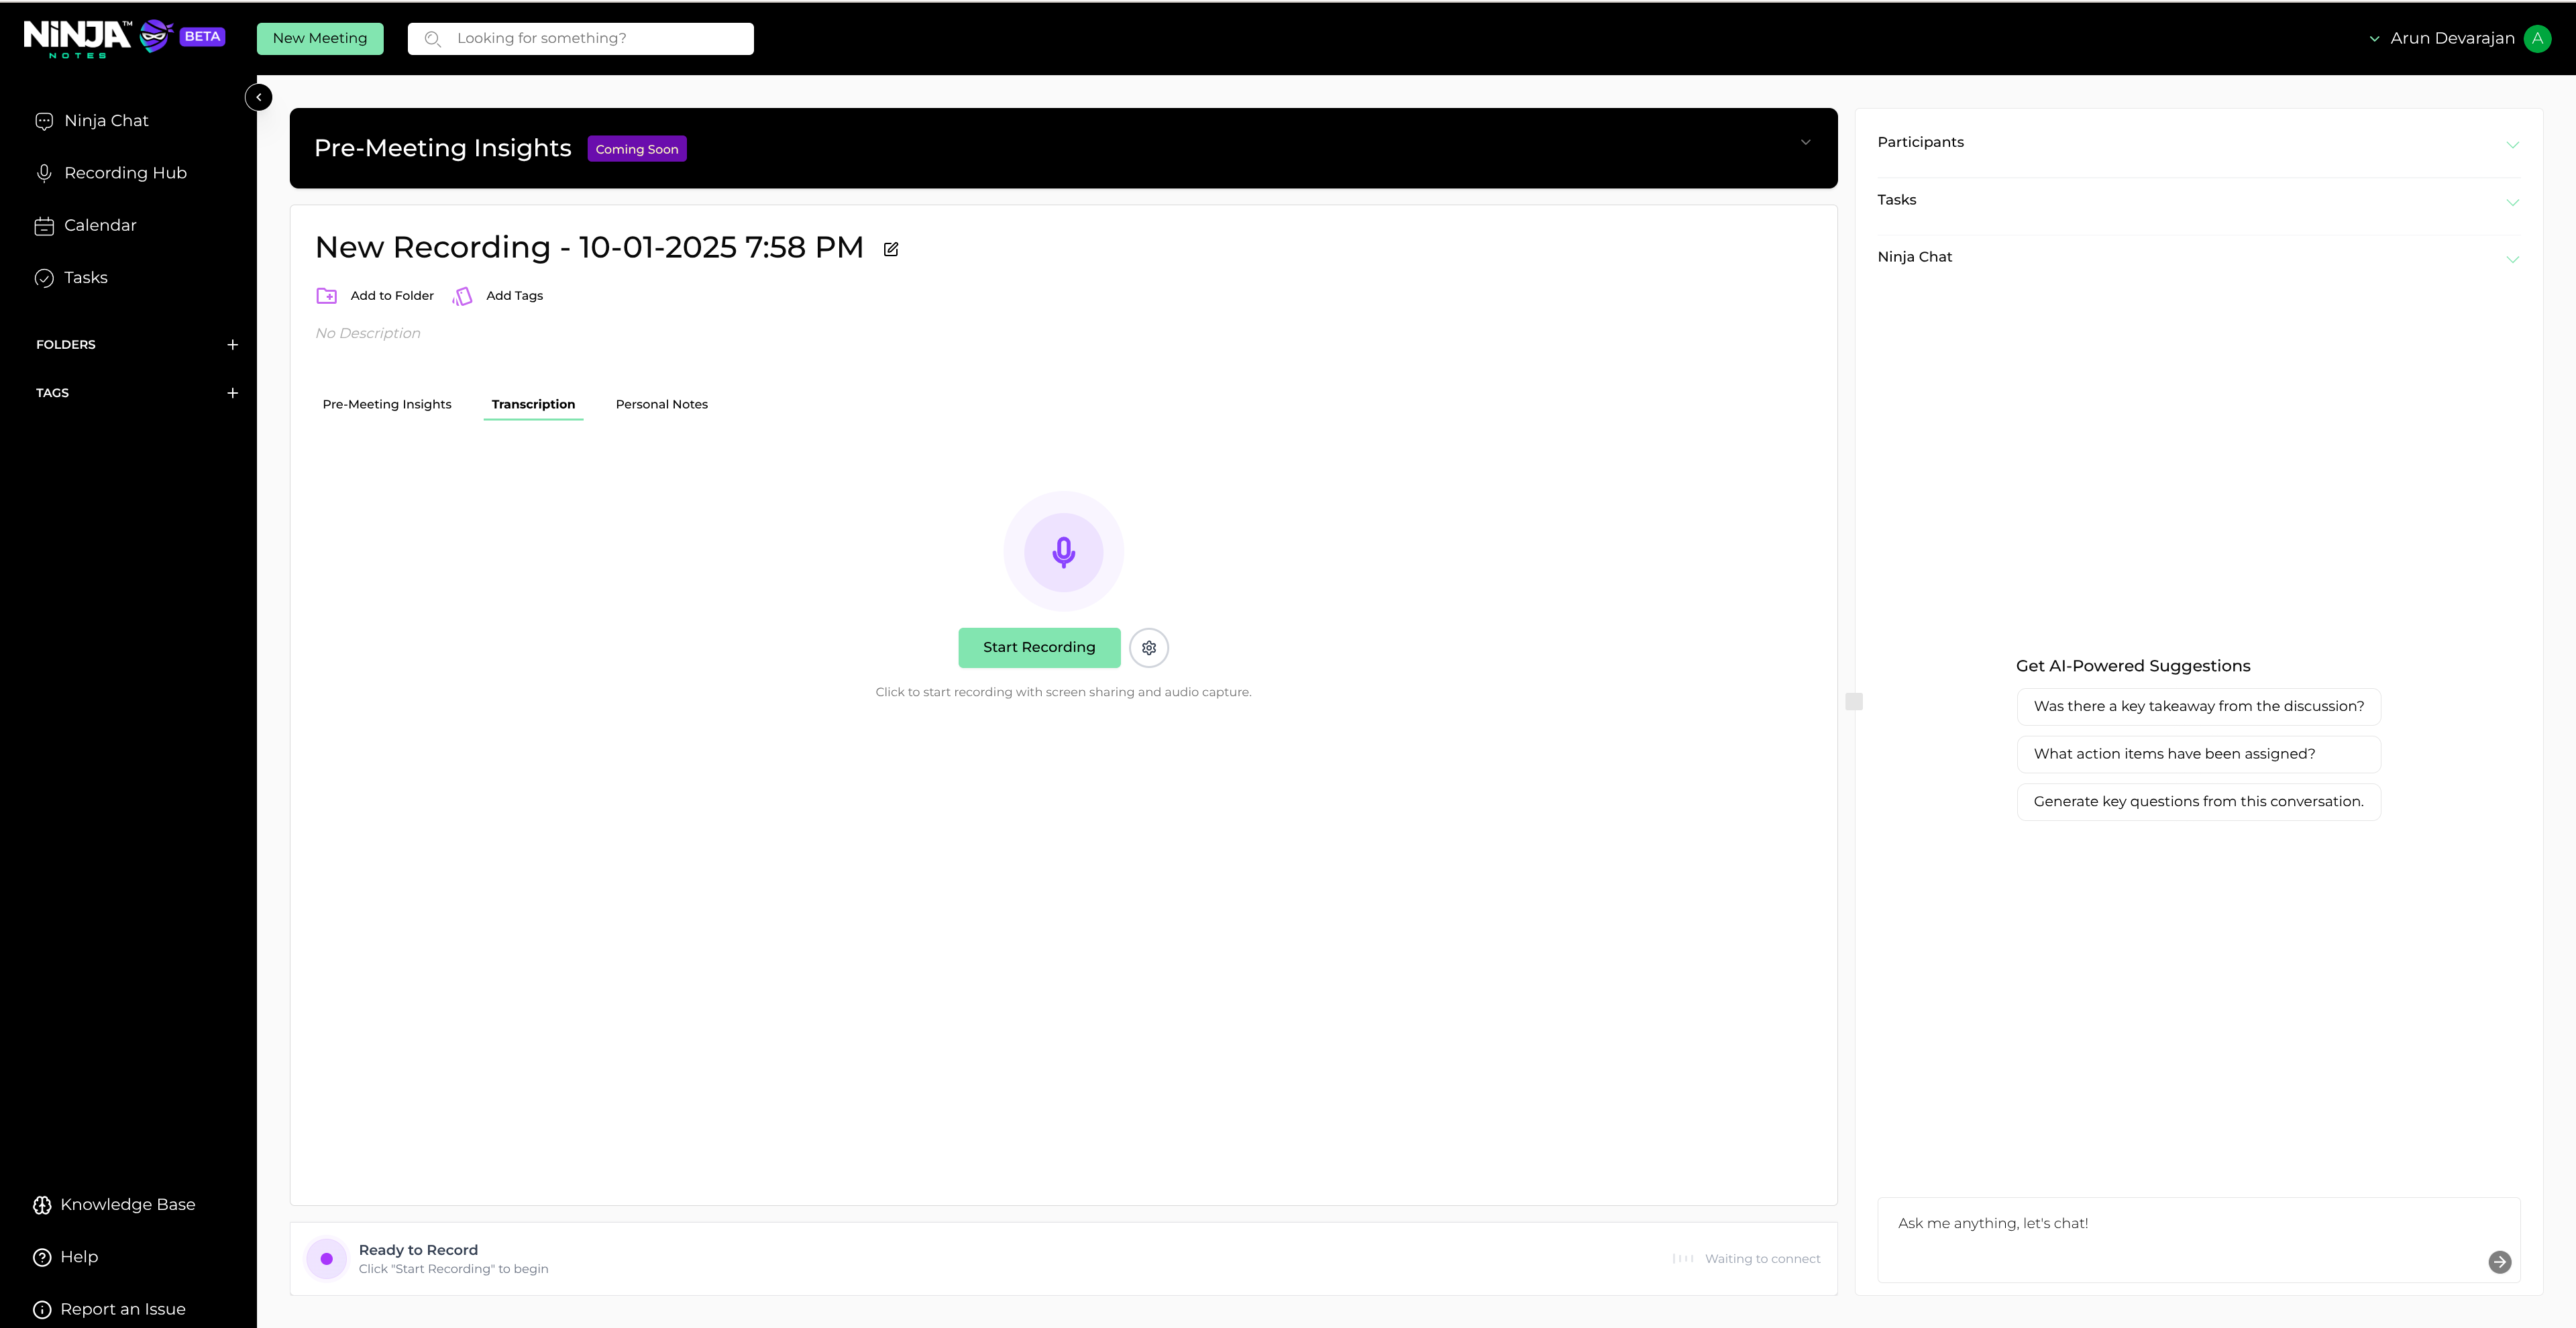
Start Recording interface
Accept the confirmation in the pop-up dialog
Confirm your intent to start recording by accepting the pop-up dialog.
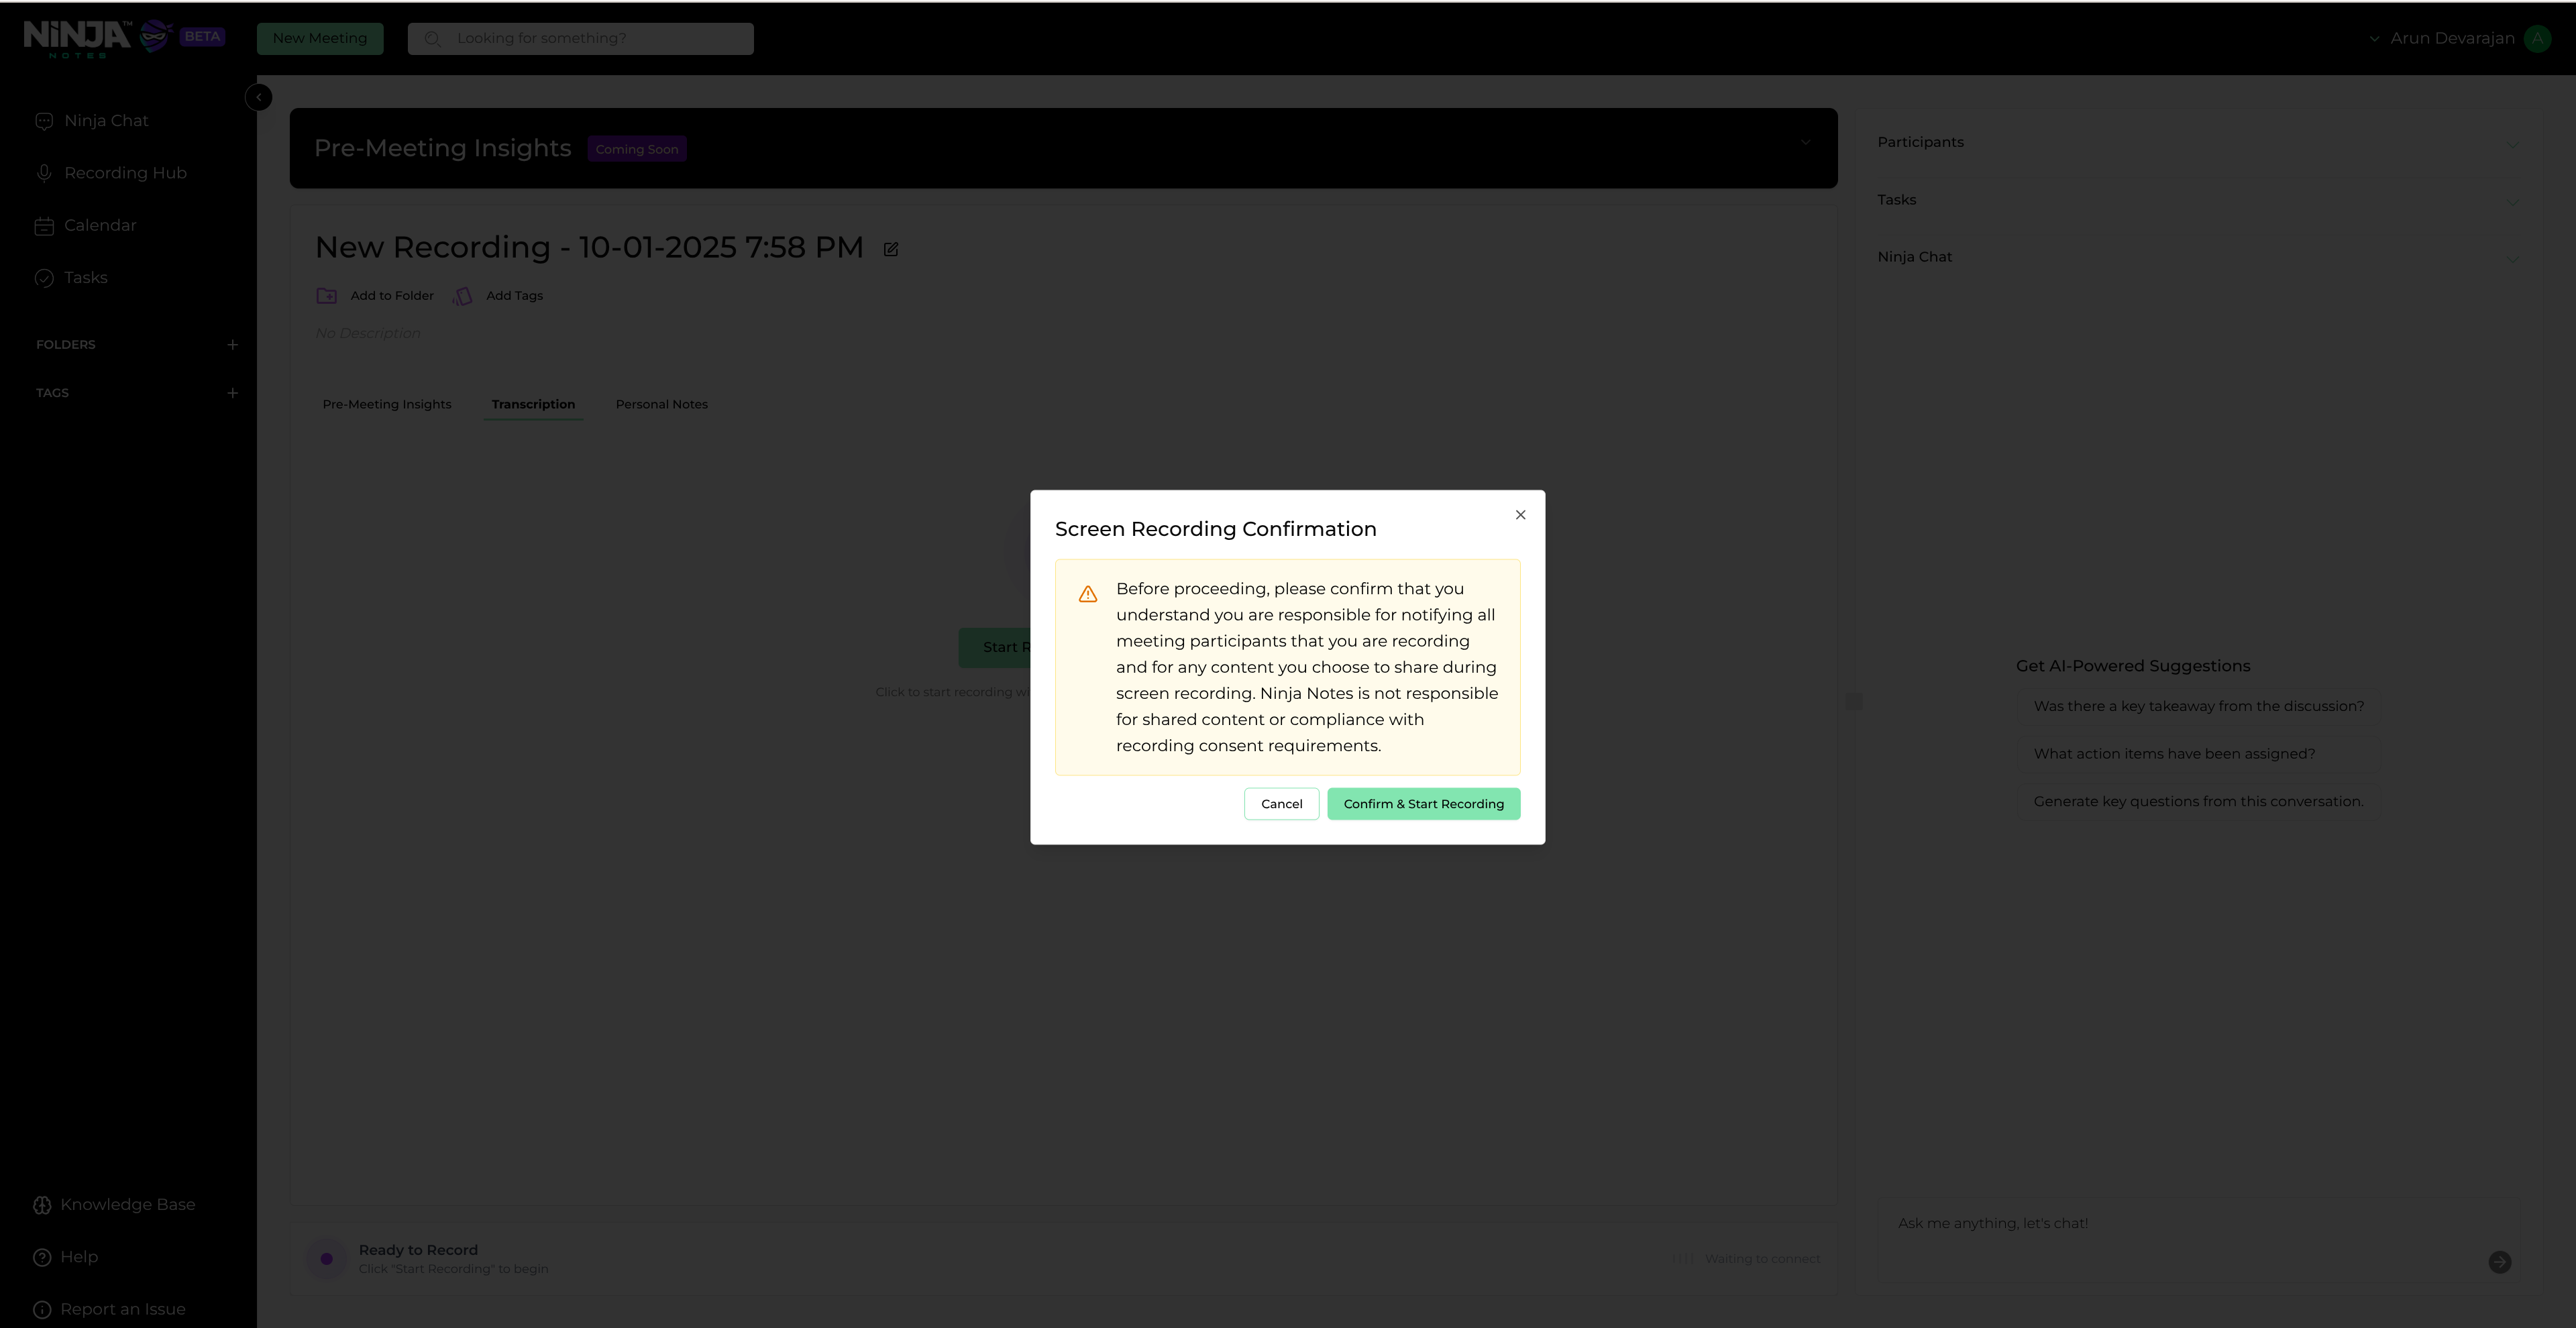
Recording confirmation dialog
Choose to share Tab, Window, or Entire Screen
Select what you want to record: a specific tab, window, or your entire screen. Ensure the shared content contains the video or meeting you wish to record.
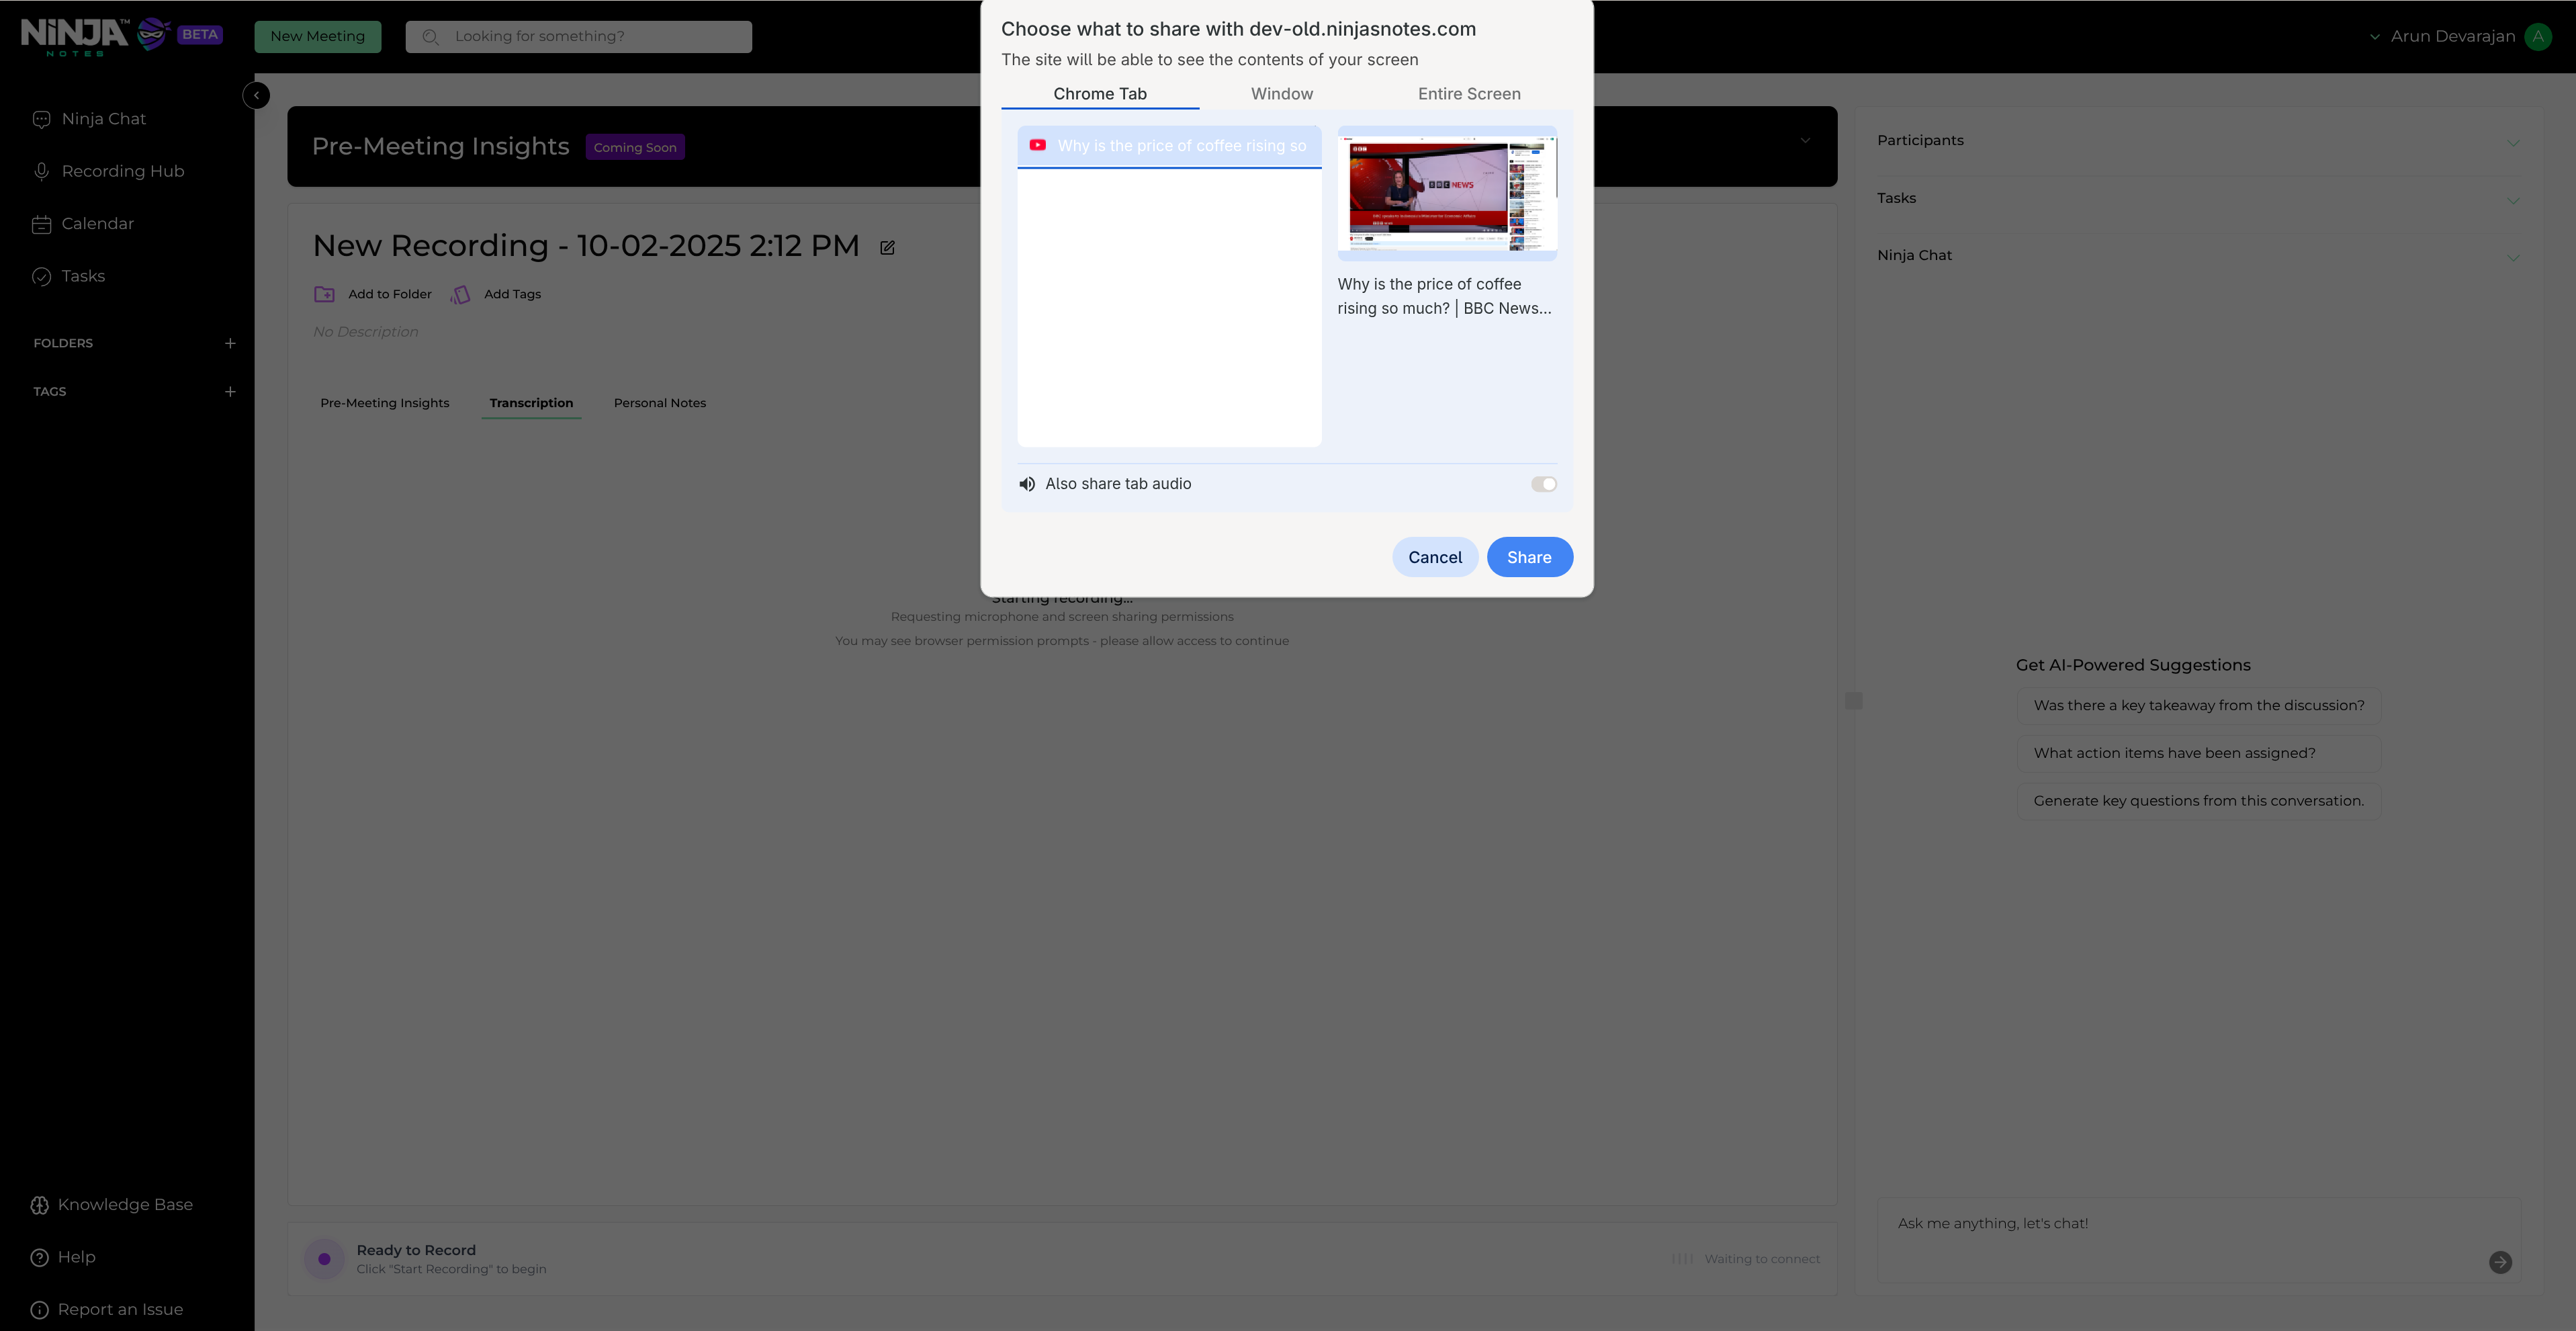
Screen sharing selection dialog
Recording Process
Click the Stop Recording button to stop recording
When your meeting or video is complete, click the "Stop Recording" button at the bottom of the page.
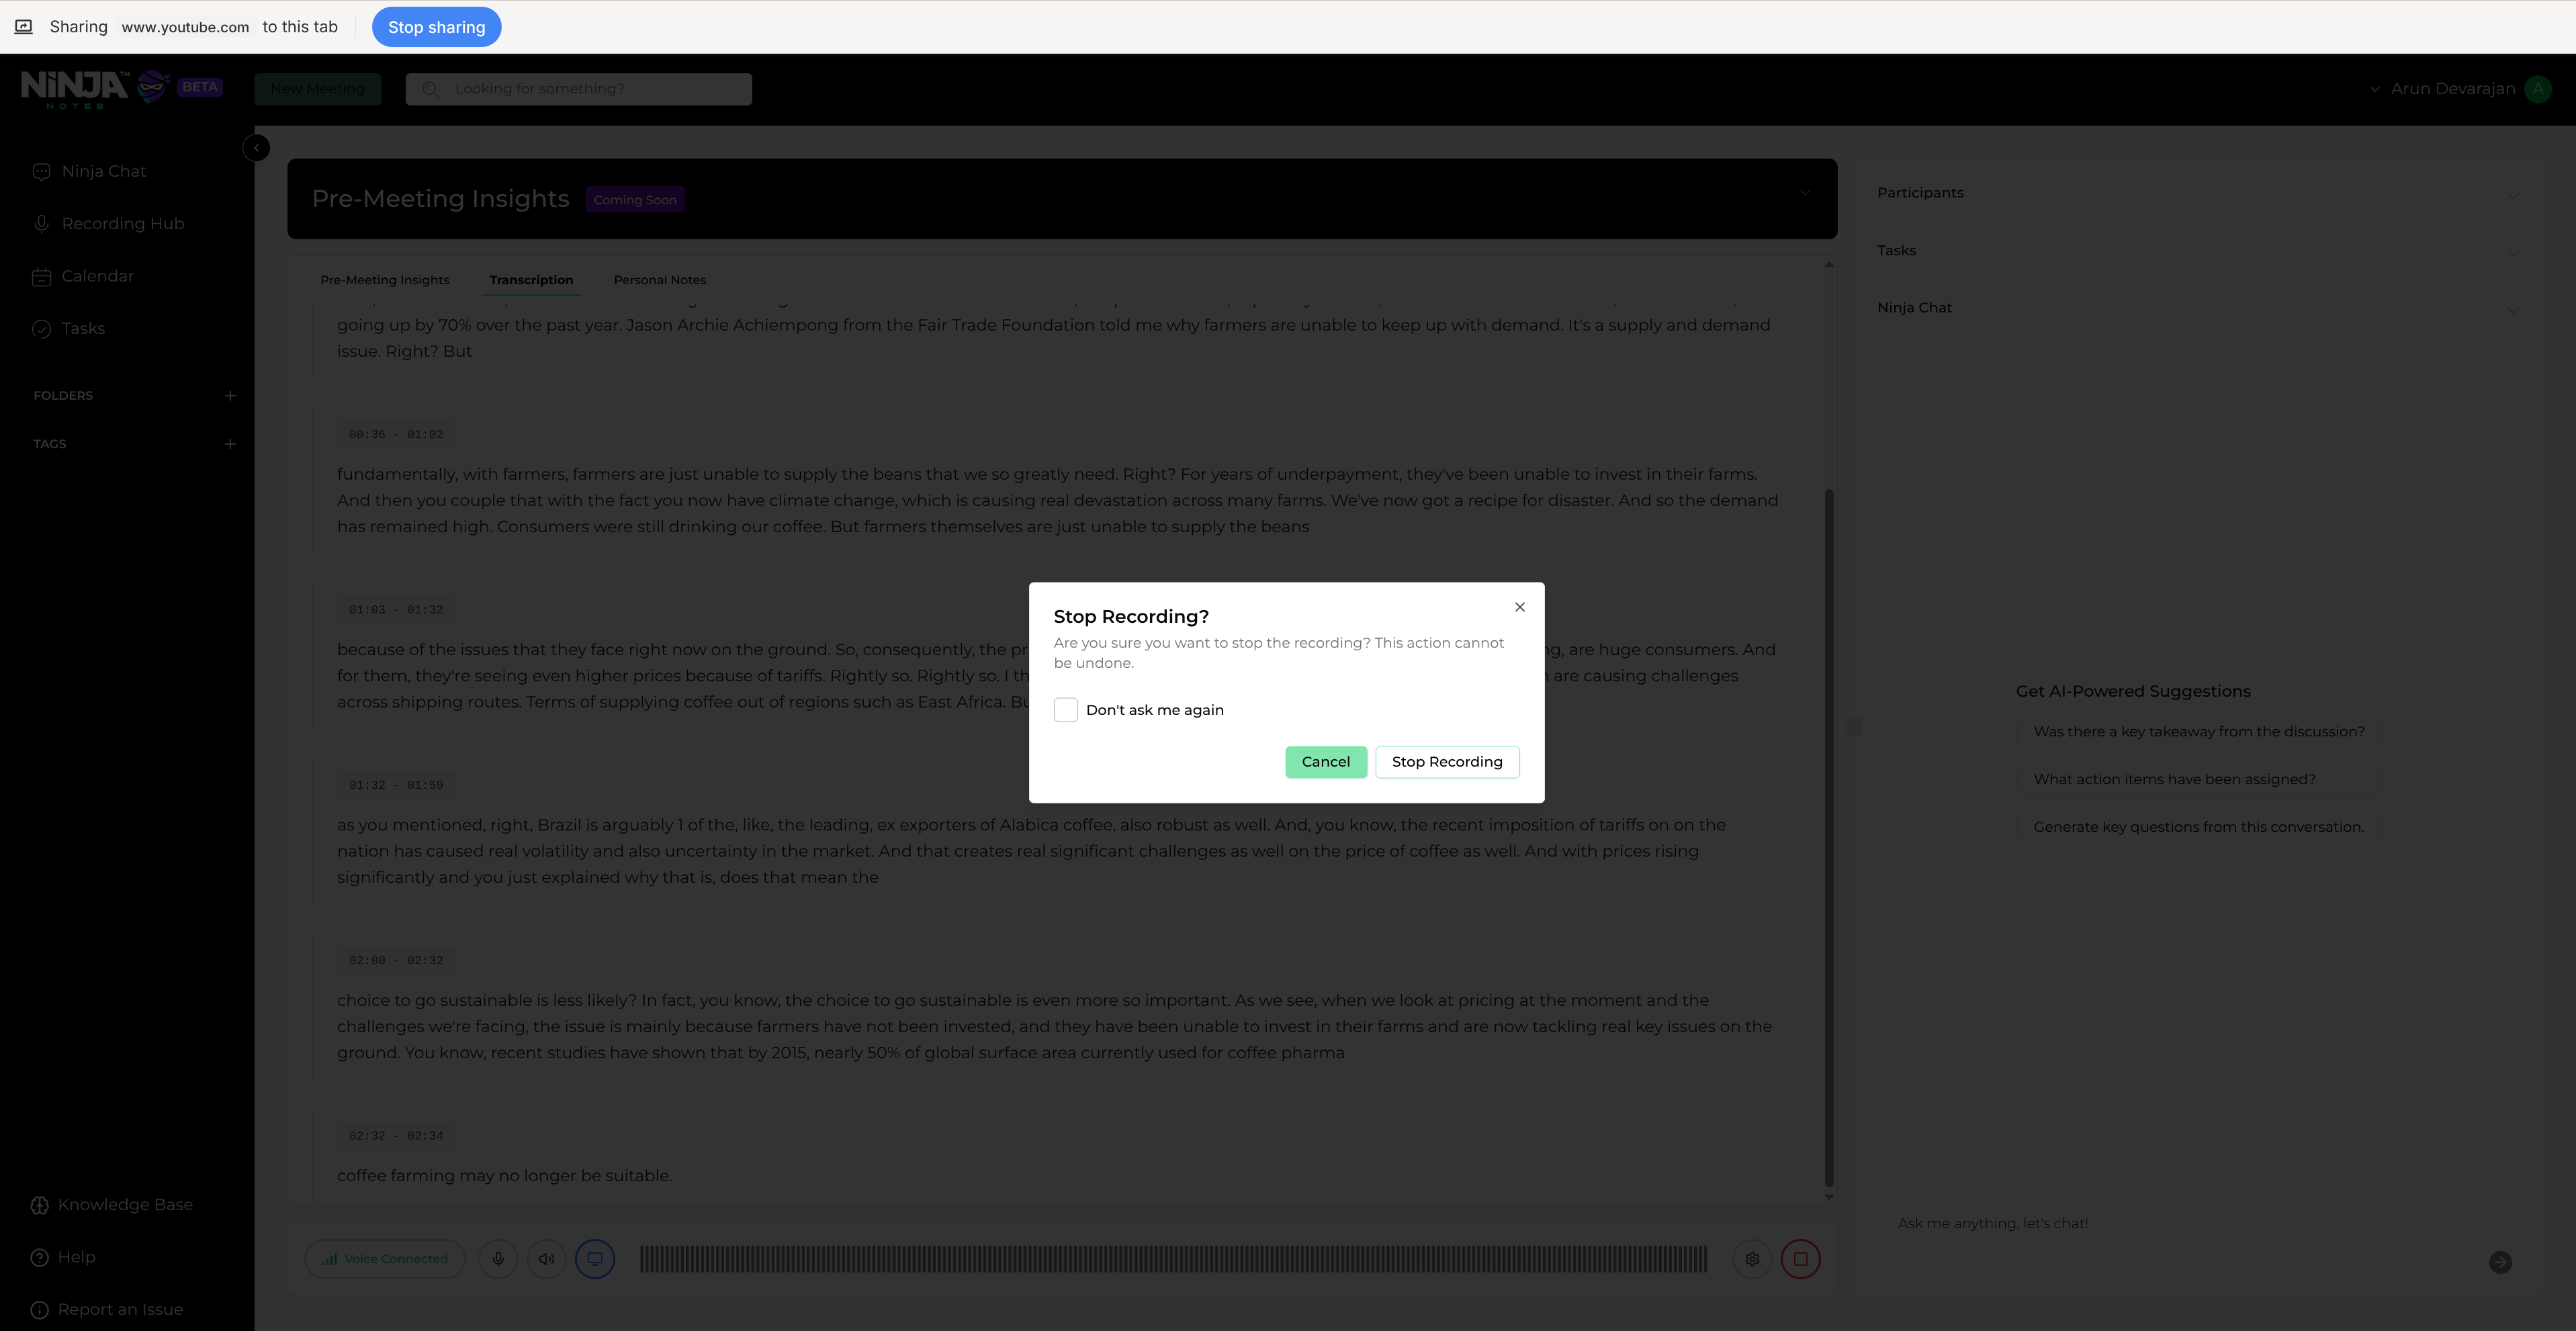
Stop Recording interface
Wait until the recording is processed
Allow the system to process your recording. This may take a few minutes depending on the length of your recording.
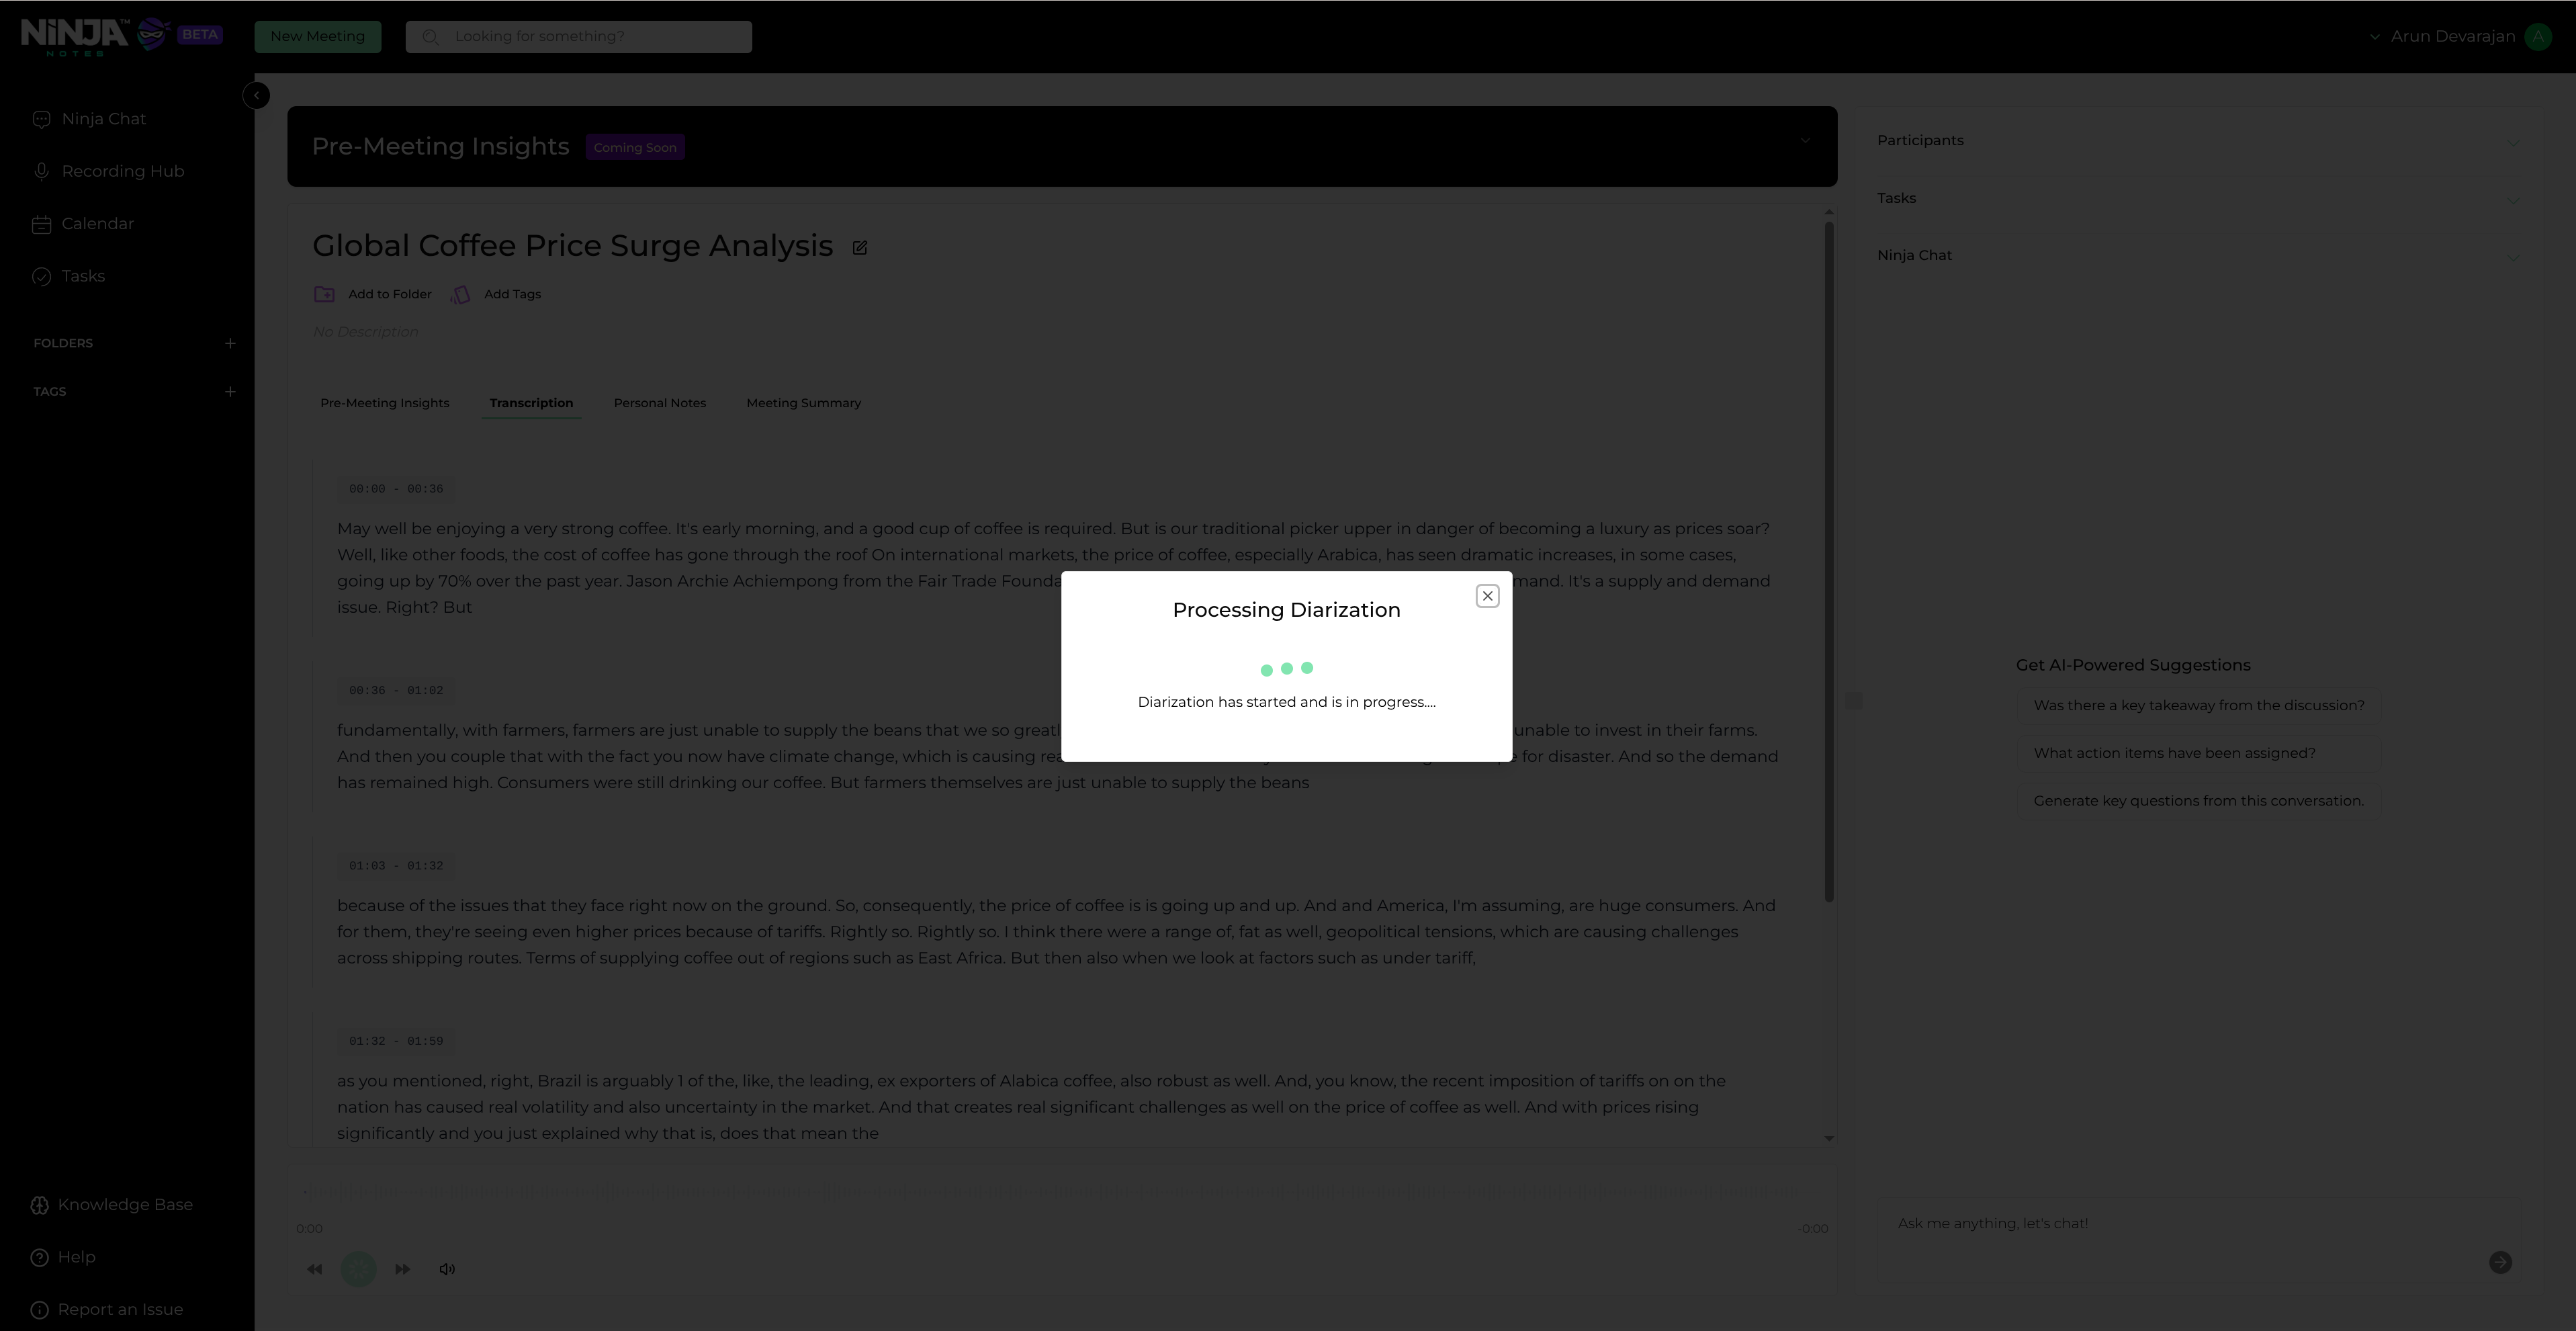
Recording processing status
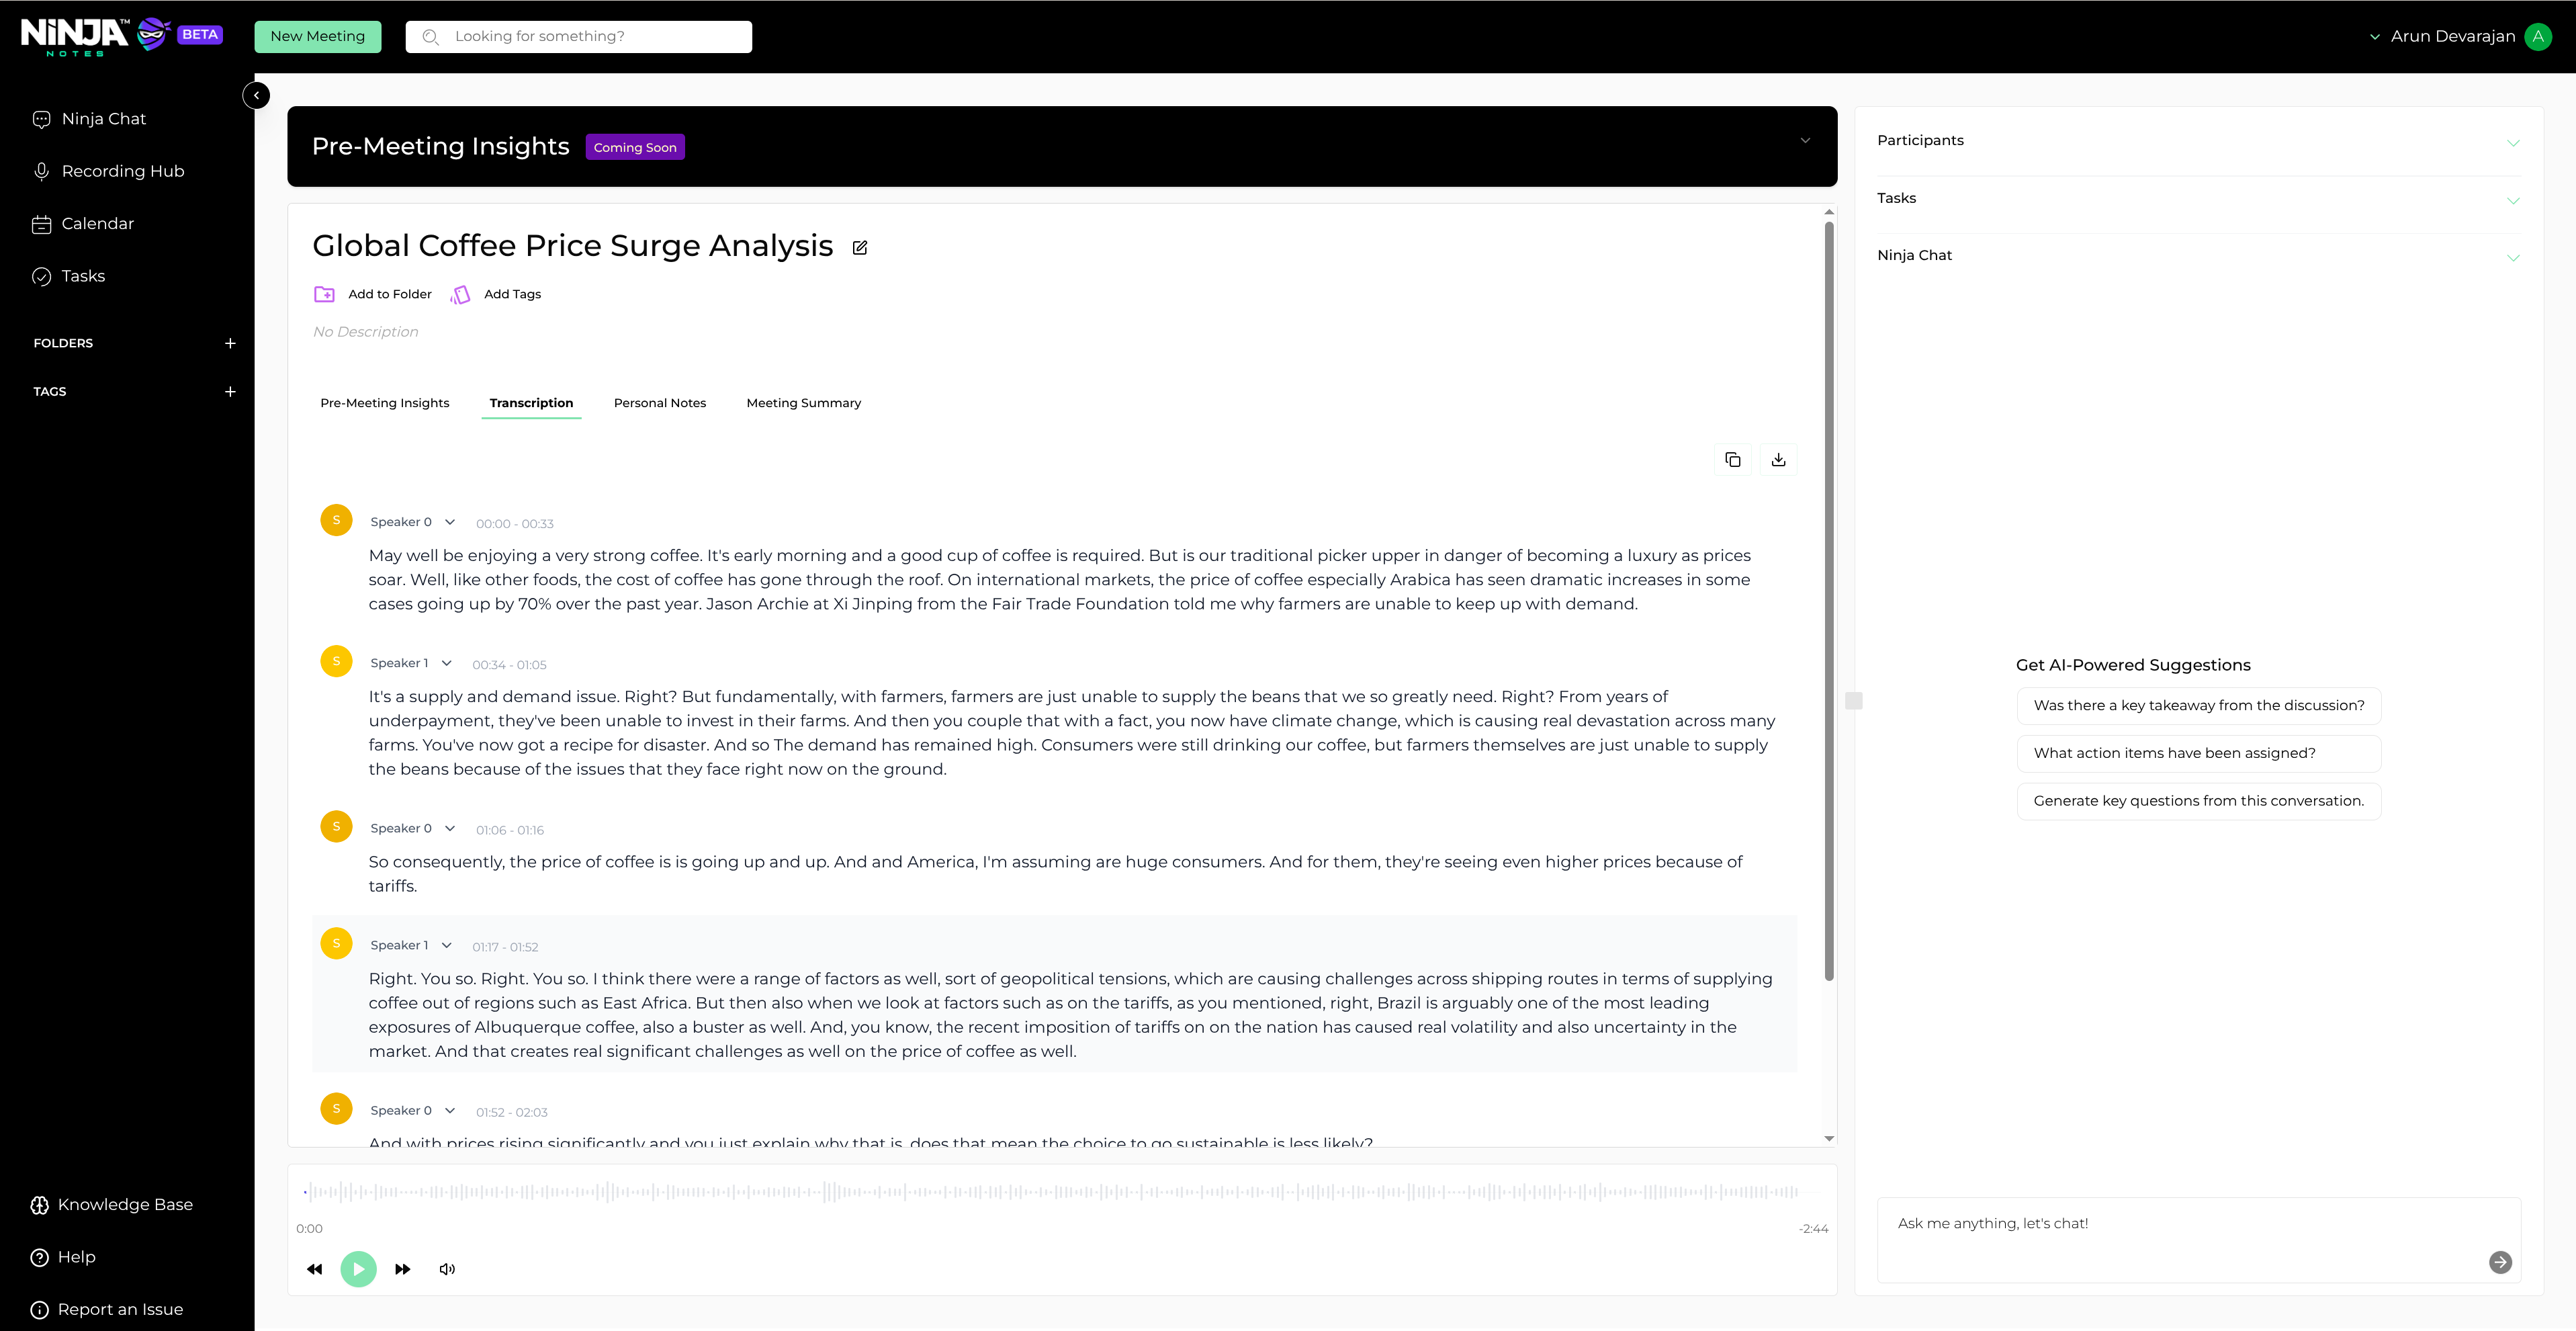
Processing completed
Summary Generation
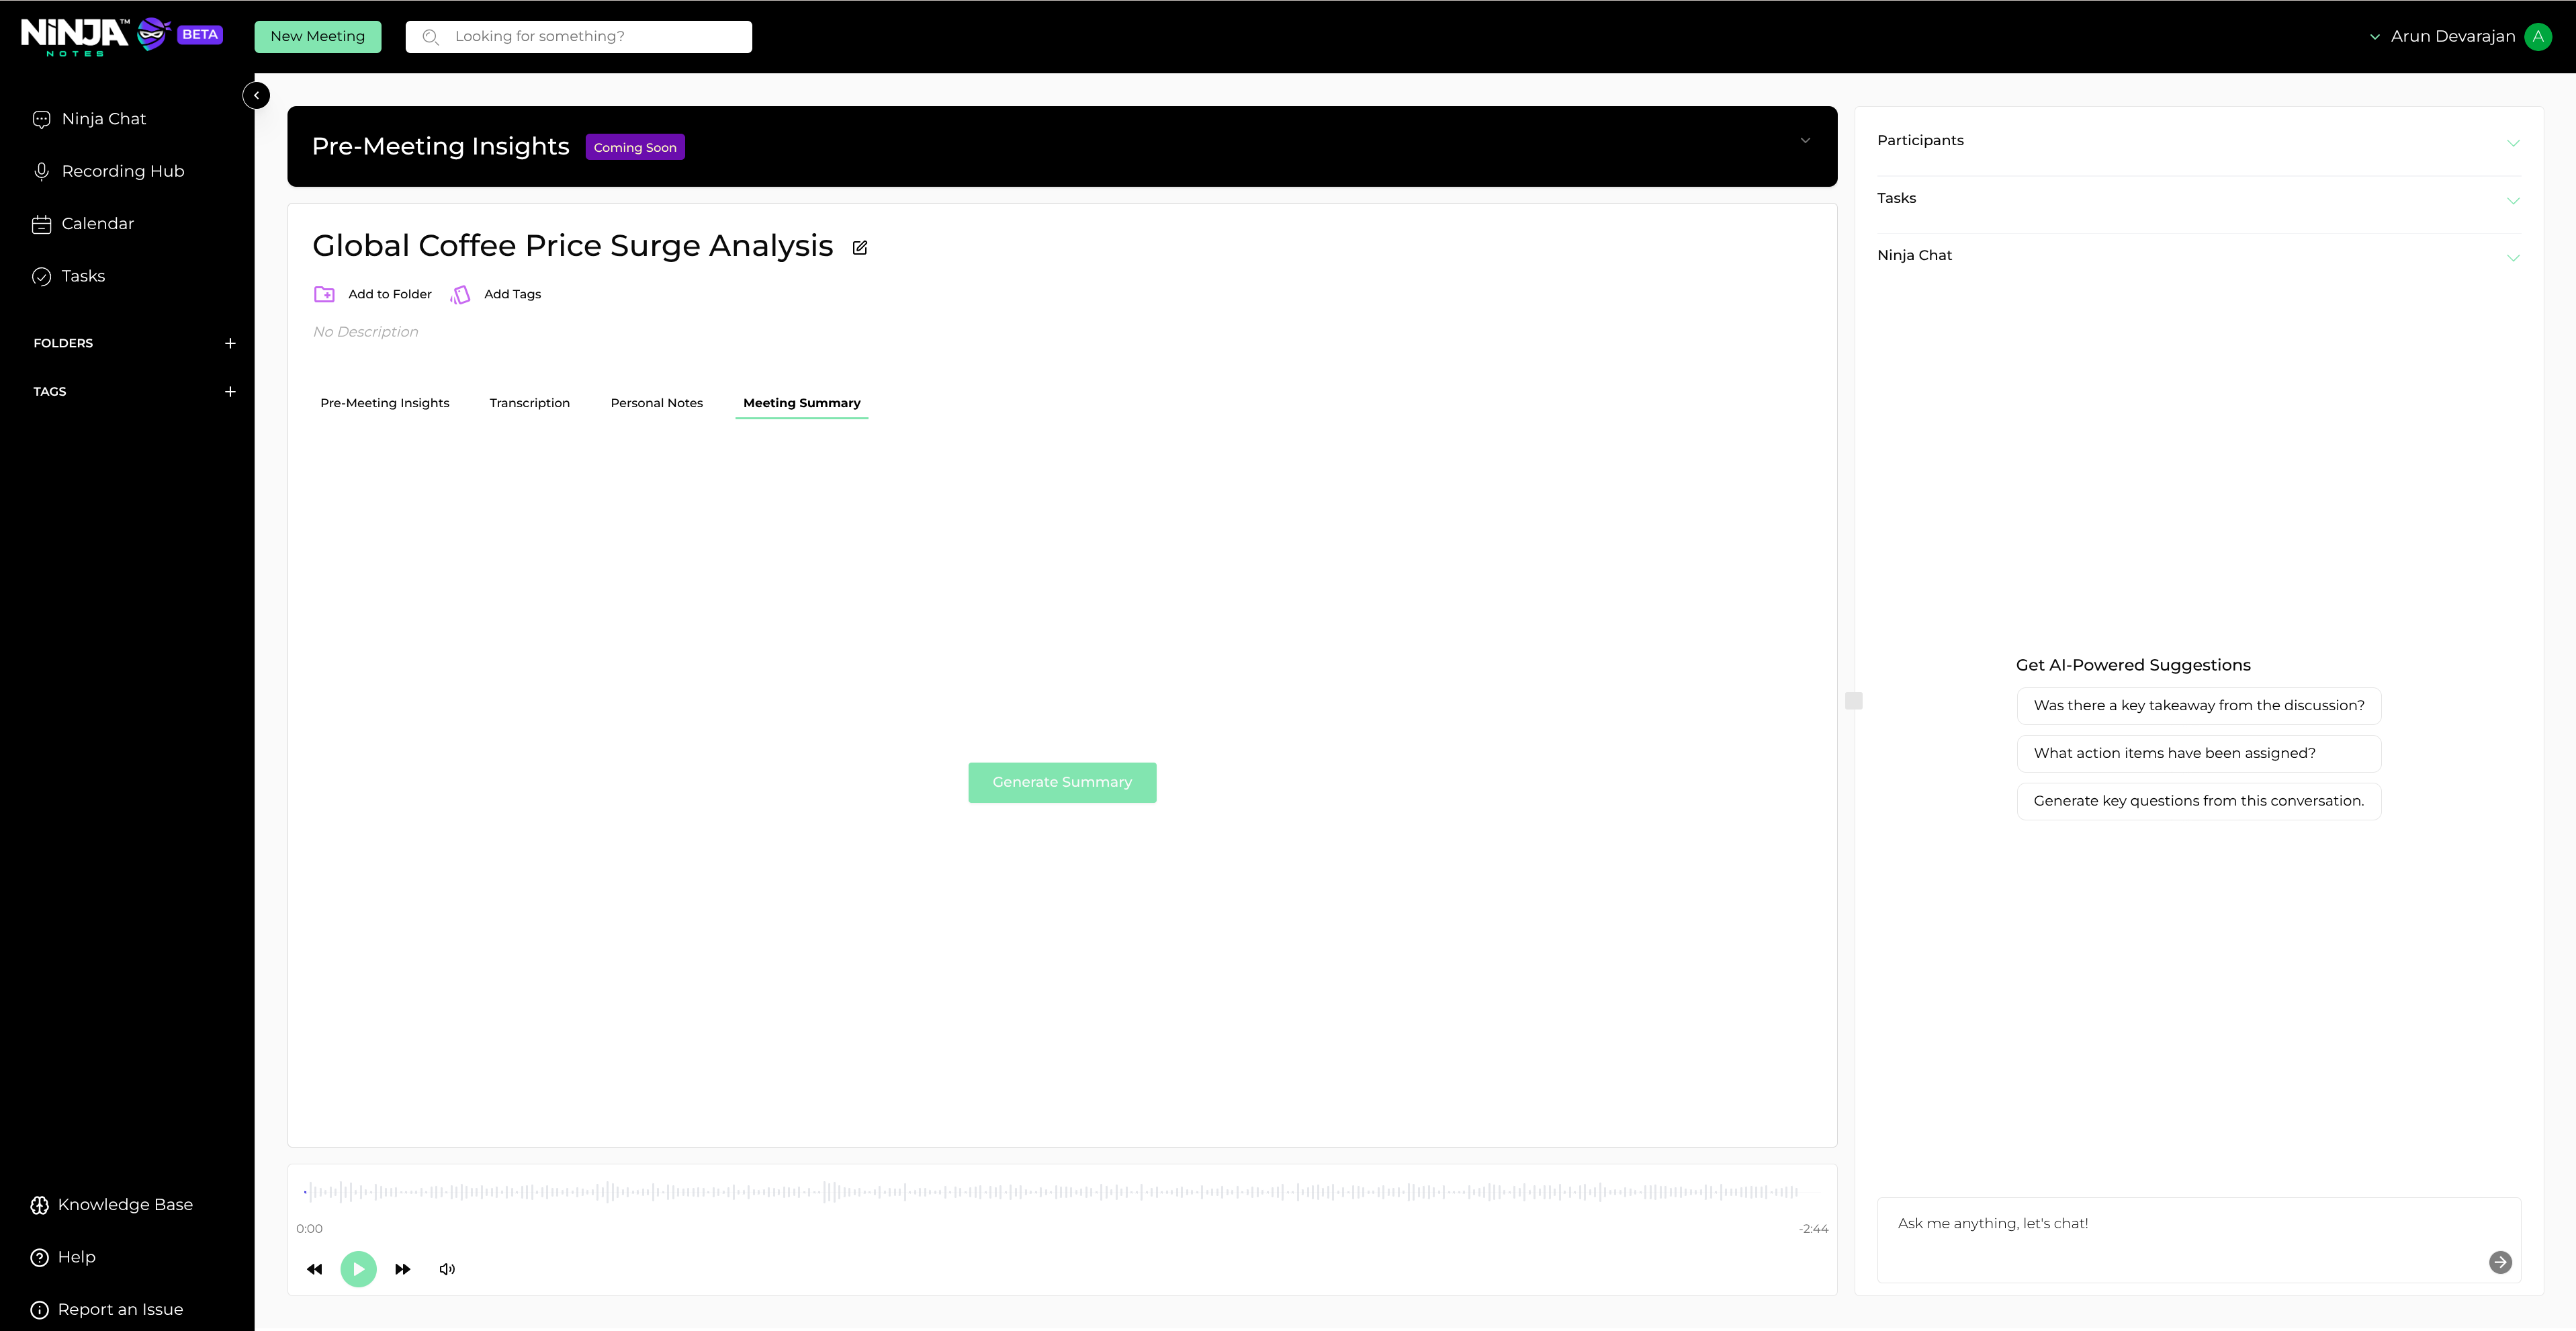
Click on the Meeting Summary tab at the top
Navigate to the Meeting Summary section to access summary generation features. Initiate the summary generation process by clicking the "Generate Summary" button.
Meeting Summary tab
Click the Generate Summary button
Initiate the summary generation process by clicking the "Generate Summary" button.
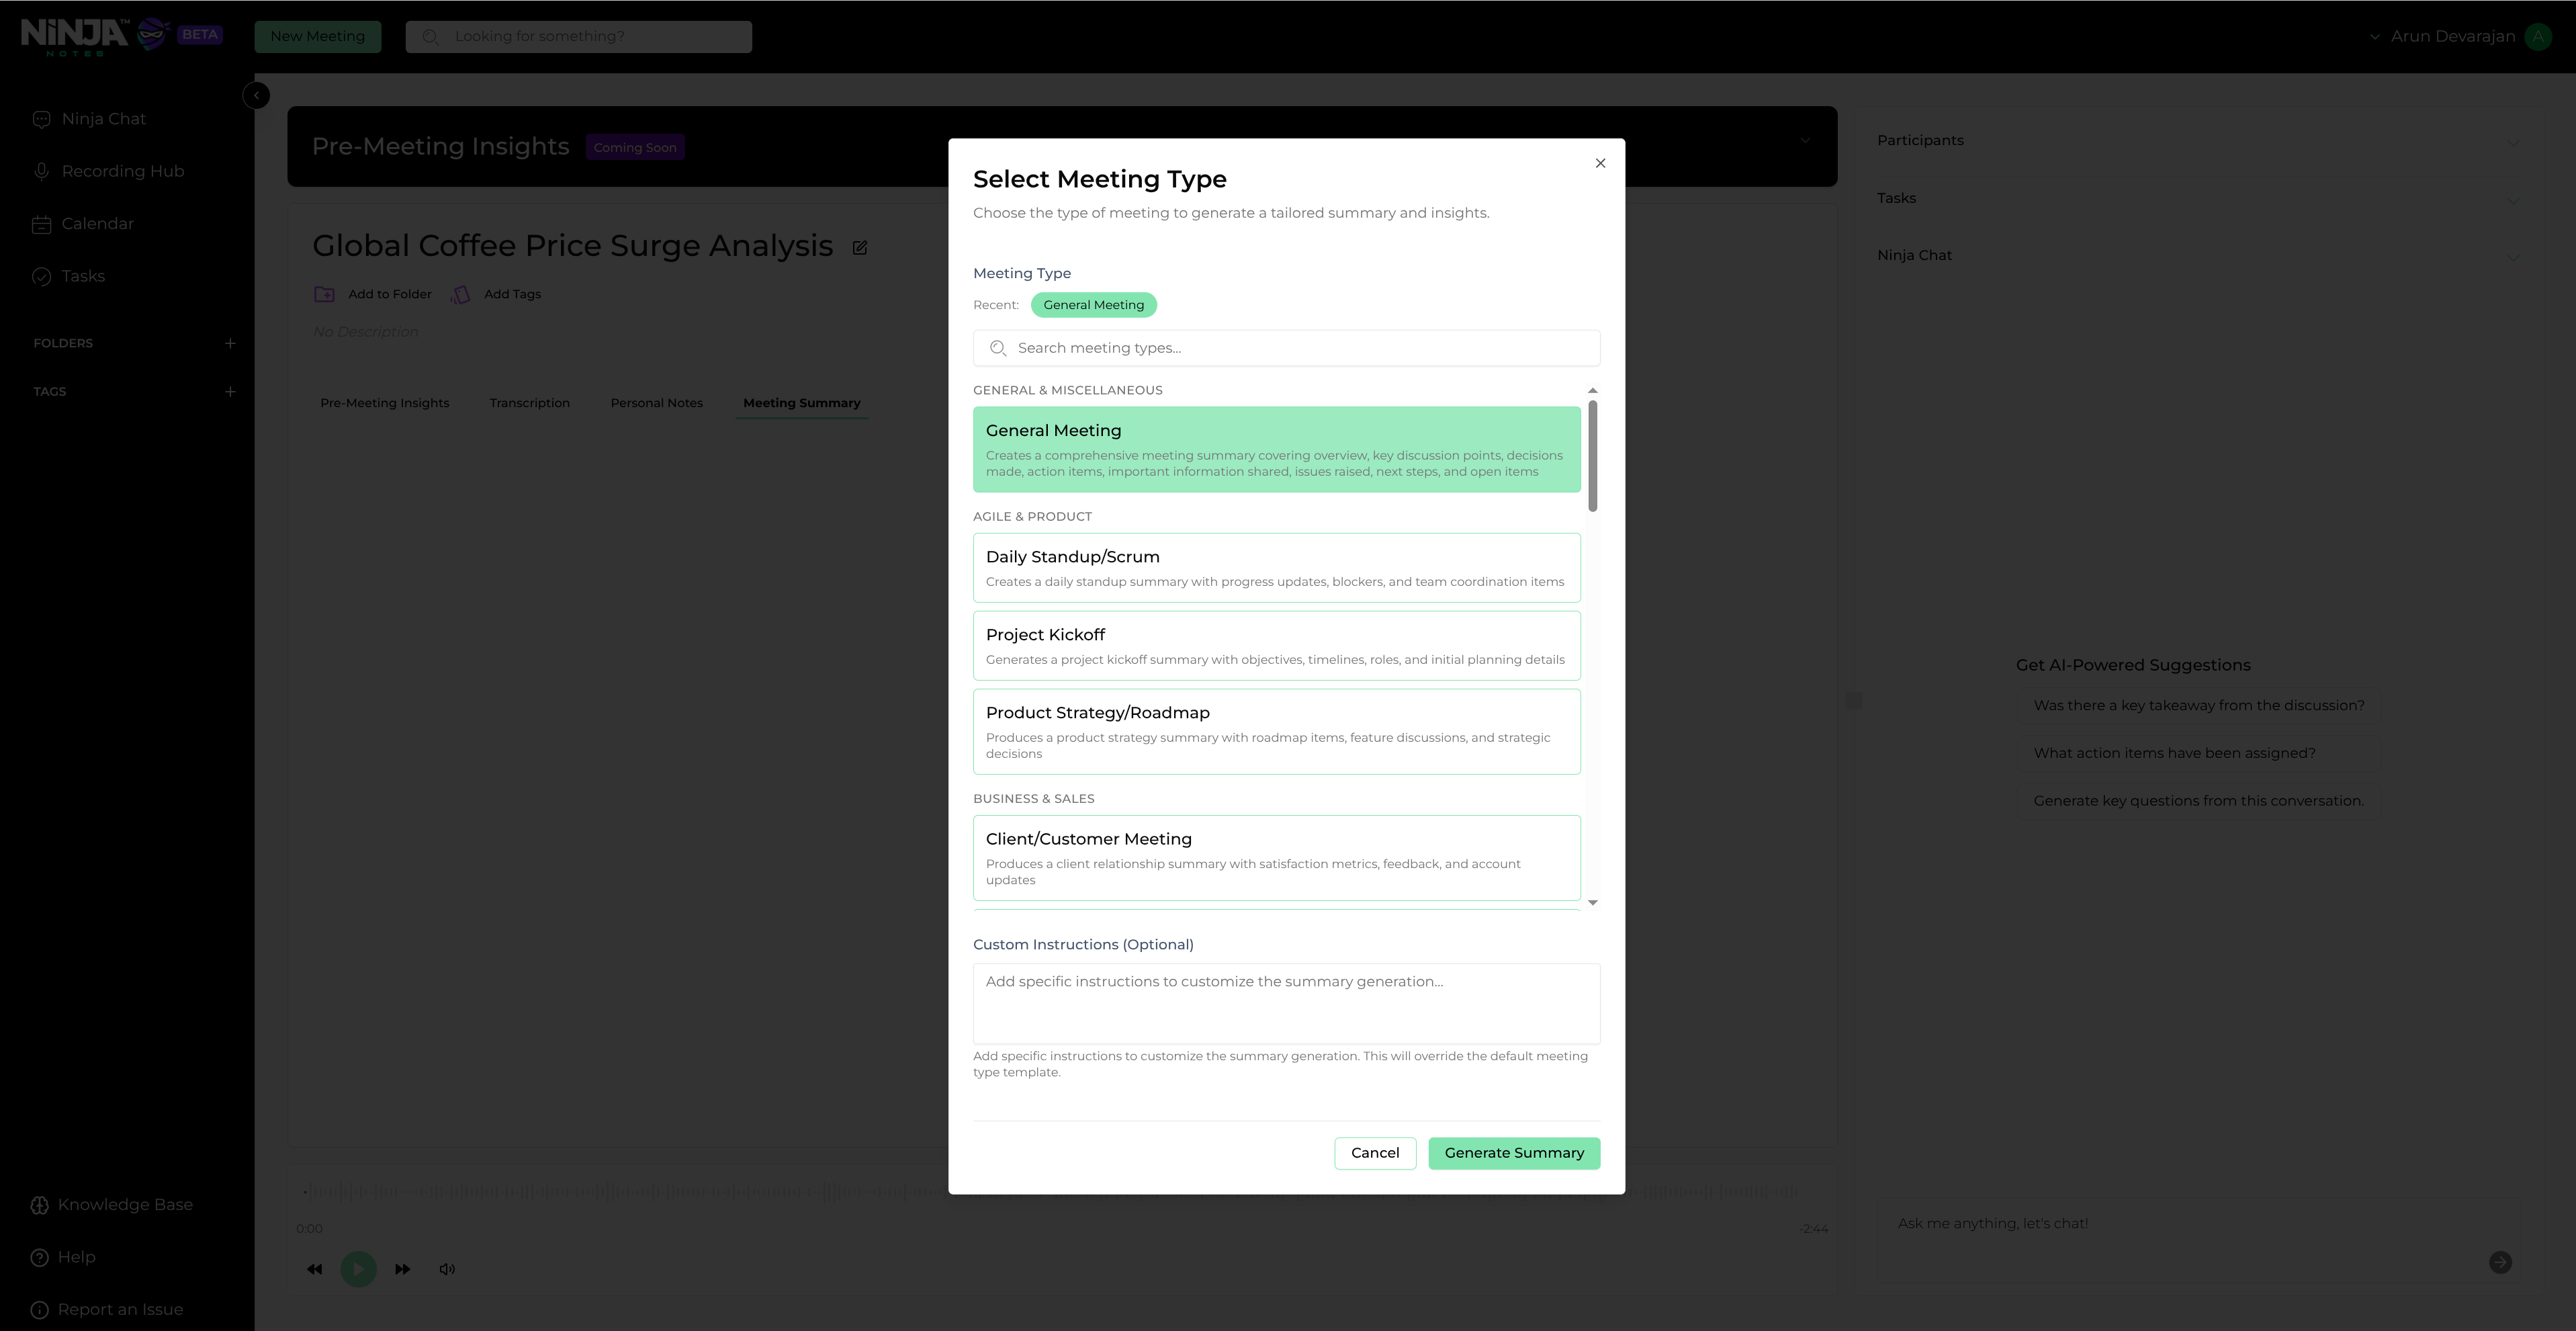
Generate Summary pop-up dialog
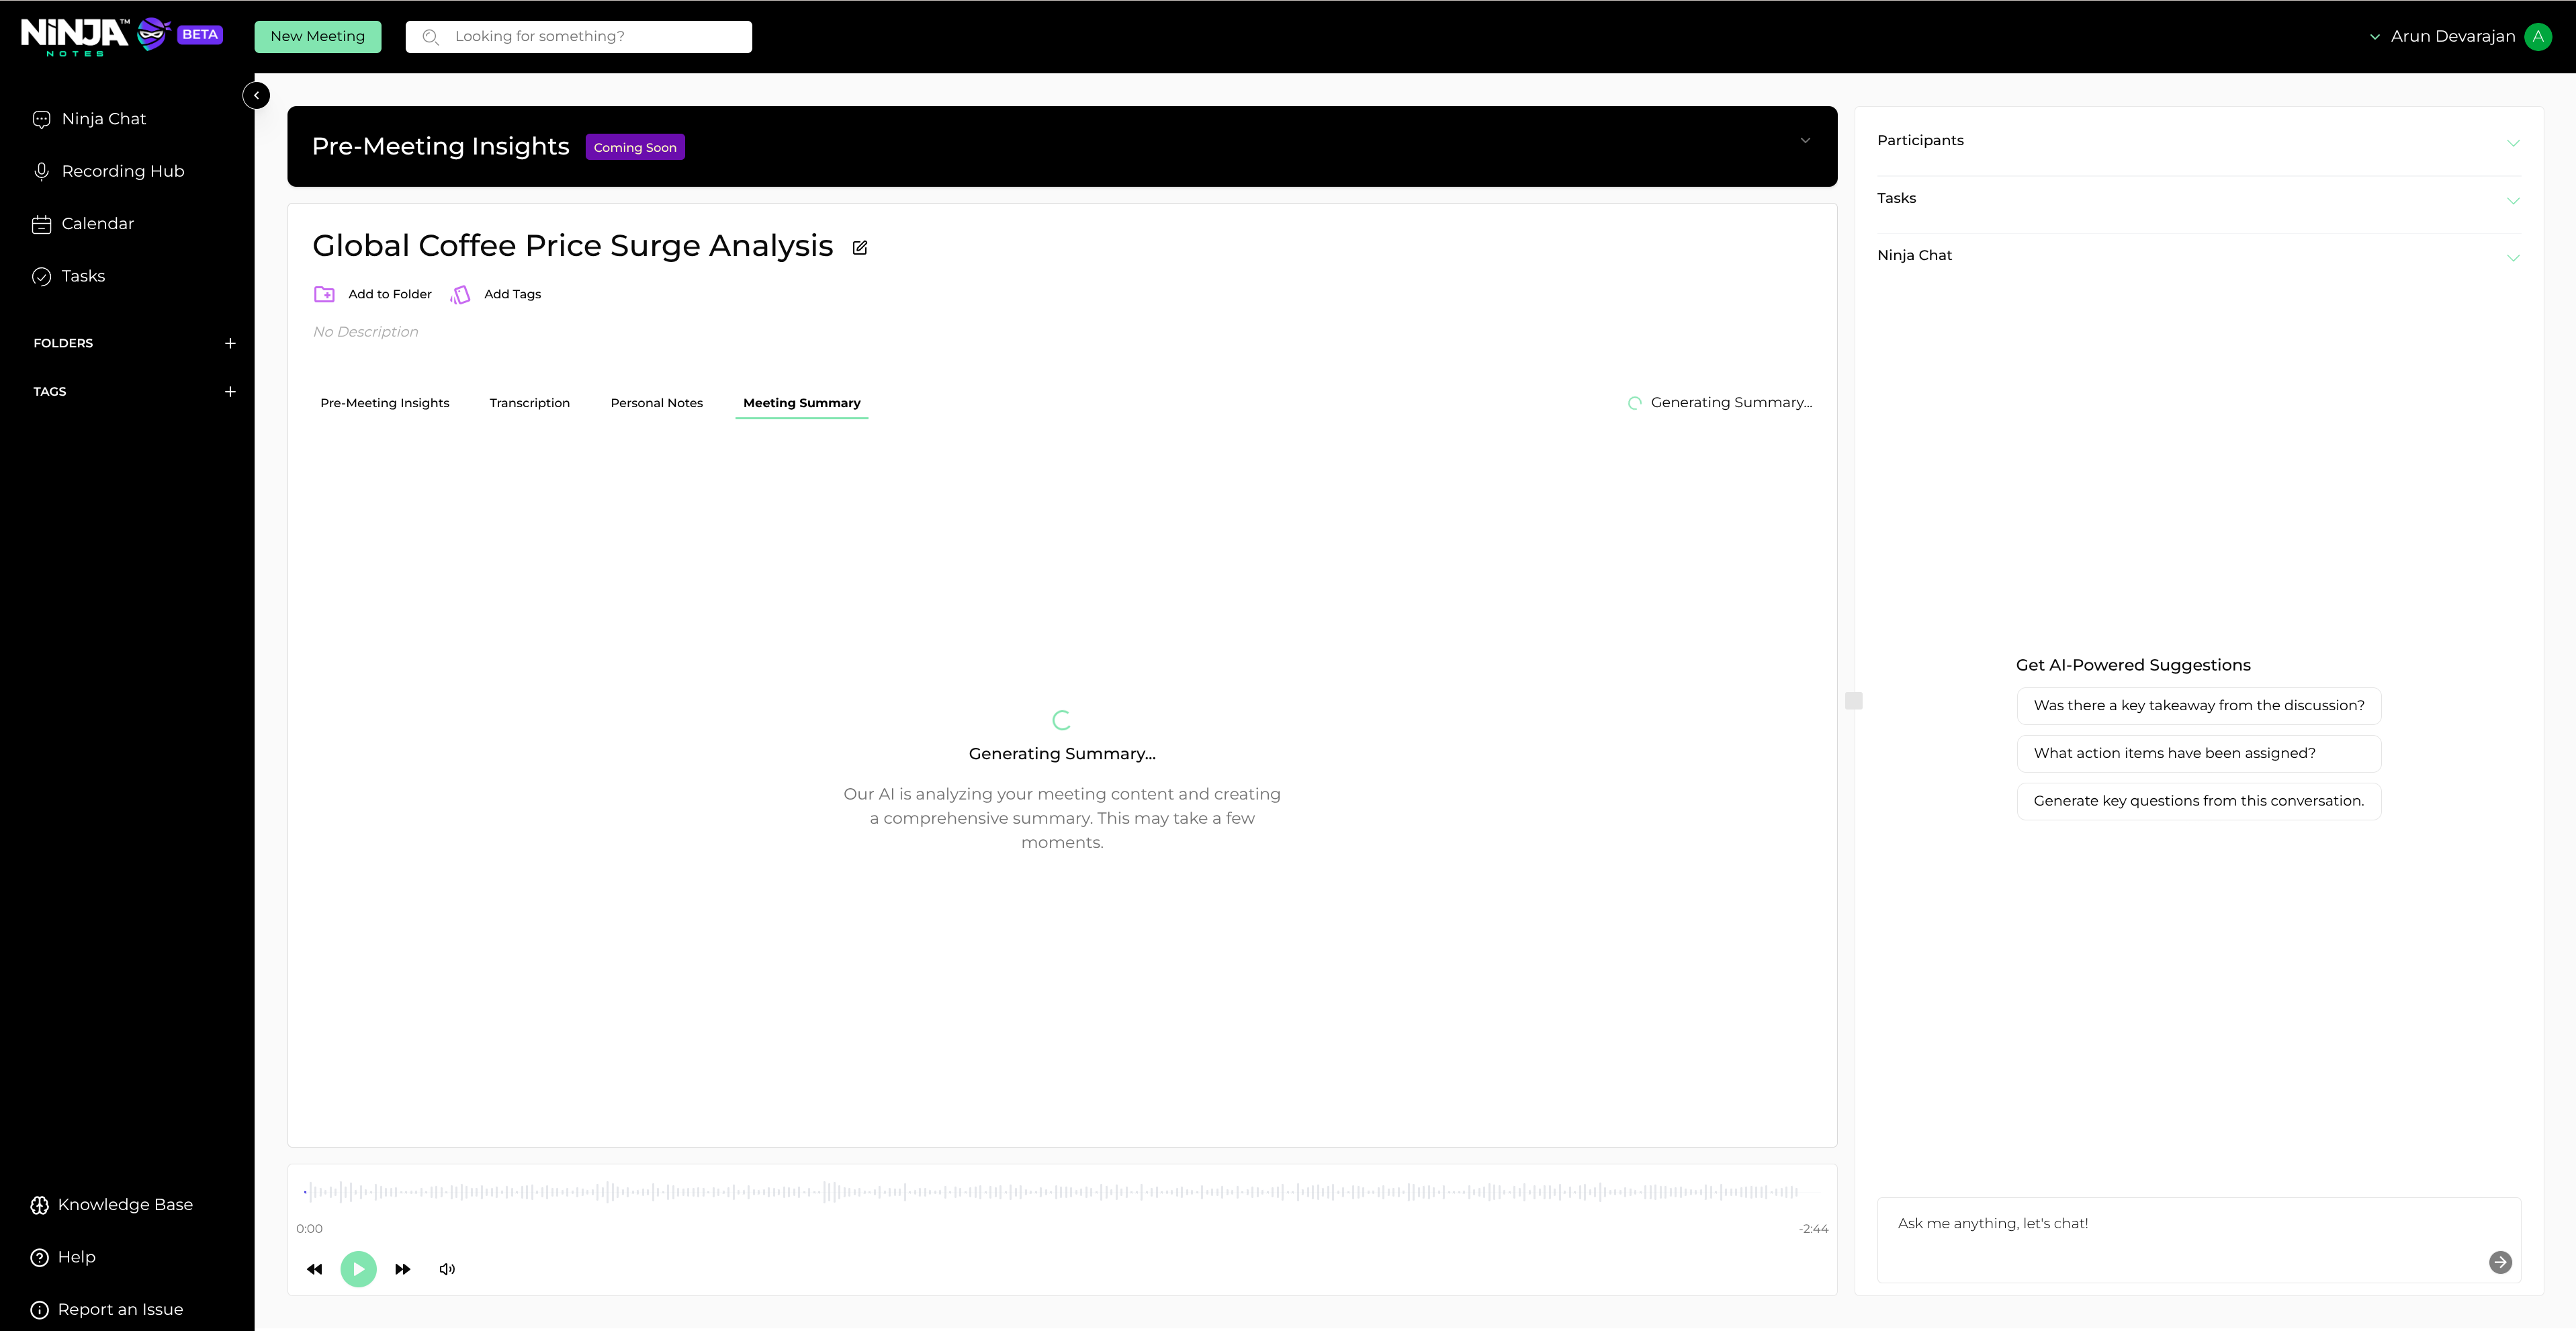
Generating summary progress
After the summary is generated, scroll to the top and click the Share button
Once the summary is ready, navigate to the top of the page and click the "Share" button.
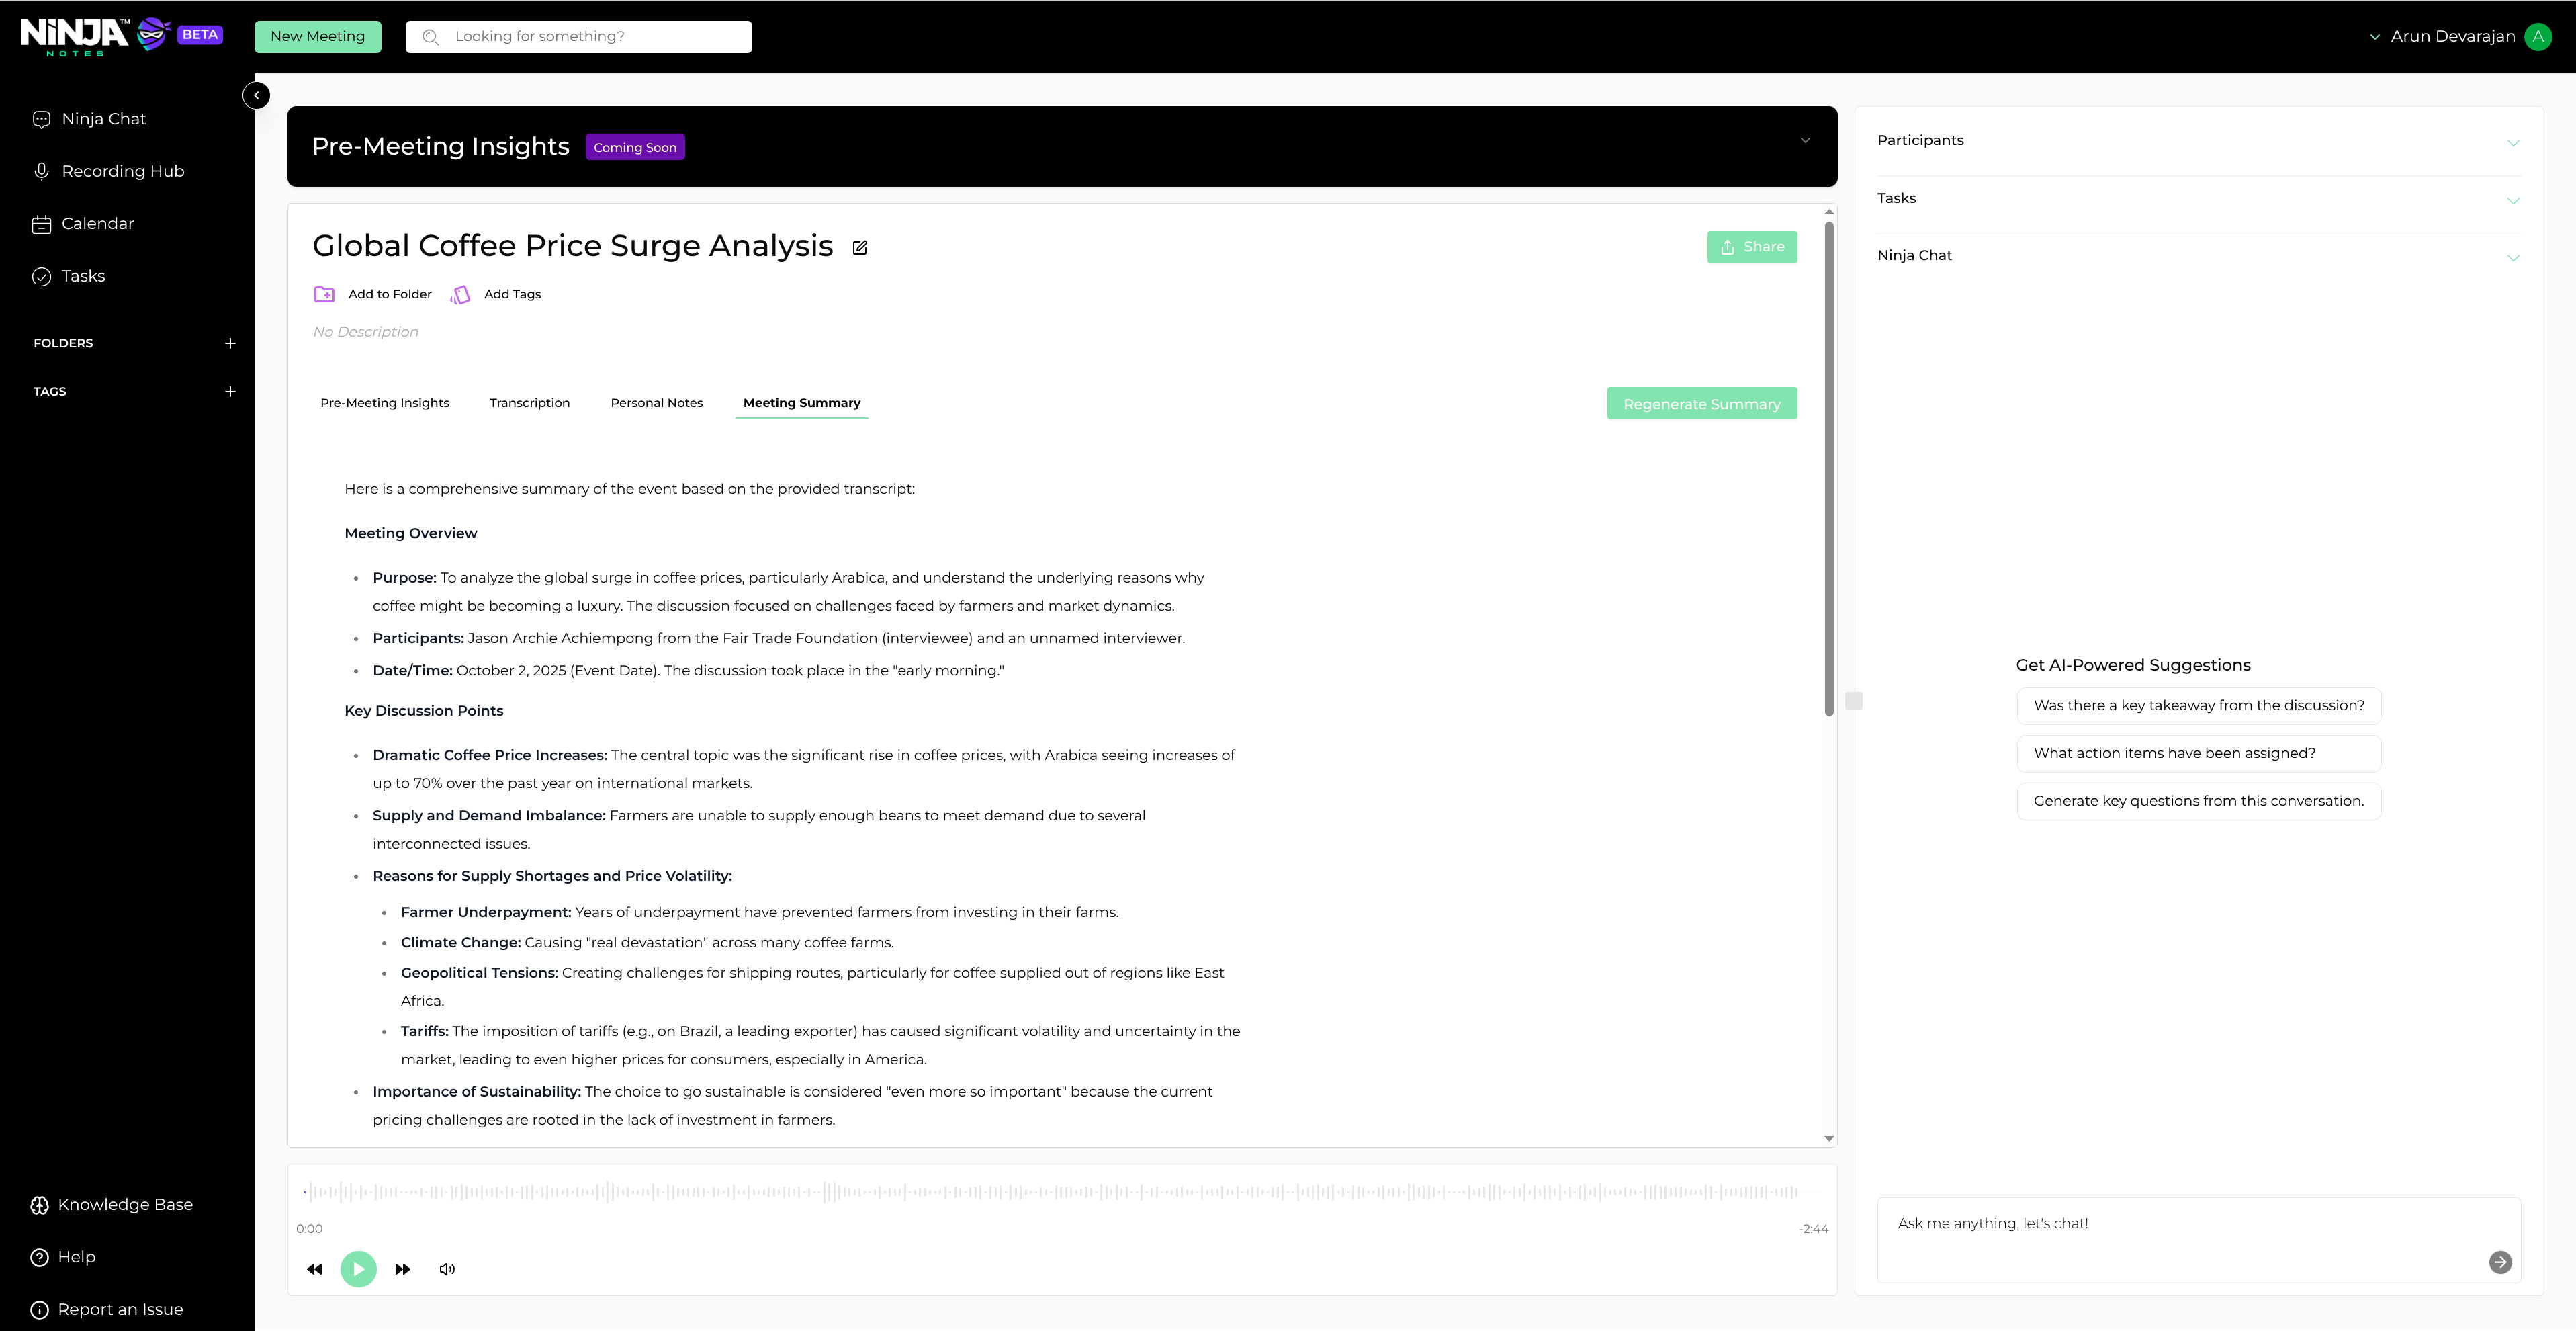
Share button location
HubSpot Integration
Choose the Integrations tab in the pop-up dialog
In the Share dialog, select the "Integrations" tab to access integration options.
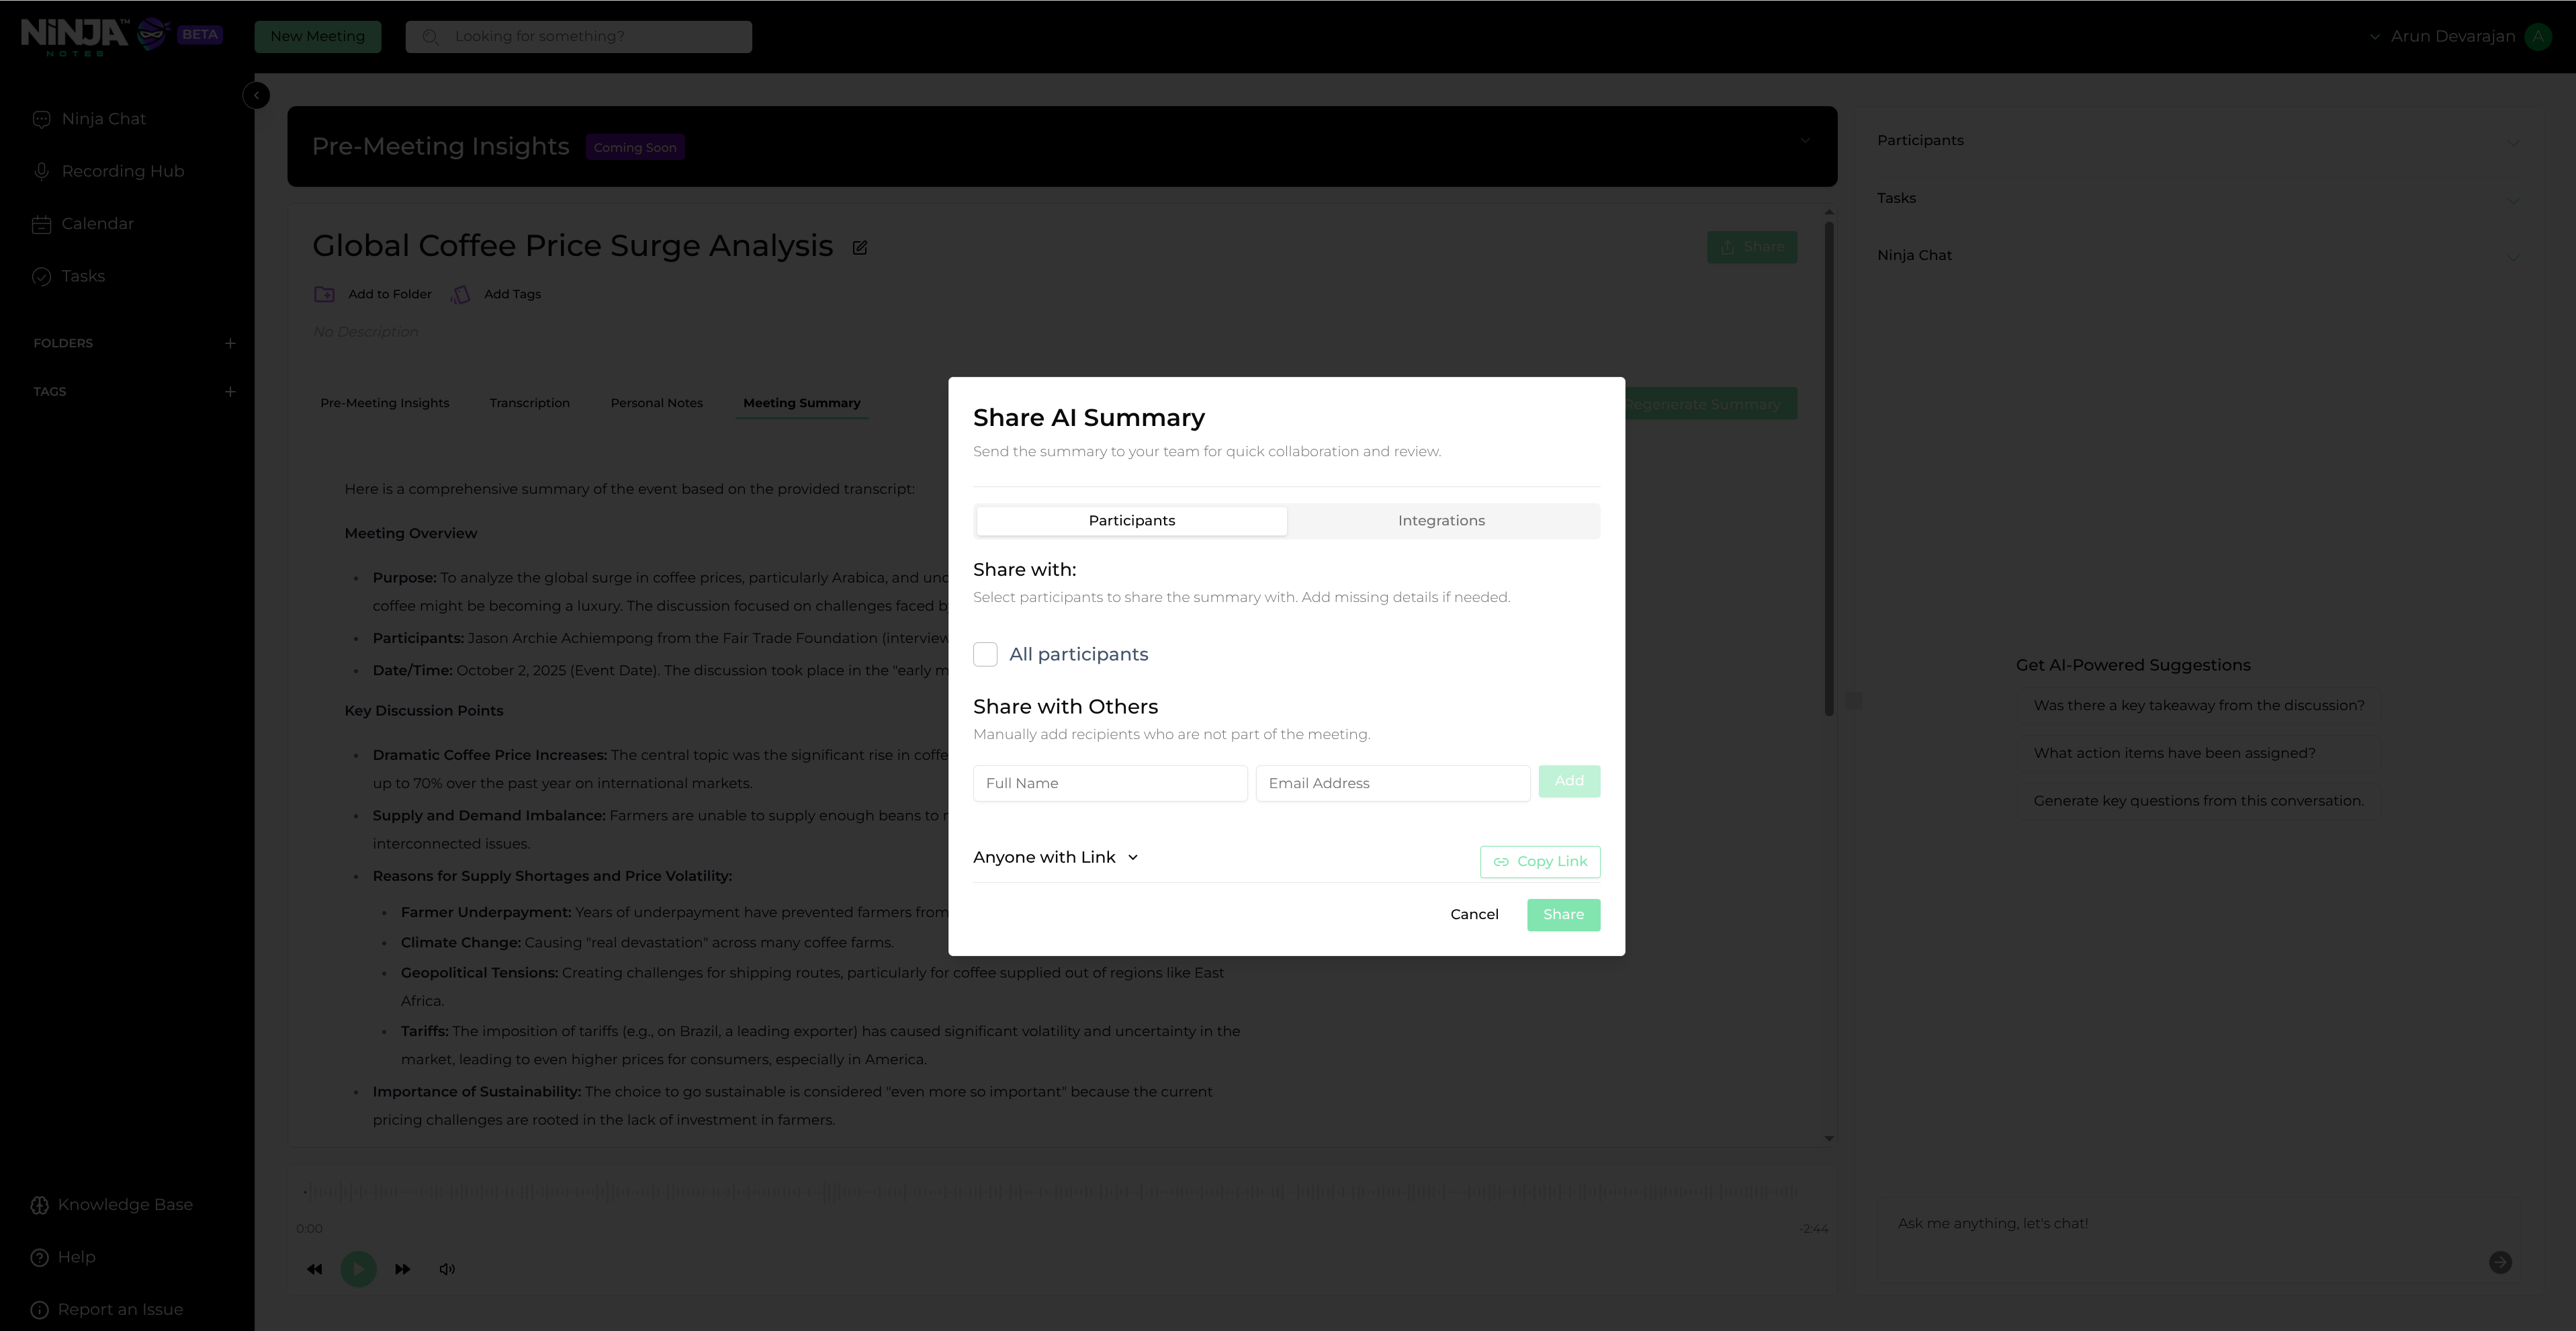
Share summary dialog
Click the Select Integration dropdown and choose HubSpot
From the integration dropdown menu, select "HubSpot" as your integration platform. Begin the OAuth authorization process by clicking the "Authorize" button.
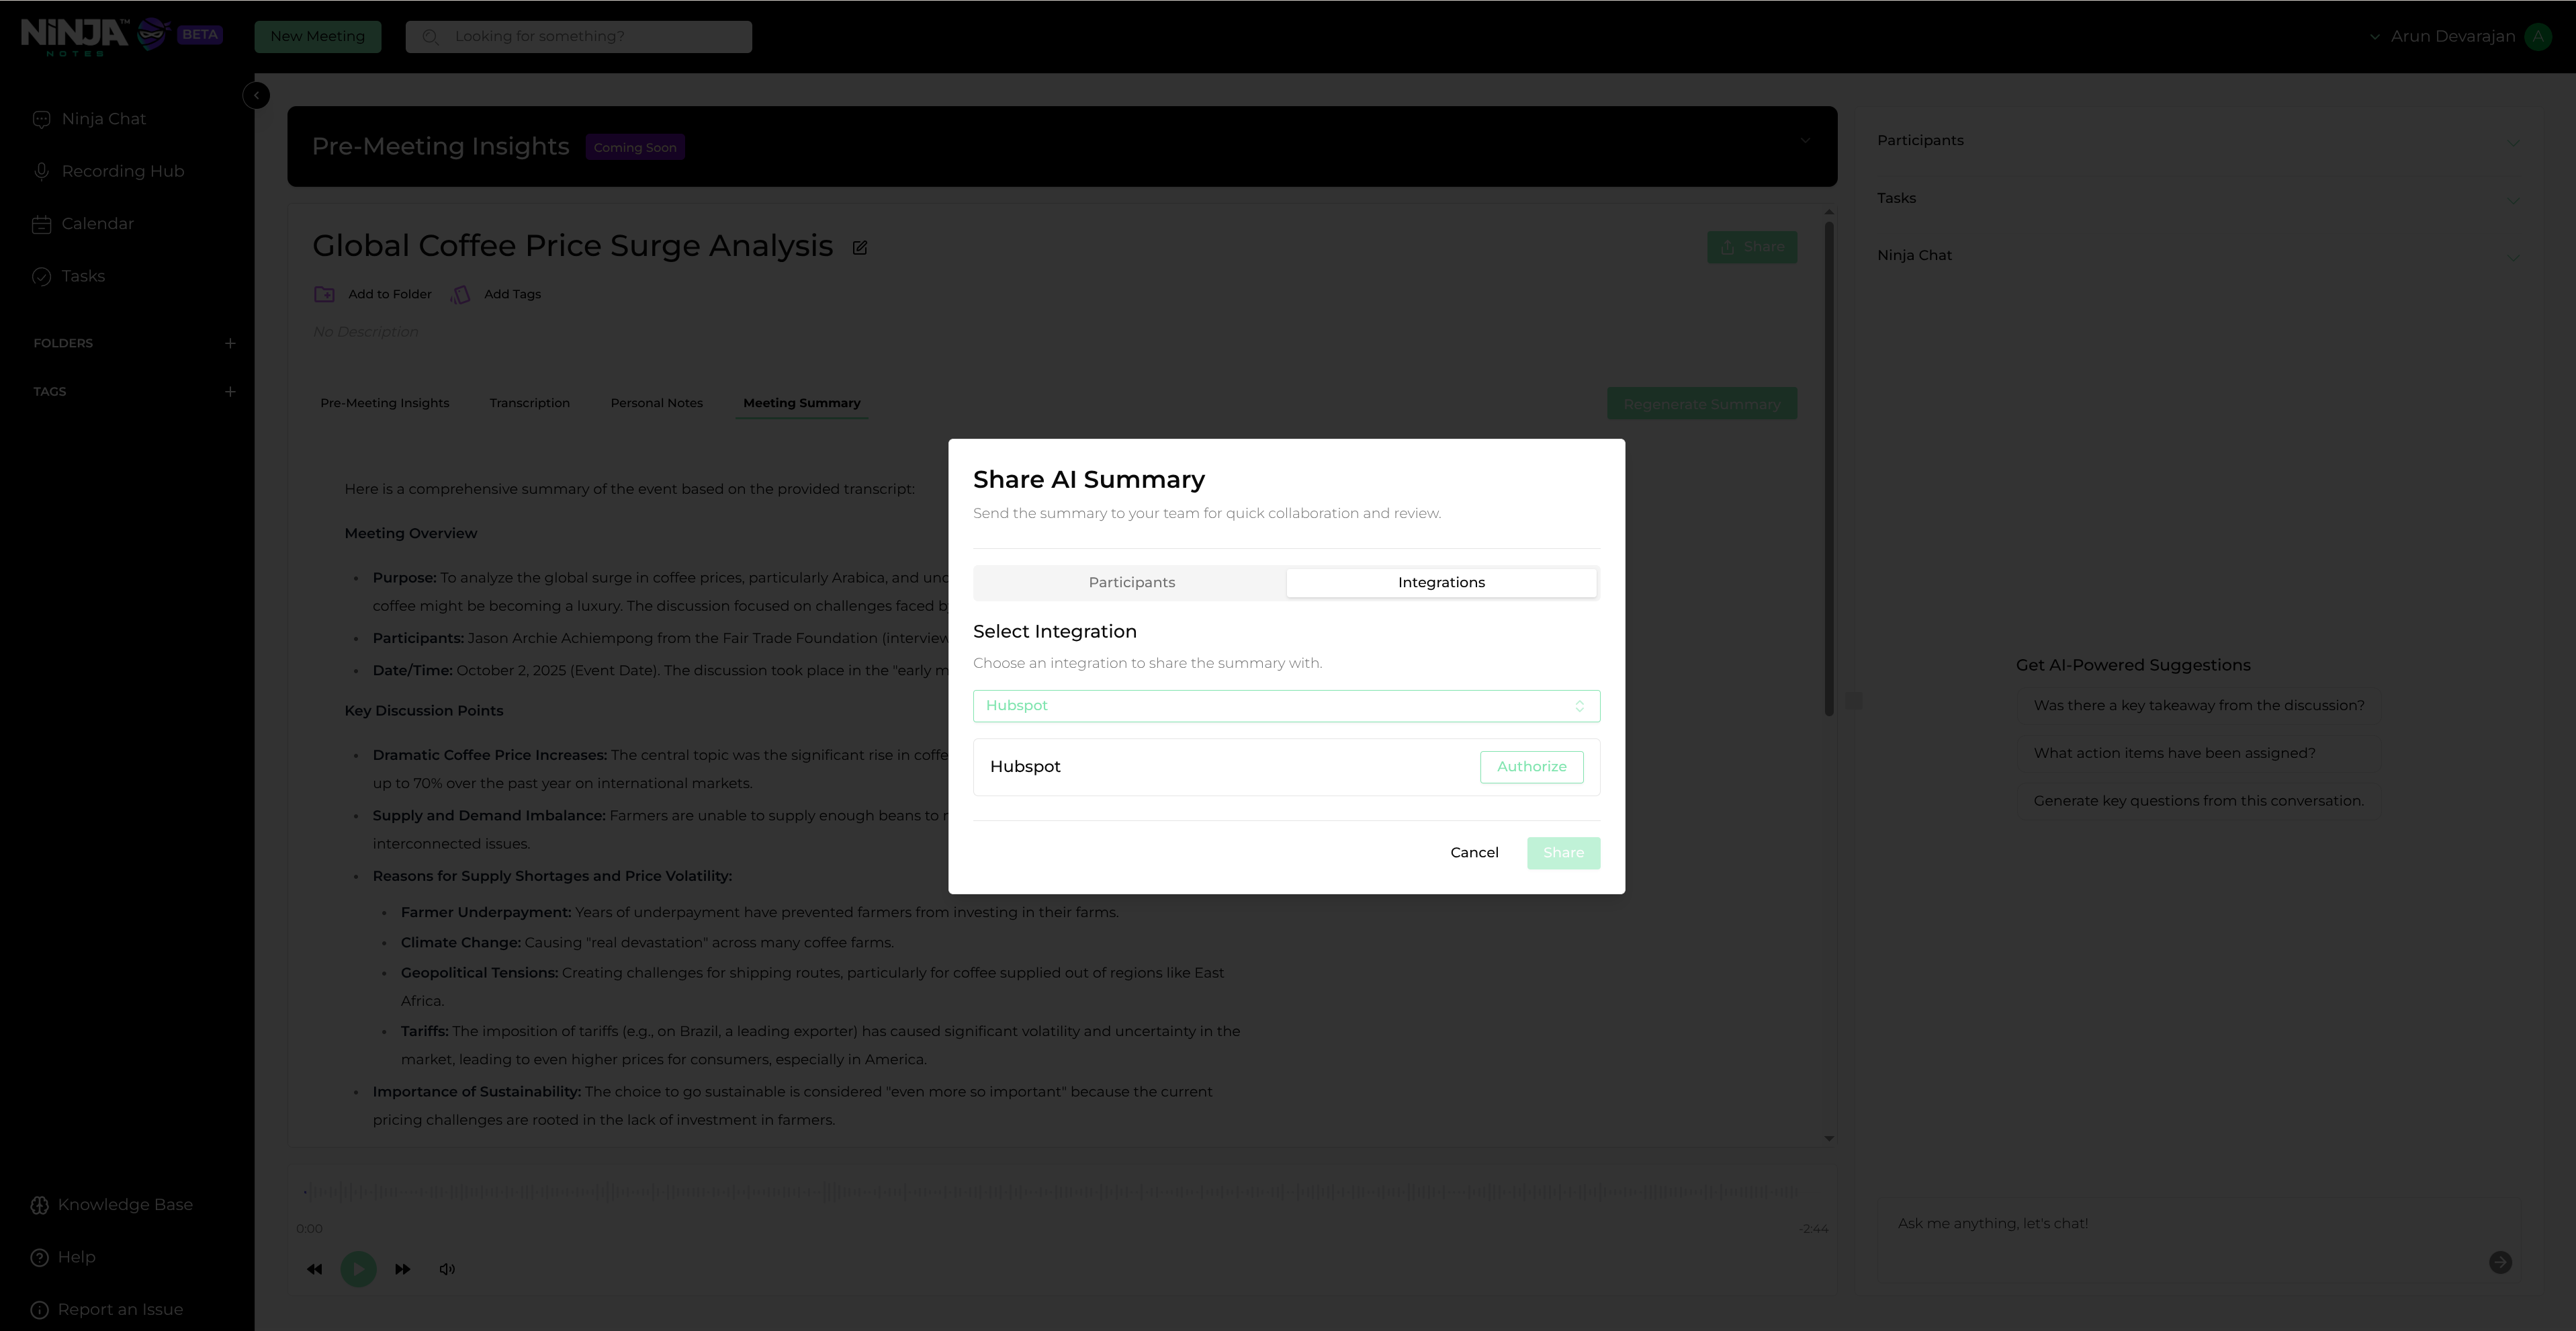
Integrations tab selection
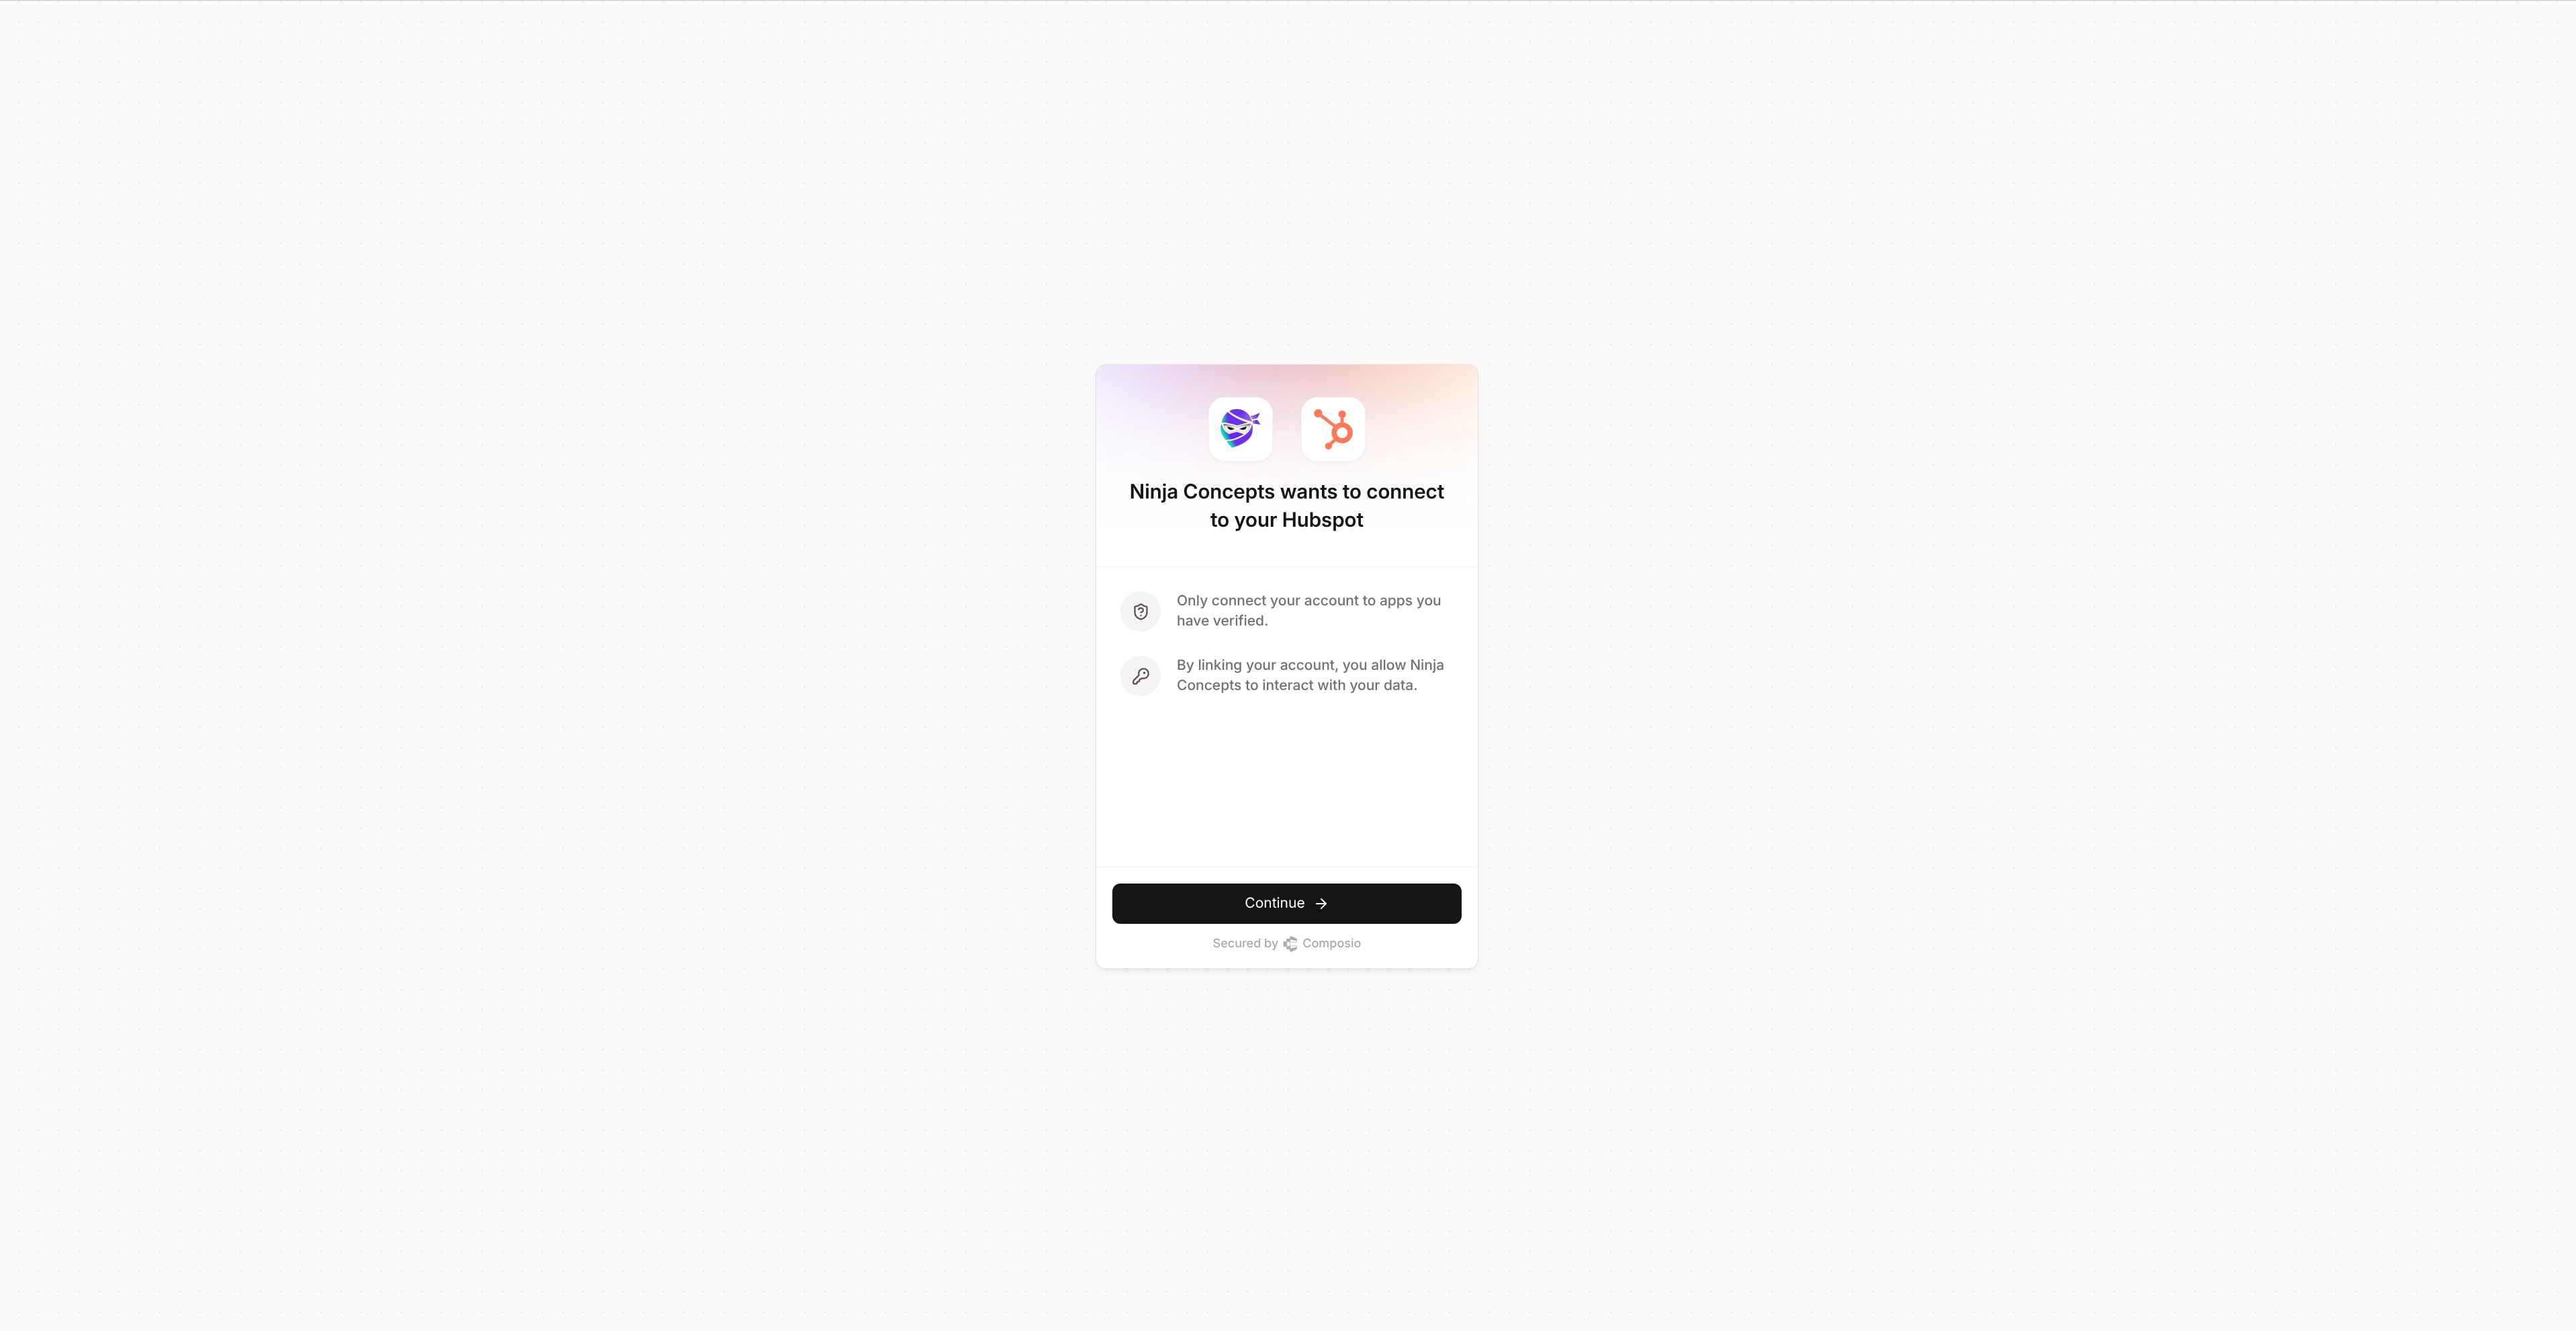
OAuth authorization initiation
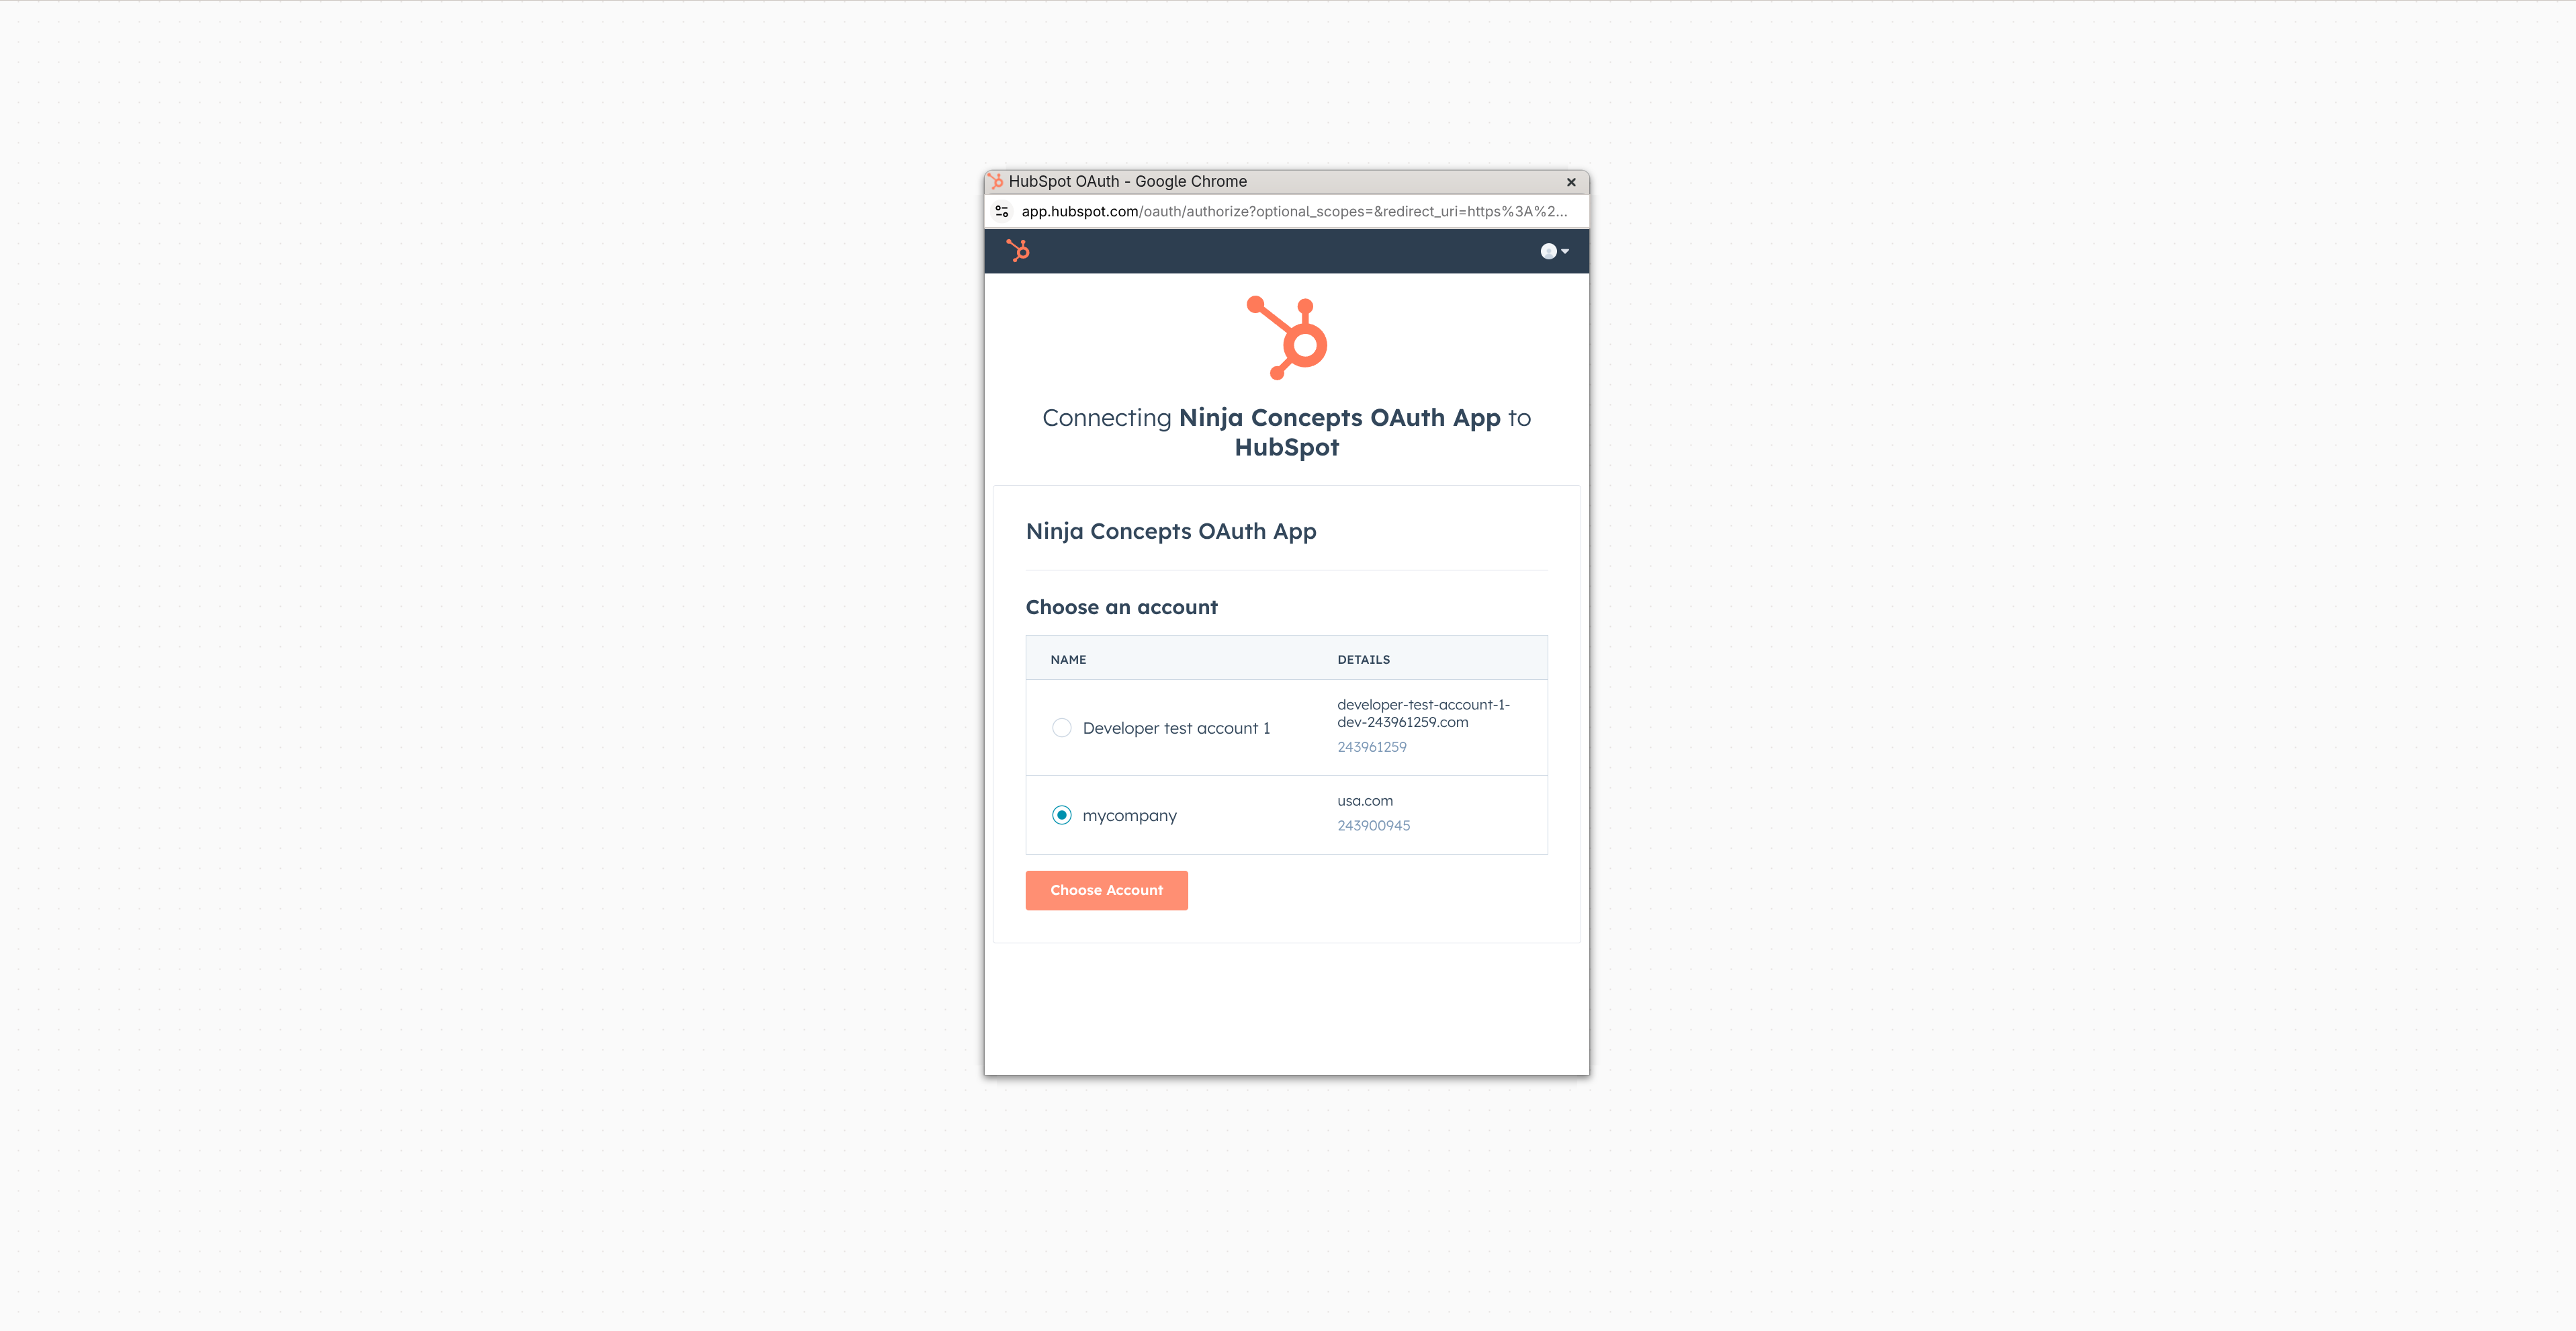
Select HubSpot account to authorize
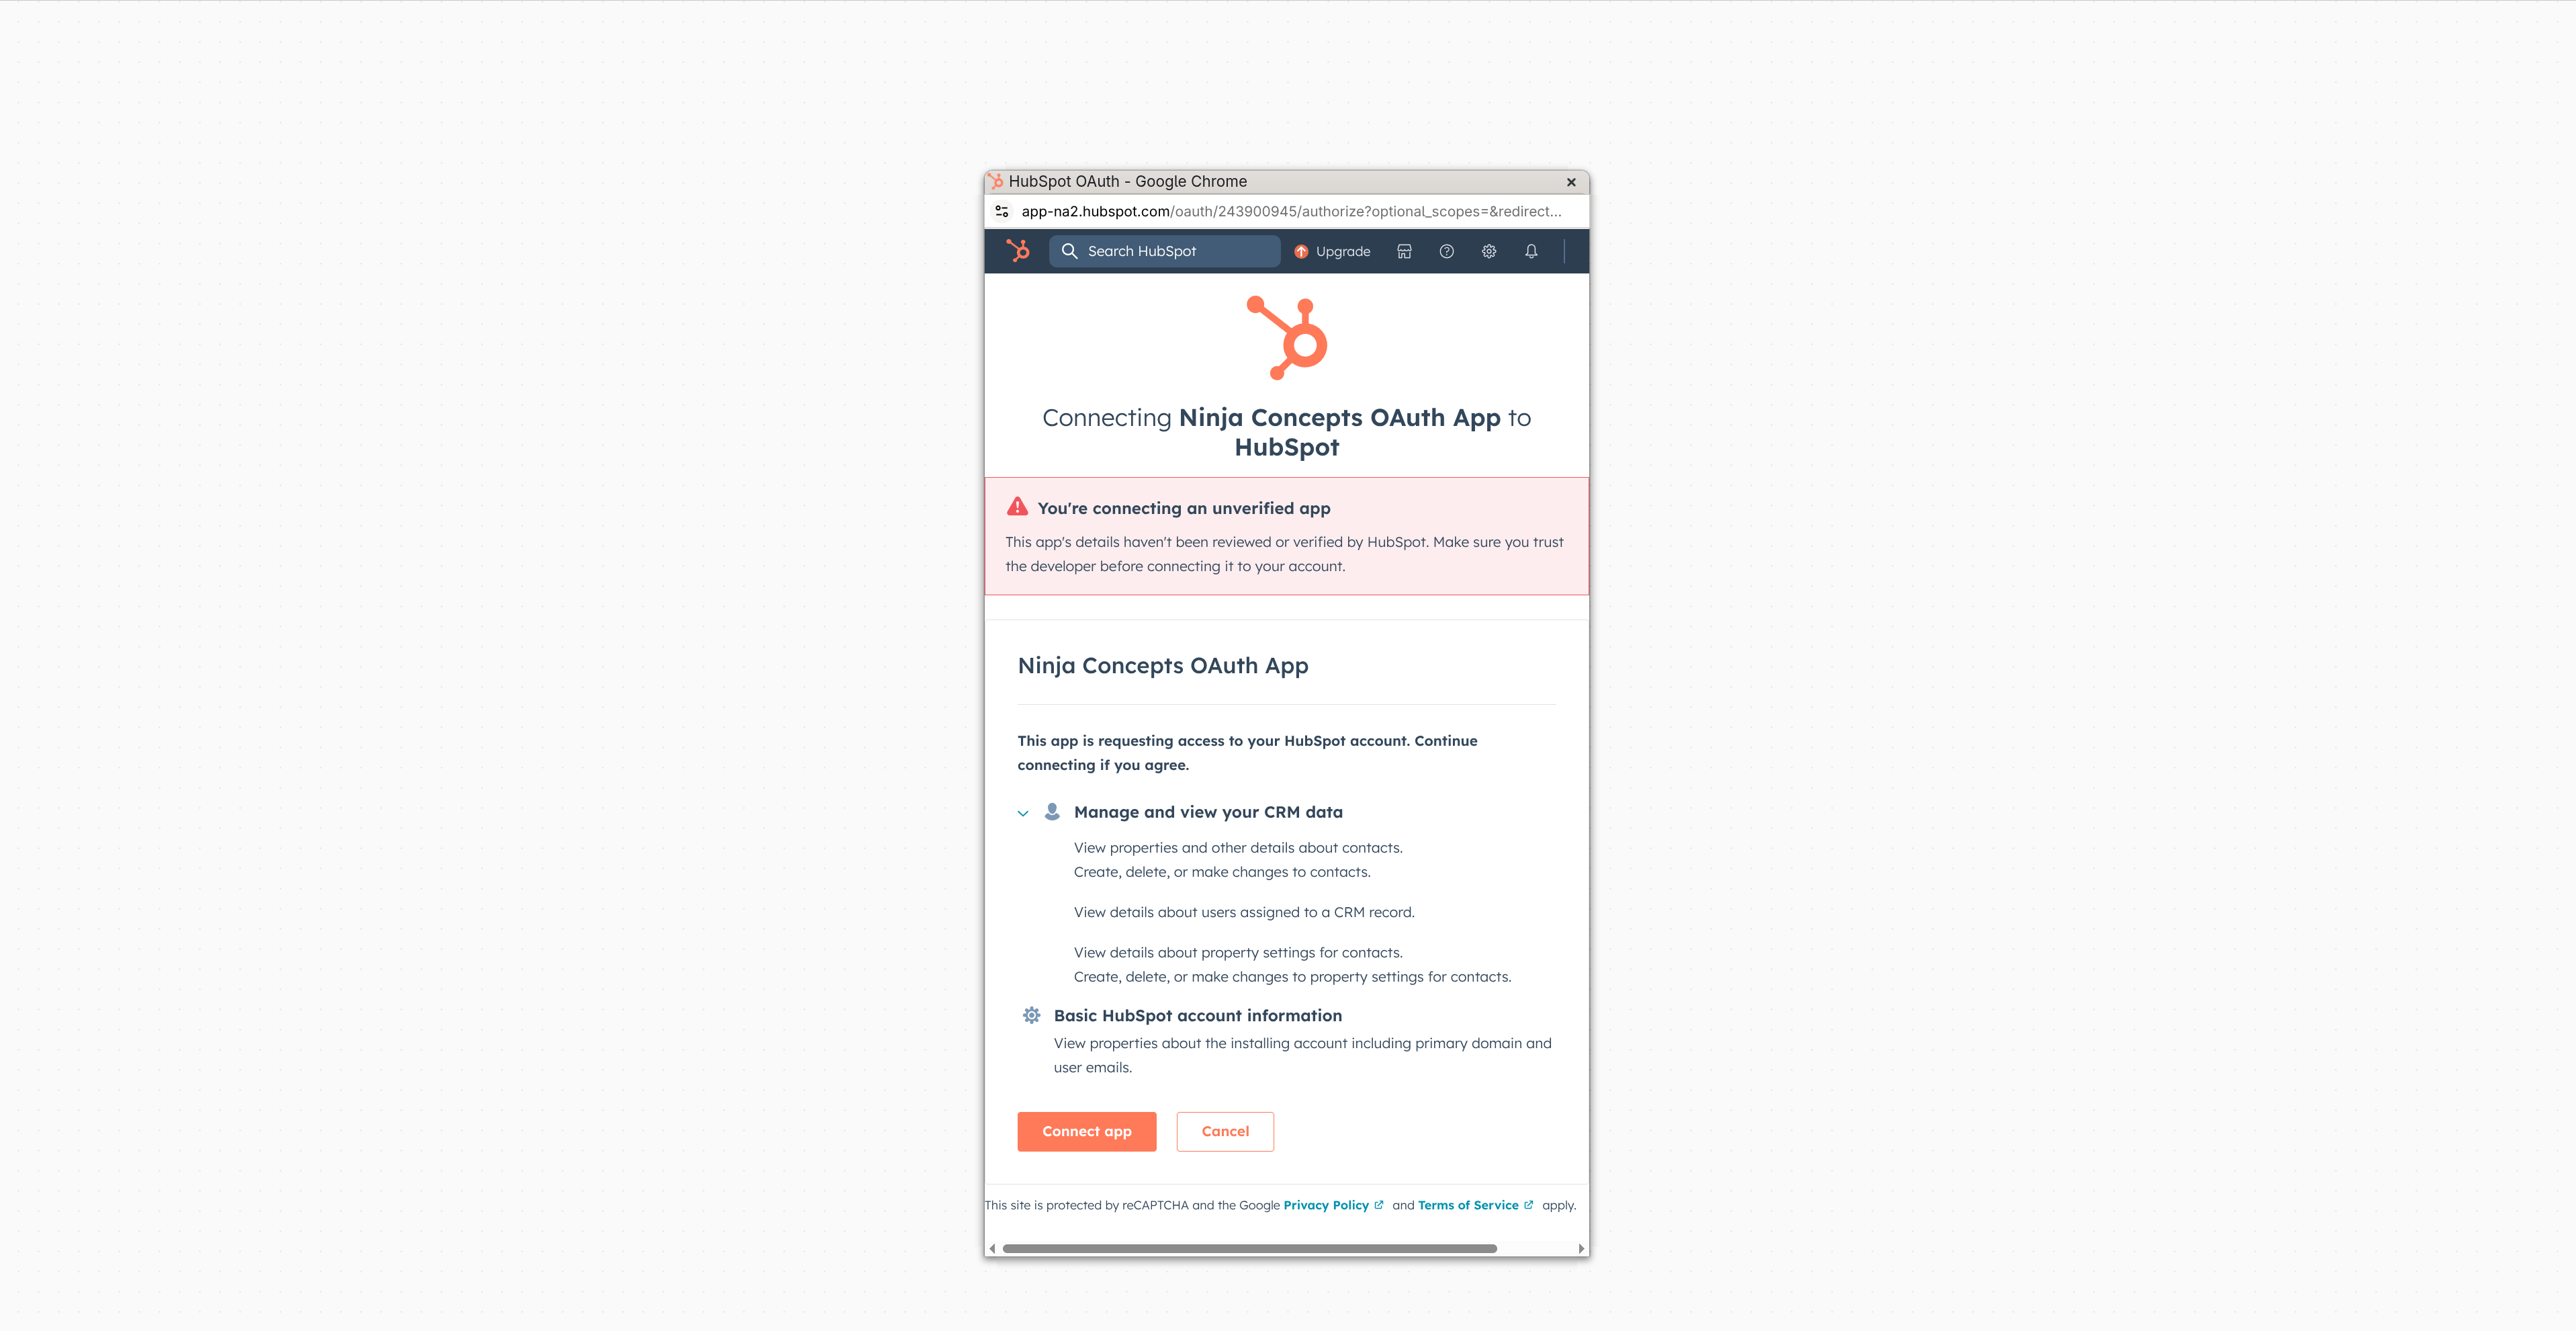
Review the requested scopes on this screen and connect.
After OAuth flow completion, you will be redirected to the Share pop-up dialog
Once the OAuth flow is complete, you'll be automatically redirected back to the Share dialog.
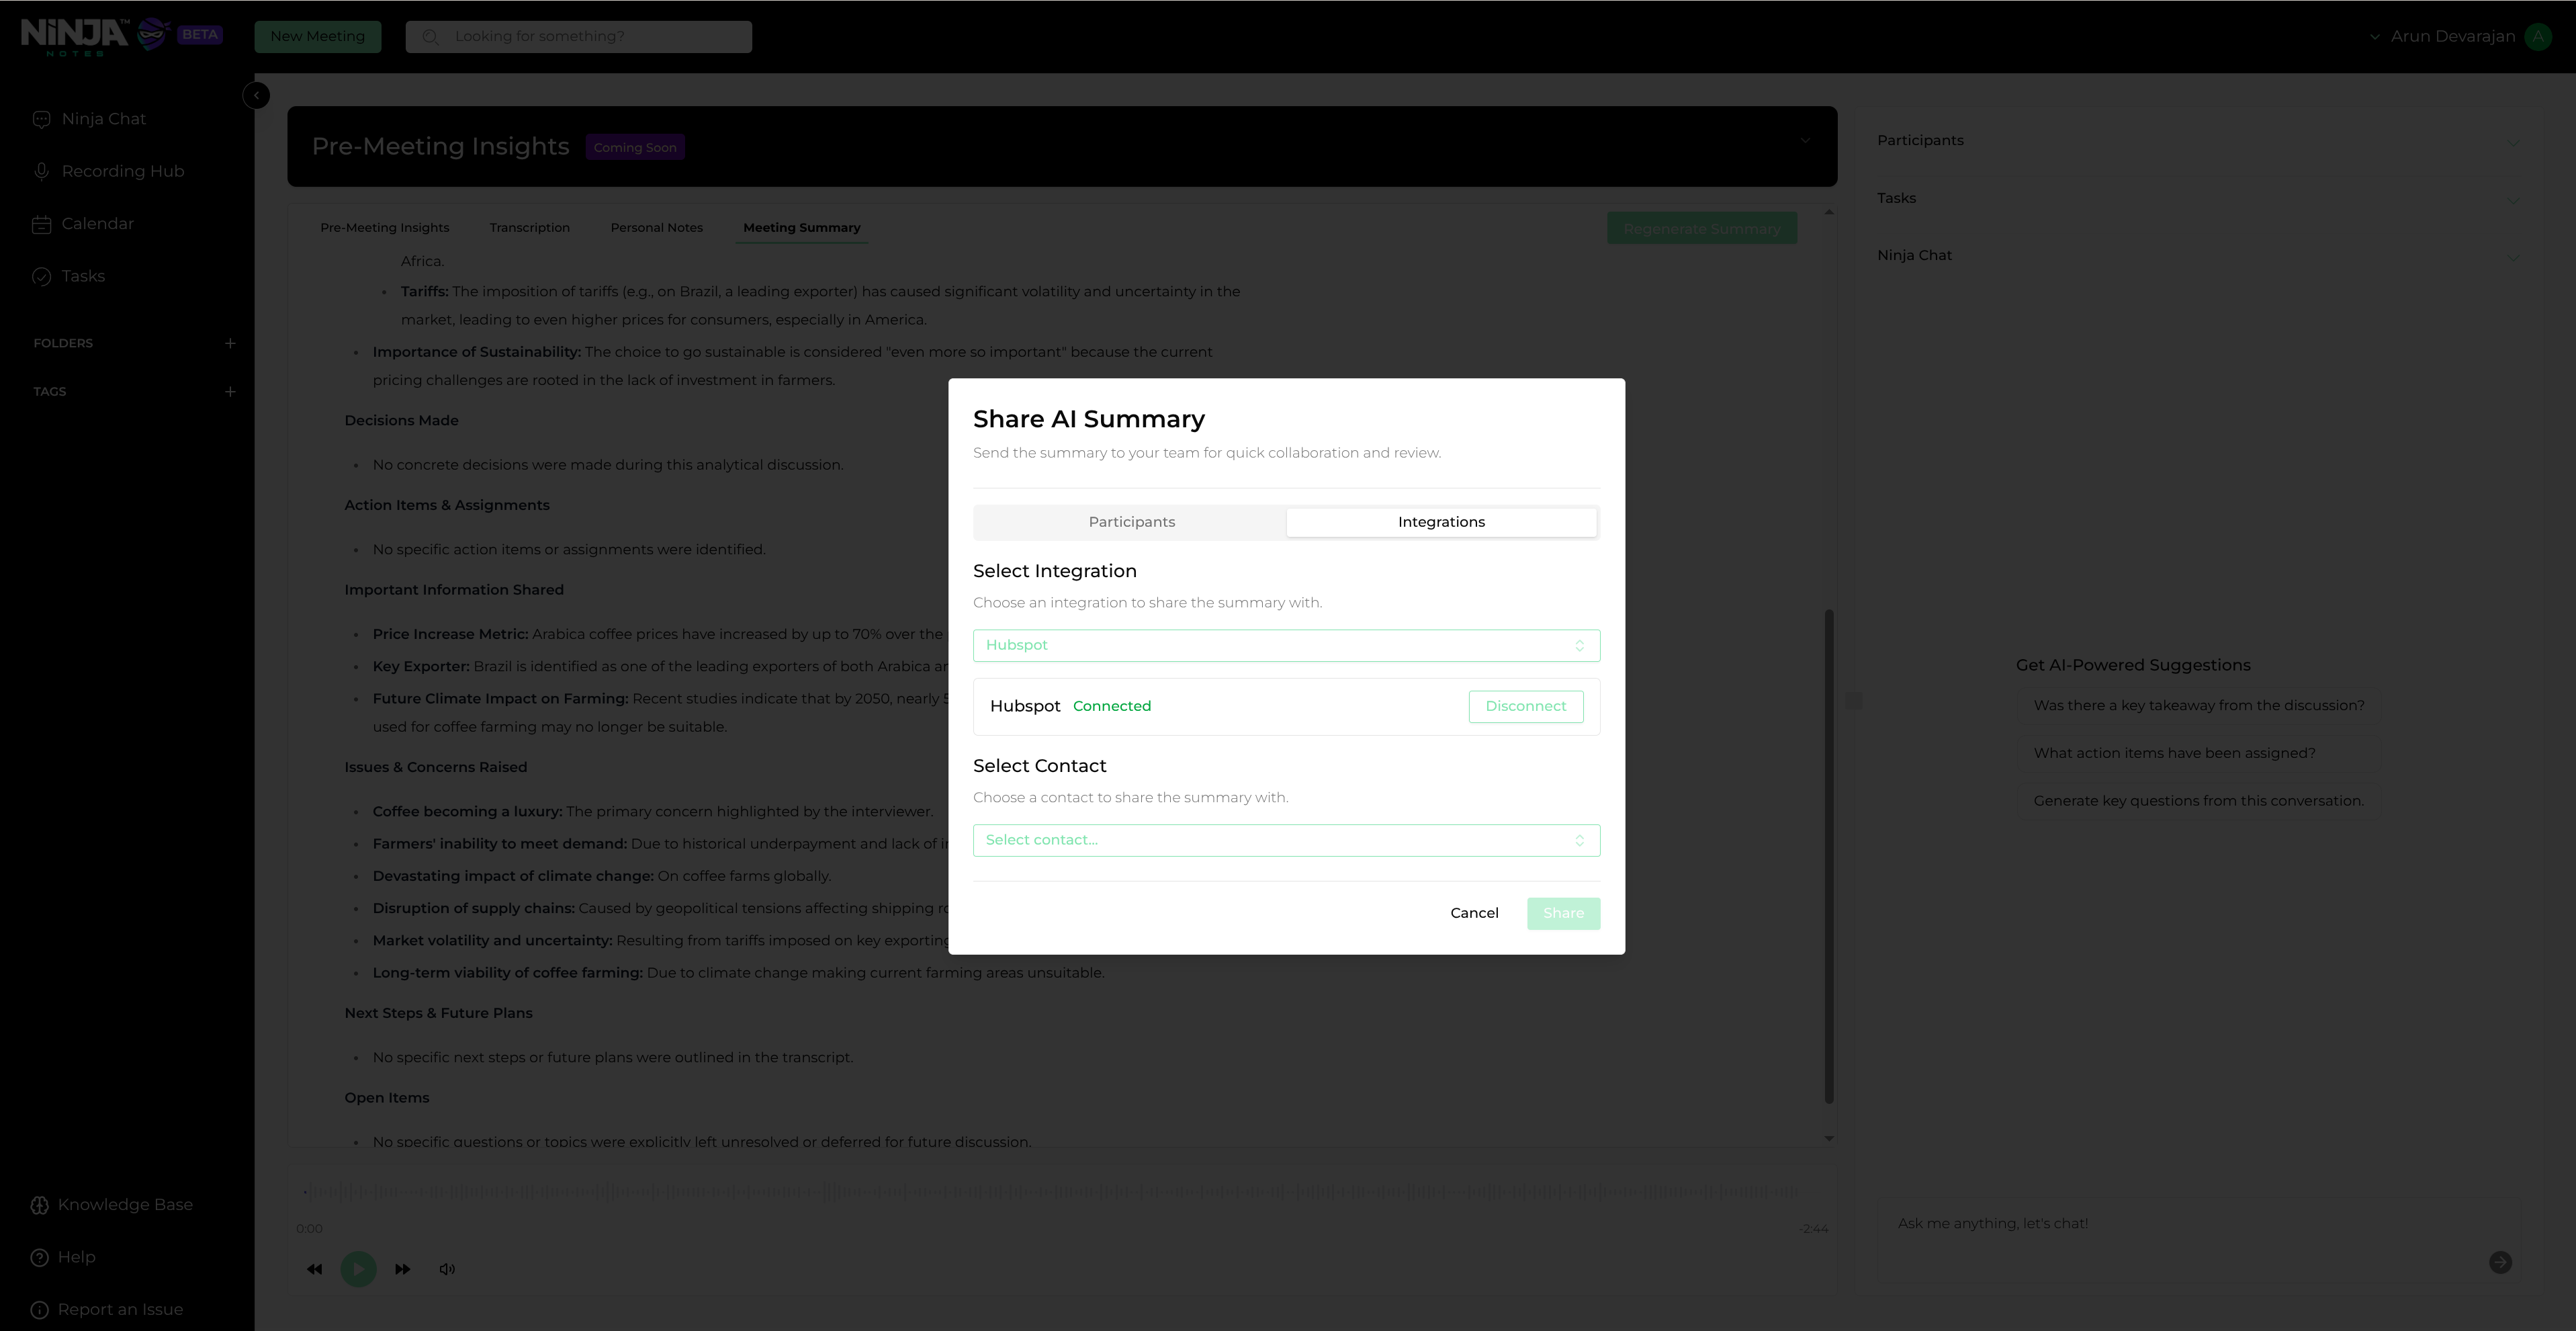
Share summary dialog
Sharing Meeting
Choose the HubSpot integration and select the contact to share with
Select the HubSpot integration and choose the specific contact to whom you want to share the meeting summary.

Select contact and share summary
Click the Share button to add the meeting with notes to the HubSpot contact's activity timeline
Finalize the sharing process by clicking the "Share" button, which will add the meeting summary to the selected contact's activity timeline in HubSpot.
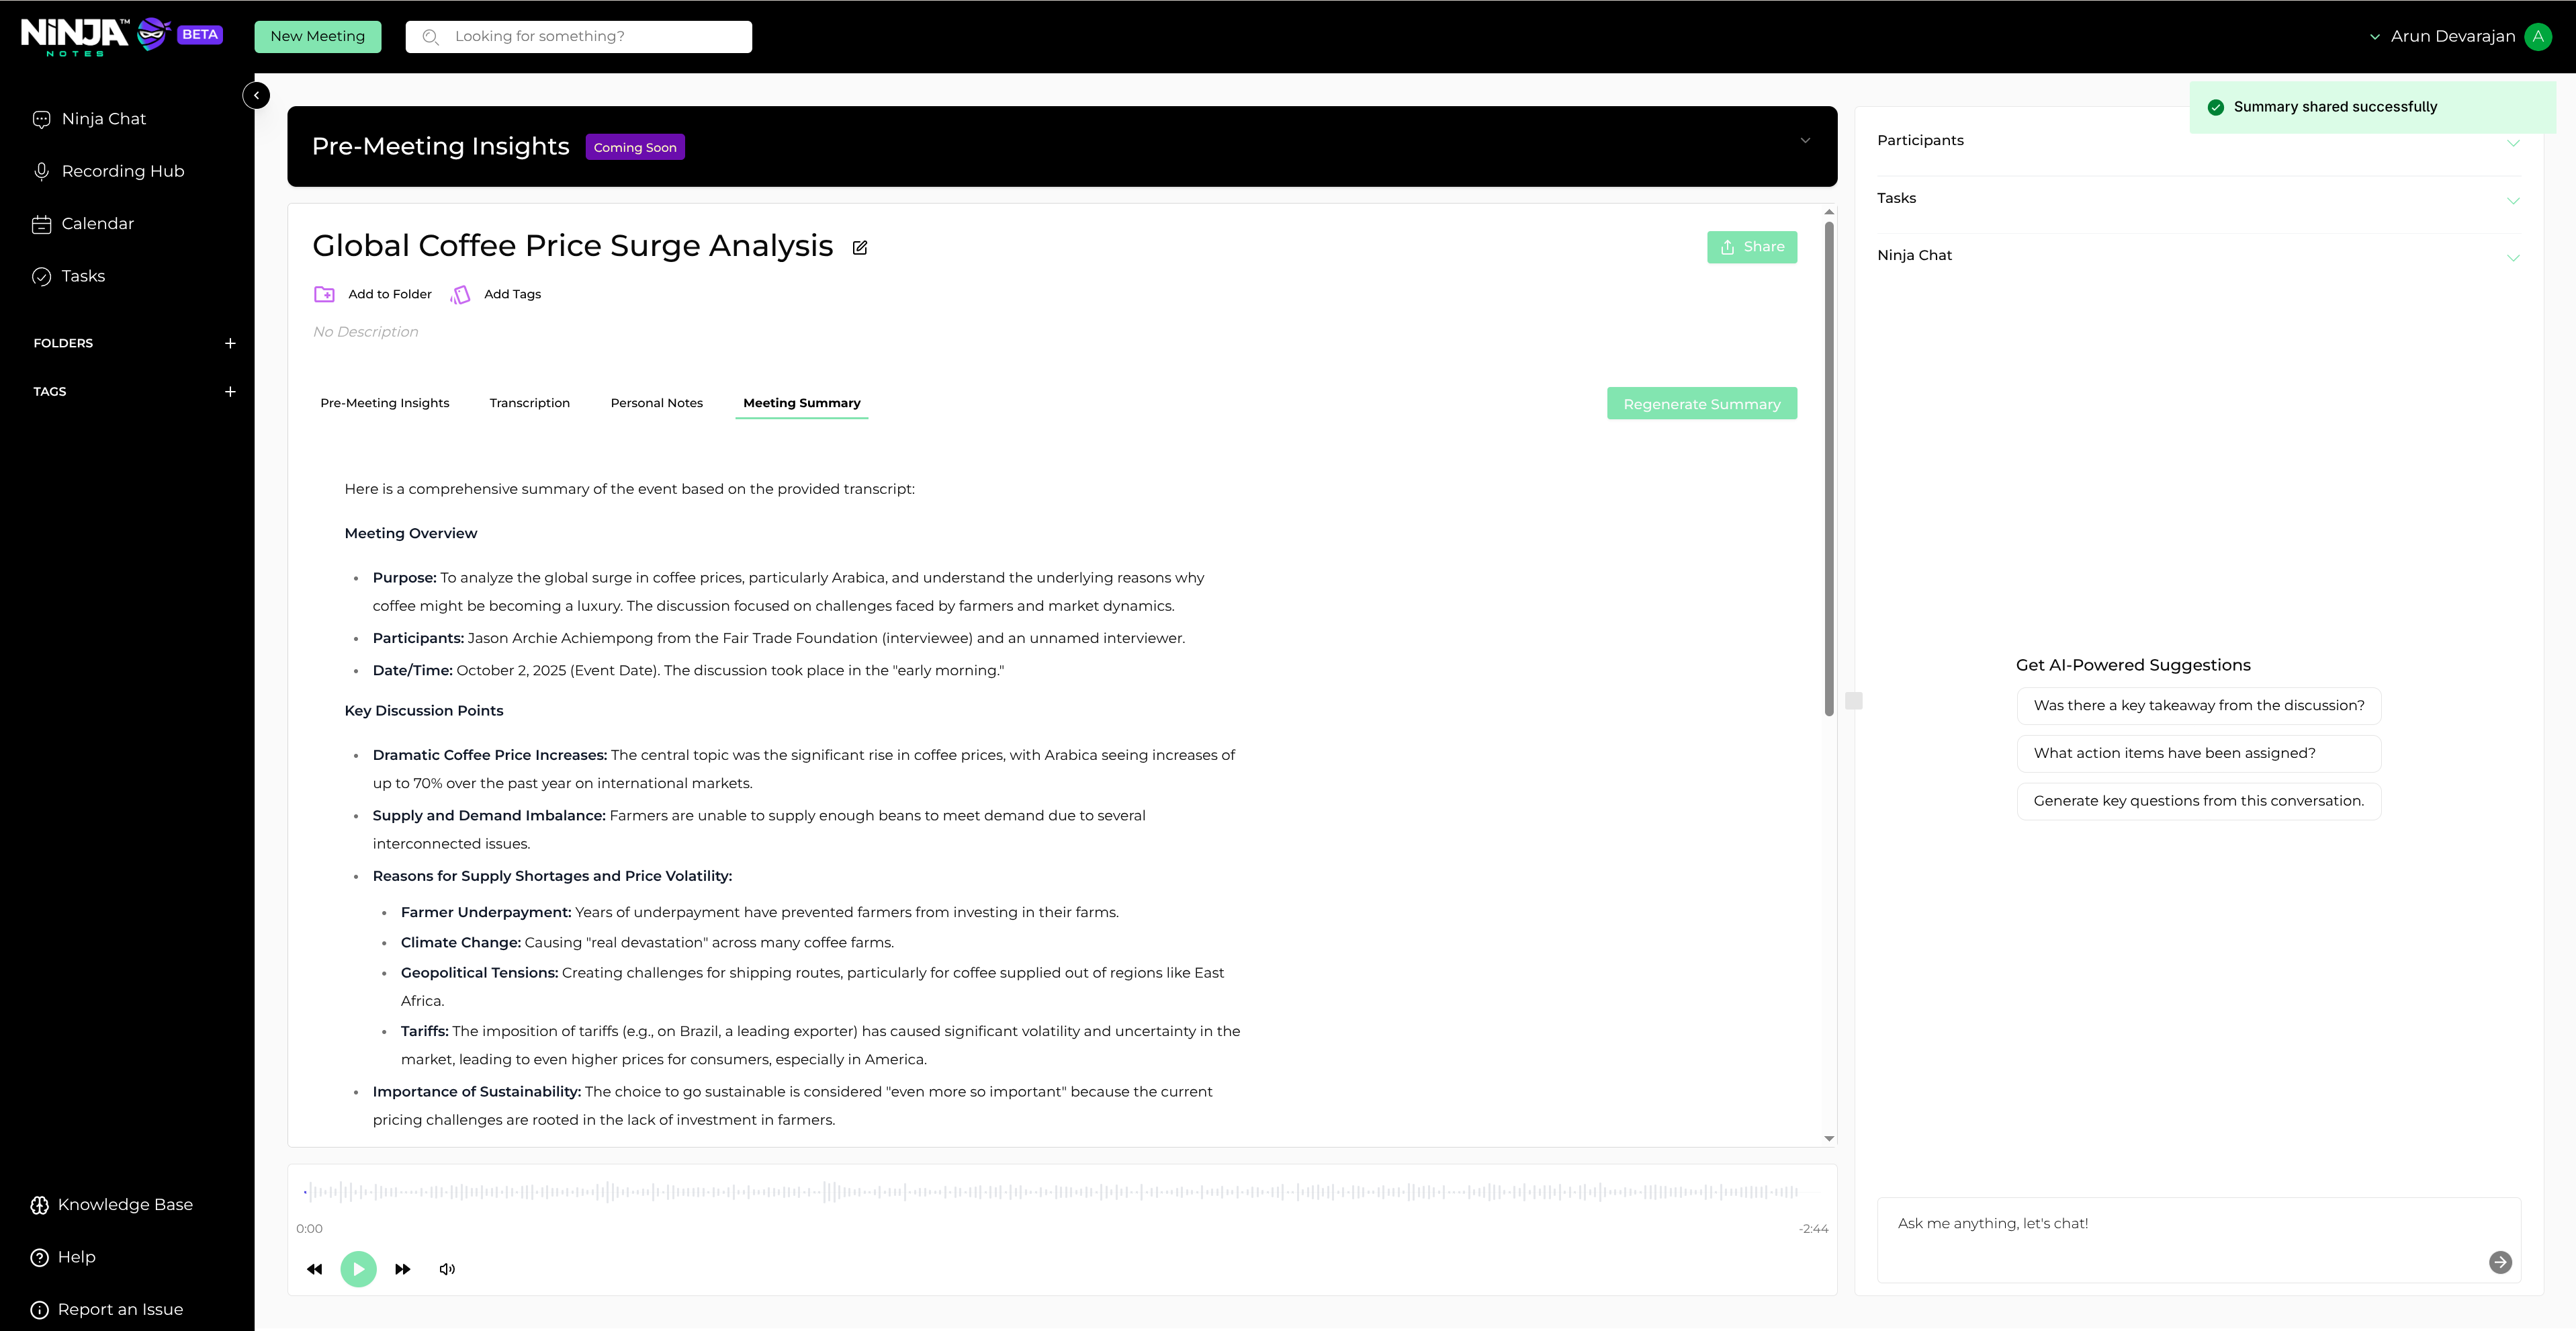
Summary shared successfully
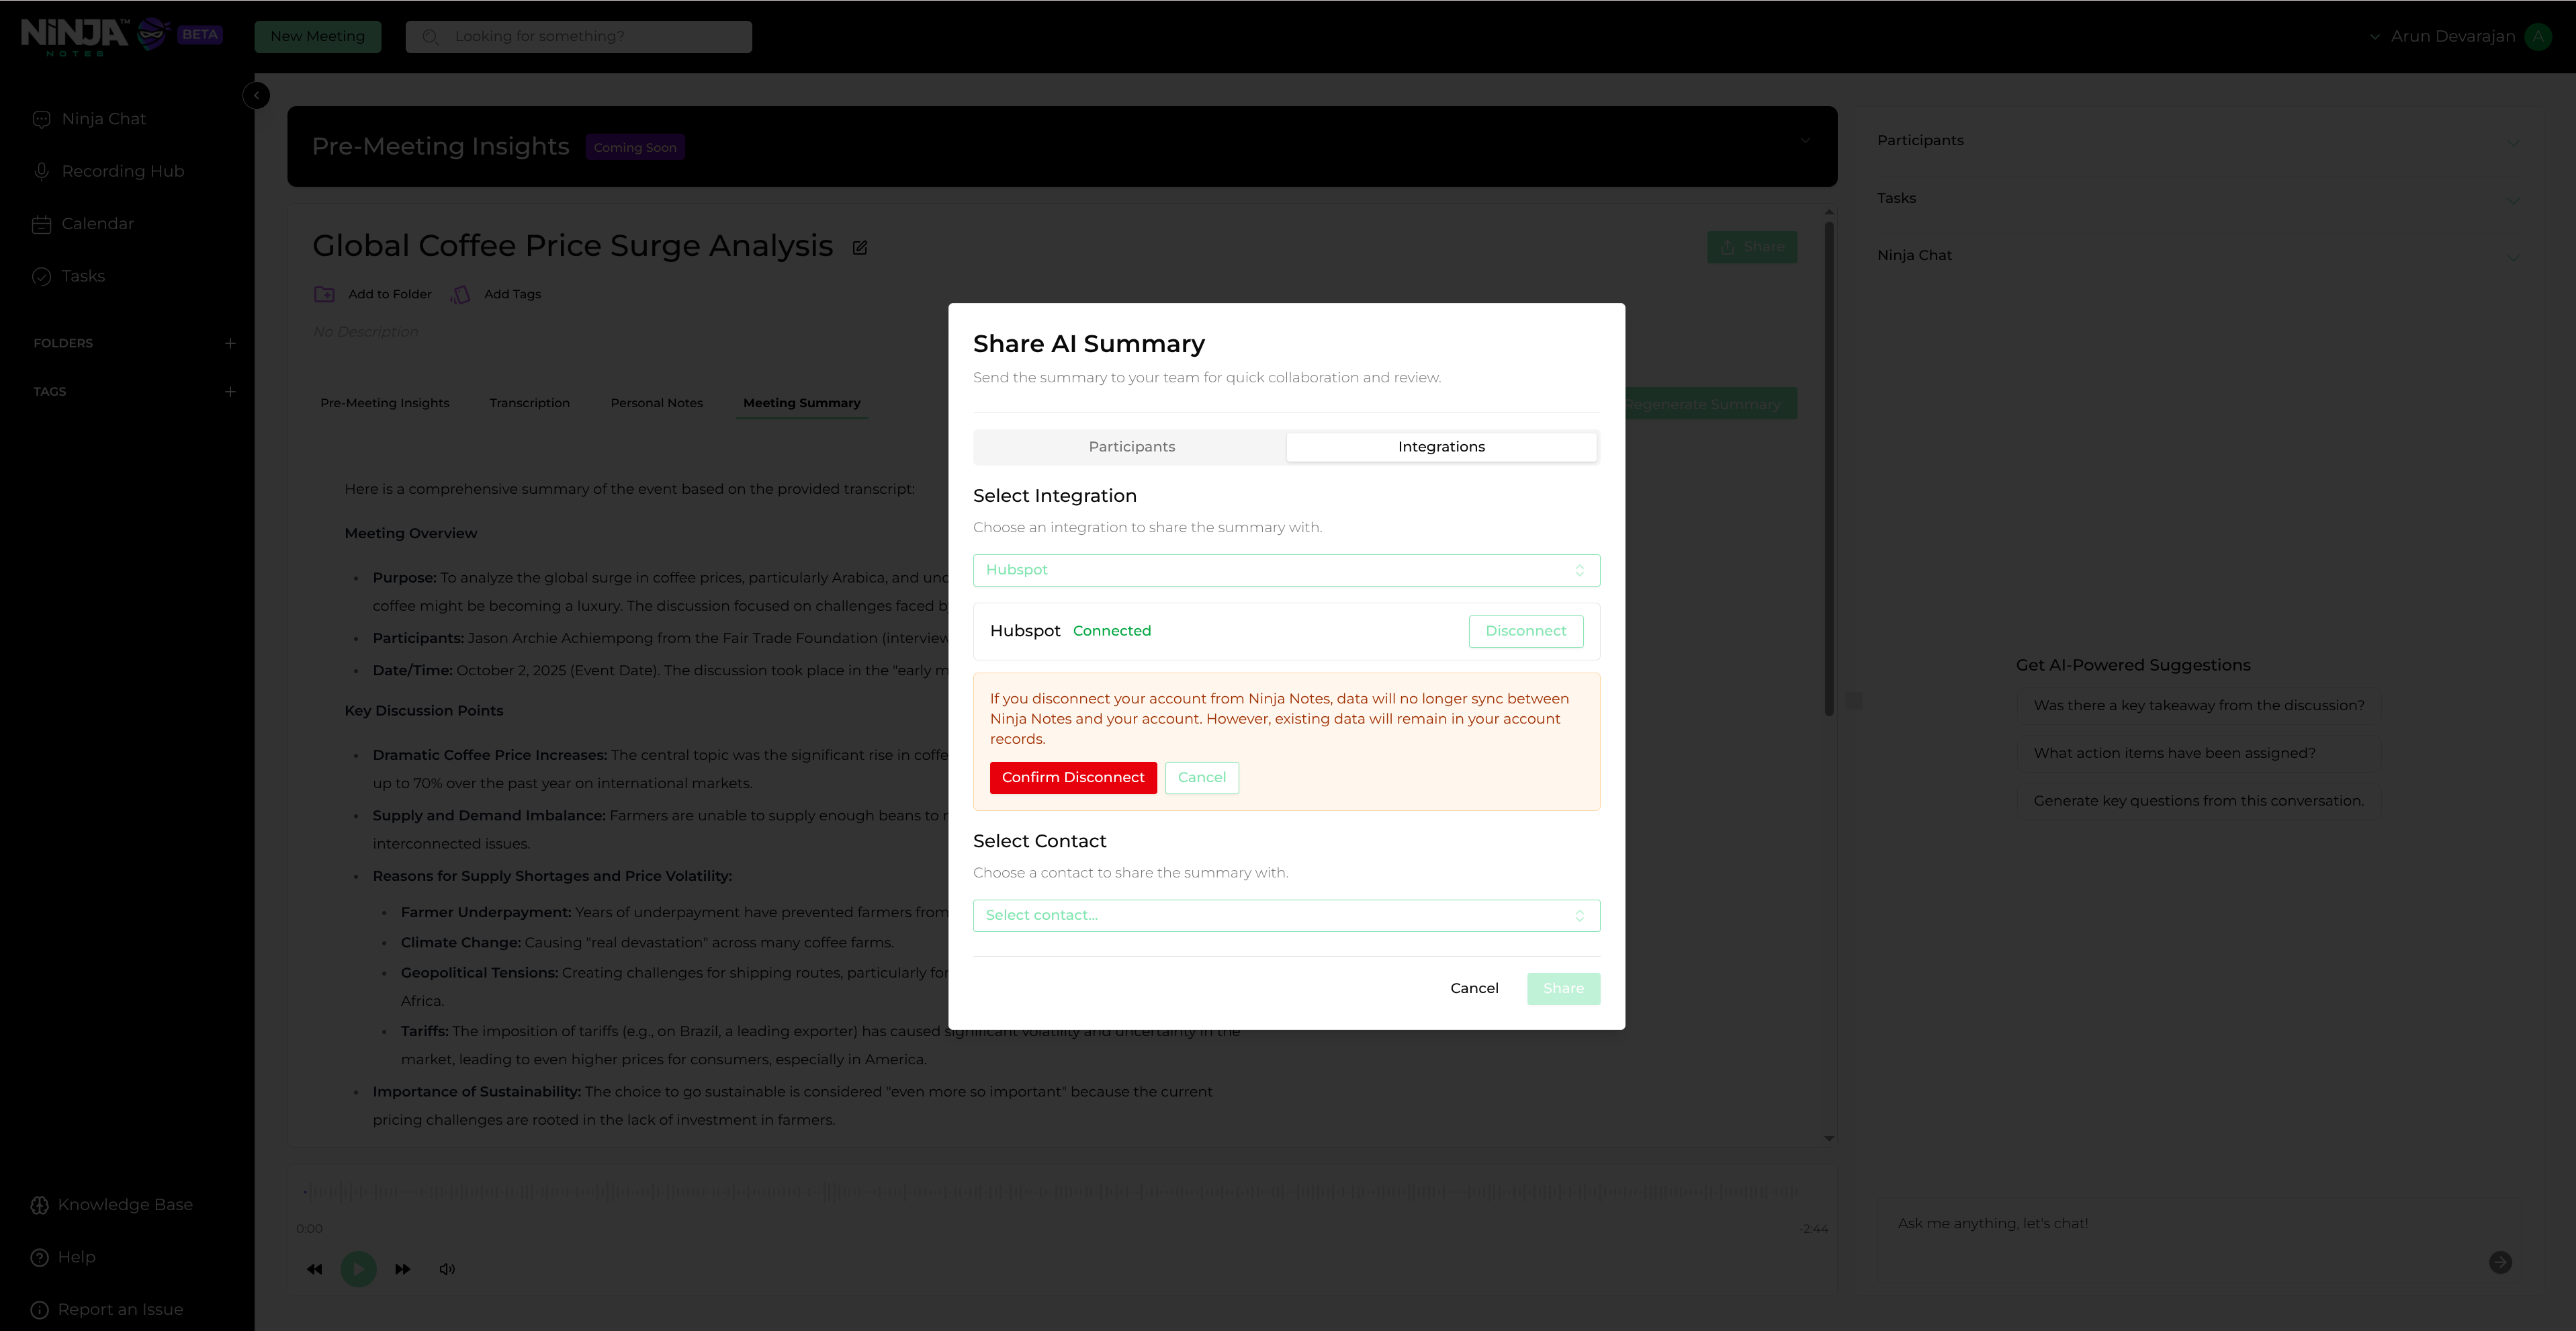
Disconnecting
Disconnect your account
To disconnect your account from Ninja Notes, click the disconnect button and confirm the action.
Disconnect the app
Uninstall the app
Uninstall the app
To uninstall the Ninja Notes app from your HubSpot account, follow the instructions in this HubSpot Knowledge Base article.